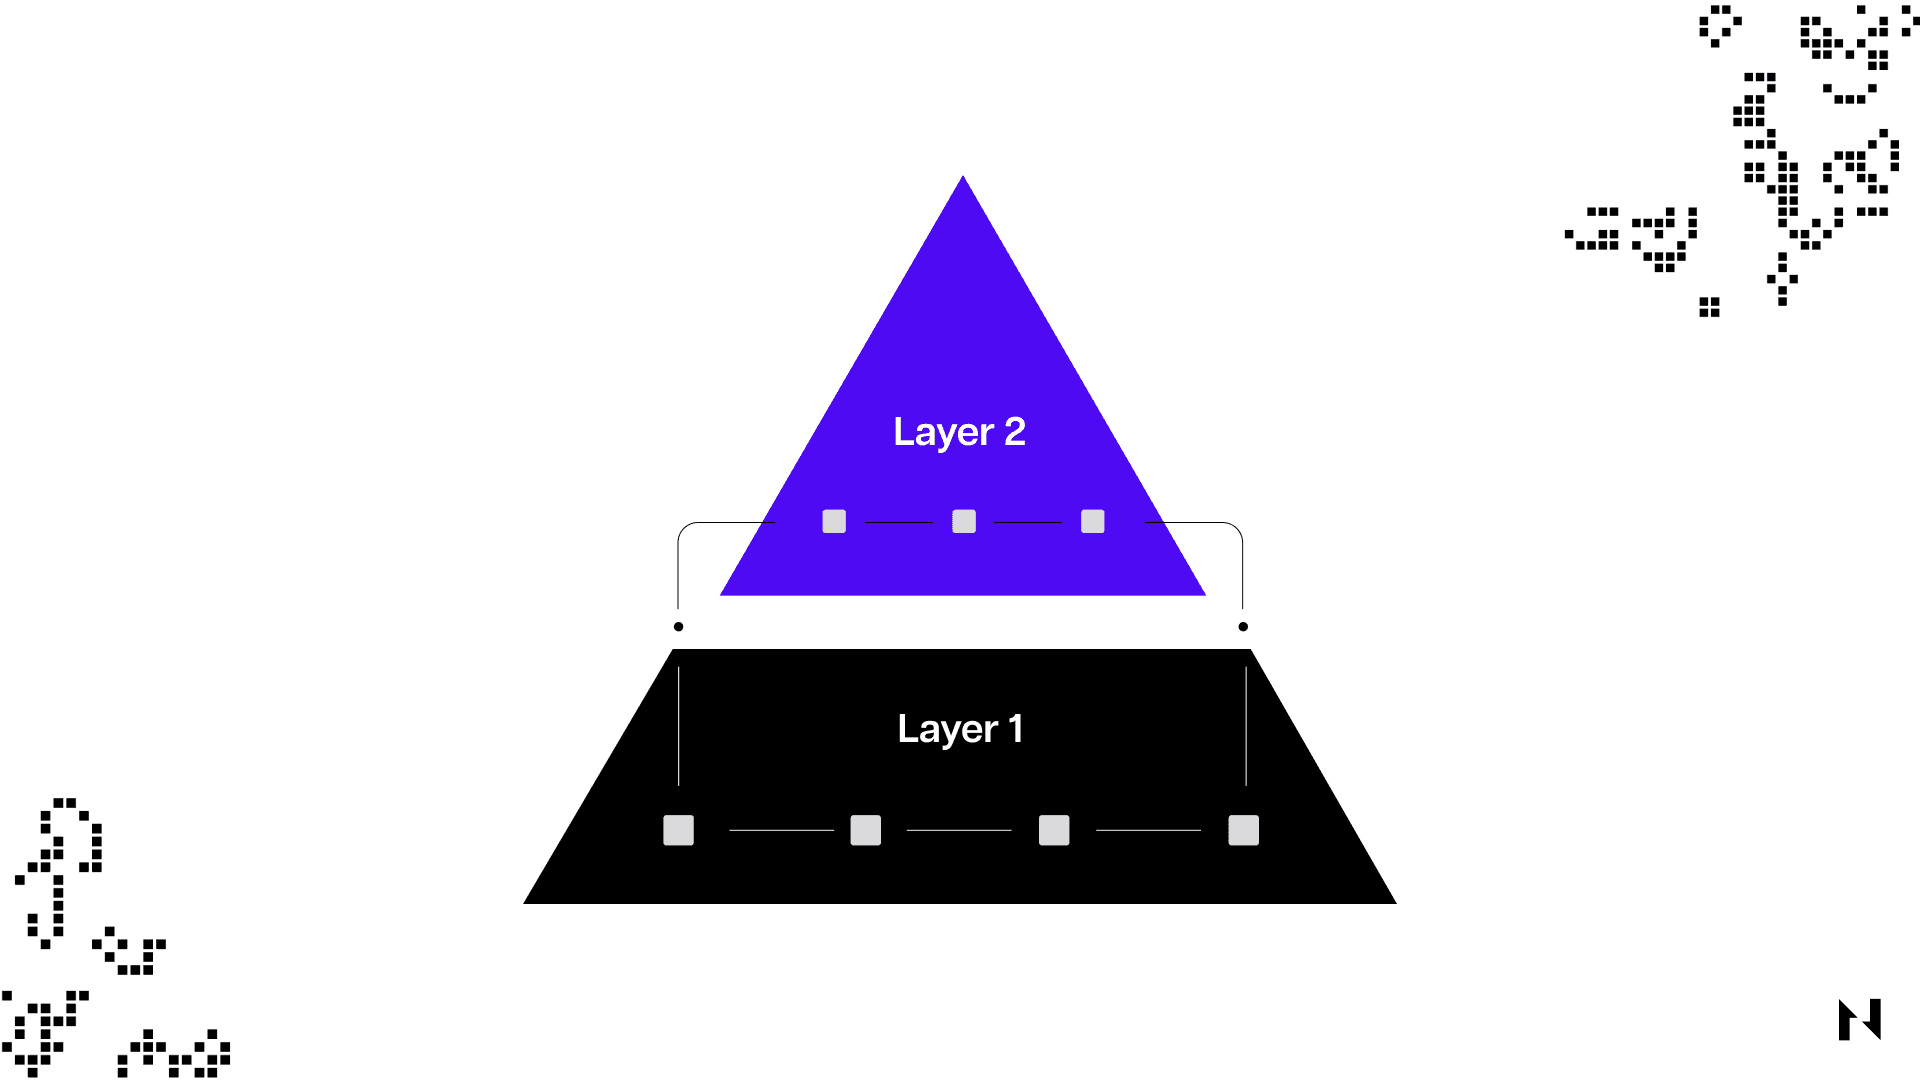
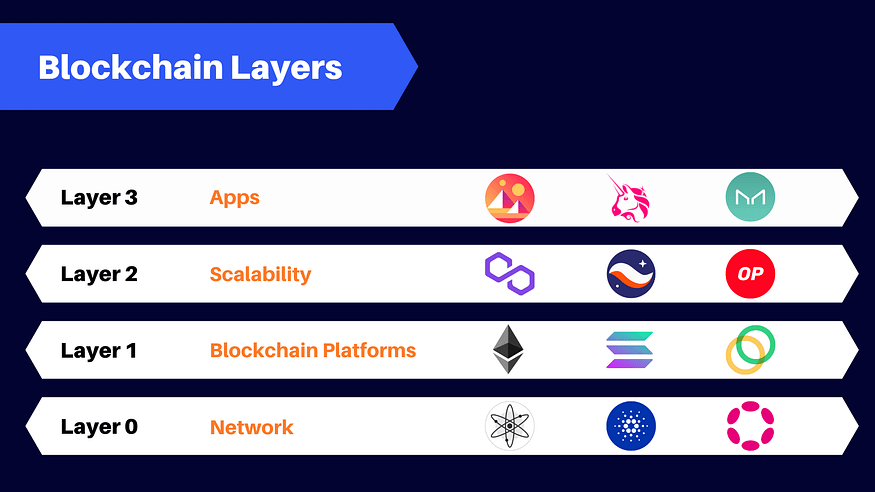
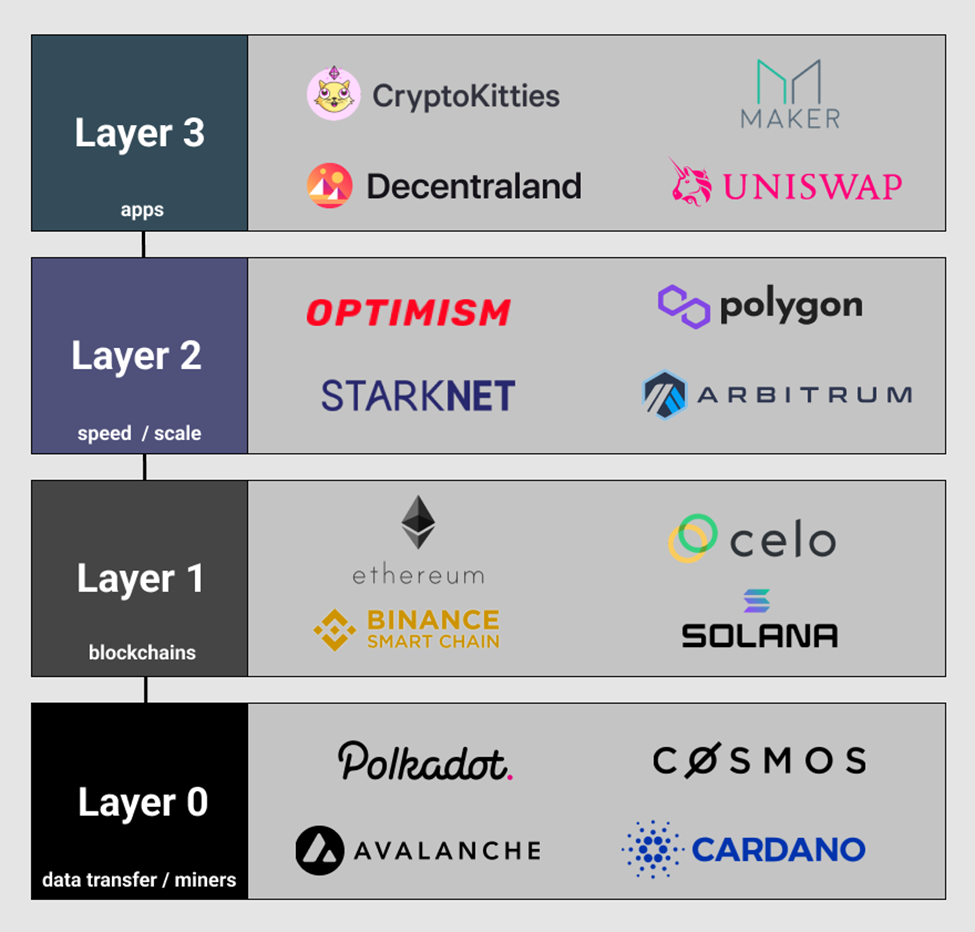
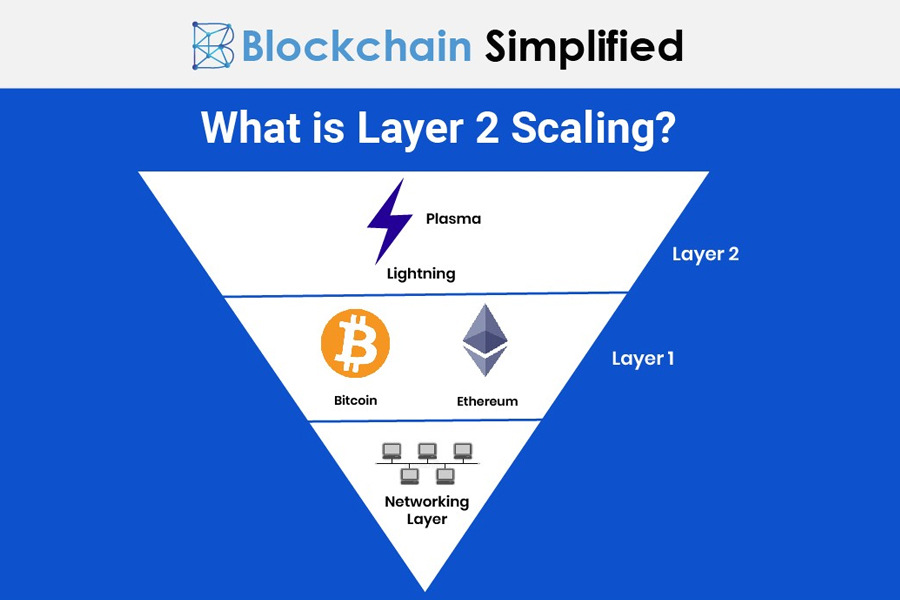
Layer 1 And Layer 2 Blockchain Diagram


:max_bytes(150000):strip_icc()/what-are-layer-1-and-layer-2-blockchain-scaling-solutions-7104877-final-6a3ee3188cad46d8b3d788588cab5ab0.png)
:max_bytes(150000):strip_icc():format(webp)/what-are-layer-1-and-layer-2-blockchain-scaling-solutions-7104877-final-6a3ee3188cad46d8b3d788588cab5ab0.png)


Discover traditional Layer 1 And Layer 2 Blockchain Diagram with our collection of comprehensive galleries of classic photographs. celebrating the traditional aspects of computer, digital, and electronic. ideal for traditional publications and documentation. Each Layer 1 And Layer 2 Blockchain Diagram image is carefully selected for superior visual impact and professional quality. Suitable for various applications including web design, social media, personal projects, and digital content creation All Layer 1 And Layer 2 Blockchain Diagram images are available in high resolution with professional-grade quality, optimized for both digital and print applications, and include comprehensive metadata for easy organization and usage. Discover the perfect Layer 1 And Layer 2 Blockchain Diagram images to enhance your visual communication needs. Diverse style options within the Layer 1 And Layer 2 Blockchain Diagram collection suit various aesthetic preferences. Each image in our Layer 1 And Layer 2 Blockchain Diagram gallery undergoes rigorous quality assessment before inclusion. The Layer 1 And Layer 2 Blockchain Diagram archive serves professionals, educators, and creatives across diverse industries. Professional licensing options accommodate both commercial and educational usage requirements. Regular updates keep the Layer 1 And Layer 2 Blockchain Diagram collection current with contemporary trends and styles. Reliable customer support ensures smooth experience throughout the Layer 1 And Layer 2 Blockchain Diagram selection process. Our Layer 1 And Layer 2 Blockchain Diagram database continuously expands with fresh, relevant content from skilled photographers.