Please enter url.
Login
Logout
Please enter url.
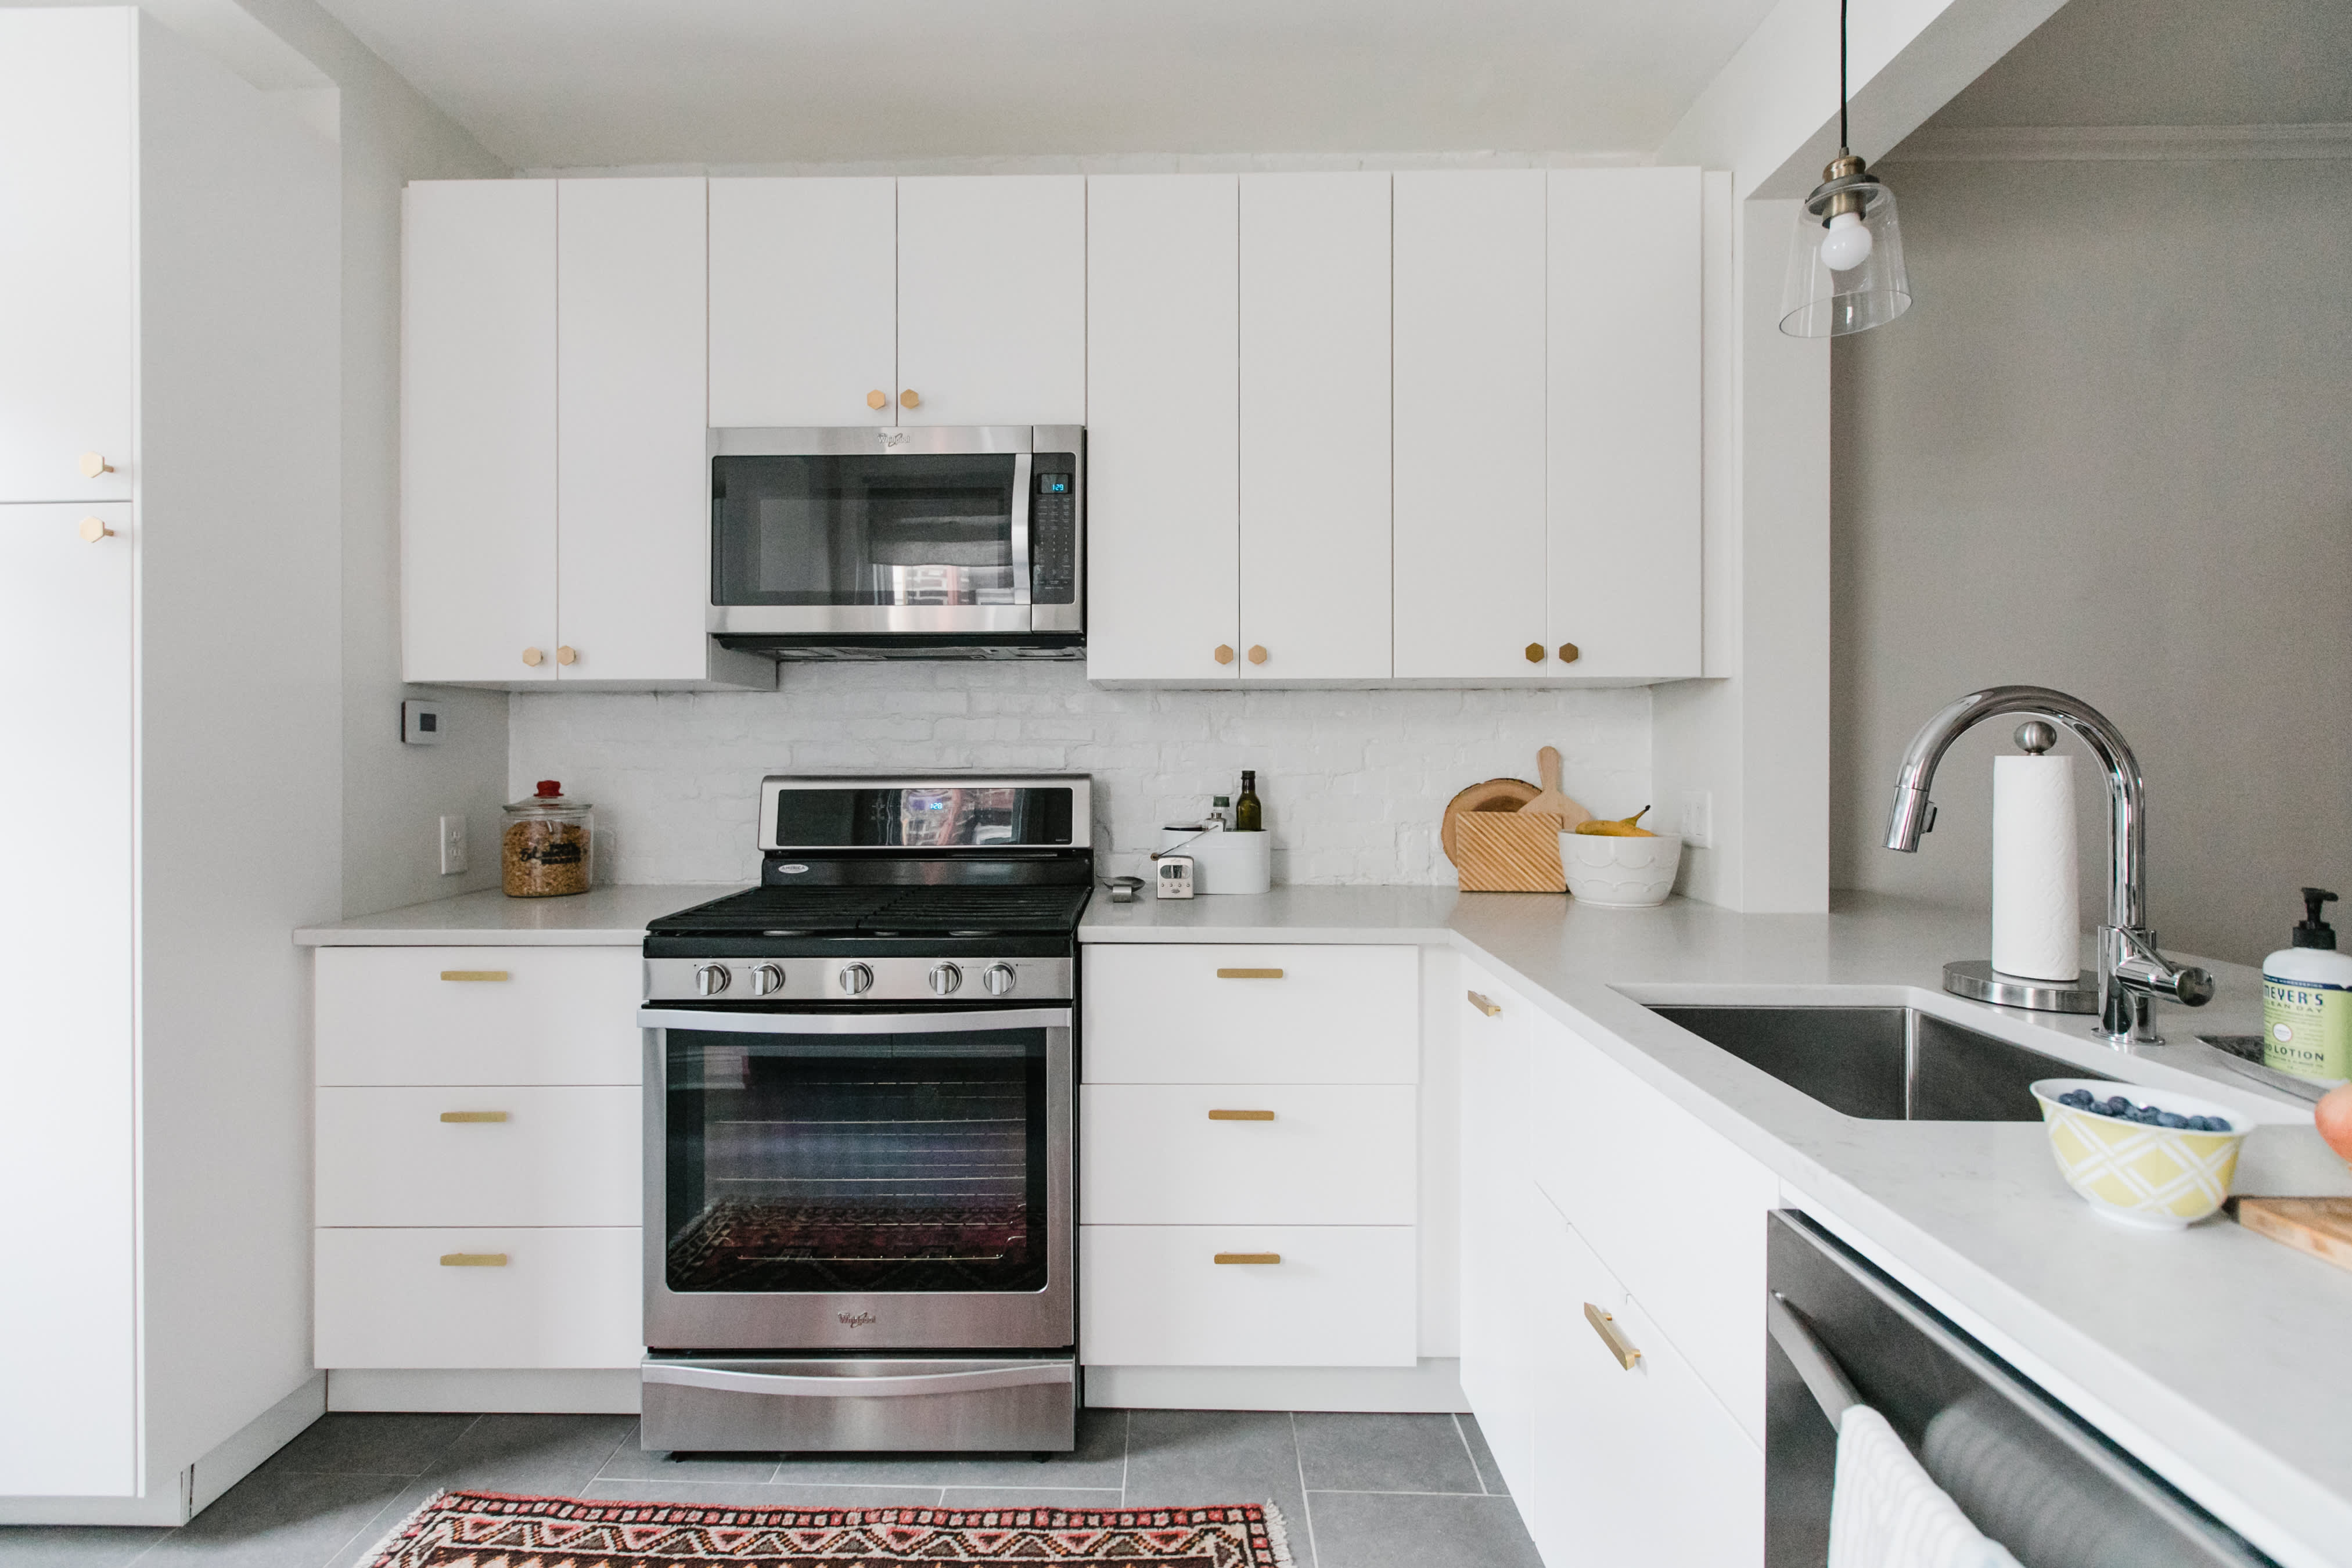
Photography: Sean Litchfield
basic-space.com
source
Comments
Lincoln Tower Apartment residential interior design renovation by ...
The Enclave: An Inside Look at Jersey City’s Residential Sweet Spot ...
News — Rikki Snyder
Small Space Squad Home Tour: Katrina Blair Sullivan | Jojotastic
For Sale | 62 Buena Vista Terrace, San Francisco | the Front Steps ...
Our Work — Honeycomb
Signature Kitchen & Bath | Kitchen Cabinet Designs 2018
The Kitchen Eclectic - American Lifestyle Magazine
Pattern Play - Case
The Key to Pulling Off the Subway Tile and White kitchen Cabinets Combo ...
Create the Perfect Kitchen for You - Consumer Reports
Paint Colors for Small Kitchens: Pictures & Ideas From HGTV | HGTV
These Designers Prove That Dark Kitchen Backsplashes Can Be Beautiful ...
ABOUT US - j1appliance
Eagle Vail Kitchen - Farmhouse - Kitchen - Denver - by Andl Interiors ...
Small Kitchen Ideas | POPSUGAR Home
Sir Walter Ballroom | Dining Just Got Better
House & Home - How To Update Your Kitchen Without Renovating
Renovated Richmond abode makes the perfect starter home - Curbed SF
5015 Balboa Blvd #410, Encino - The Dinsky Team
House Tour: An Eclectic Modern Philadelphia Row Home | Apartment Therapy
Gallery - Terrazul
A Kitchen with Personality - Case
Step Inside Our Fashion Editor's Vibrant Chicago Condo | The Everygirl
30 Best Airbnb Vacation Rentals Near Los Angeles Airport, California ...
Housing
Urban House Apartments - 1409 N Zang Blvd | Dallas, TX Apartments for ...
Steward of Design: A Look Behind the Curtains With Marianne Simon
Clinton Hill Coops - South Campus - 365 Clinton Ave Brooklyn NY | Zillow
Moreno Valley Apartments | Arrive at Rancho Belago | Home
Apartments in Chestnut Hill, Philadelphia | Chestnut Hill Village
BEFORE & AFTER [CAPE COD KITCHEN REVEAL!] – Orangetree Interiors
20++ Kitchen Cabinet Color Ideas For Small Kitchens - PIMPHOMEE
Pelham Hall - 1284 Beacon St Brookline, MA | Zillow
White Satin Carolina Shaker Kitchen Remodel - Newberry Home Improvement


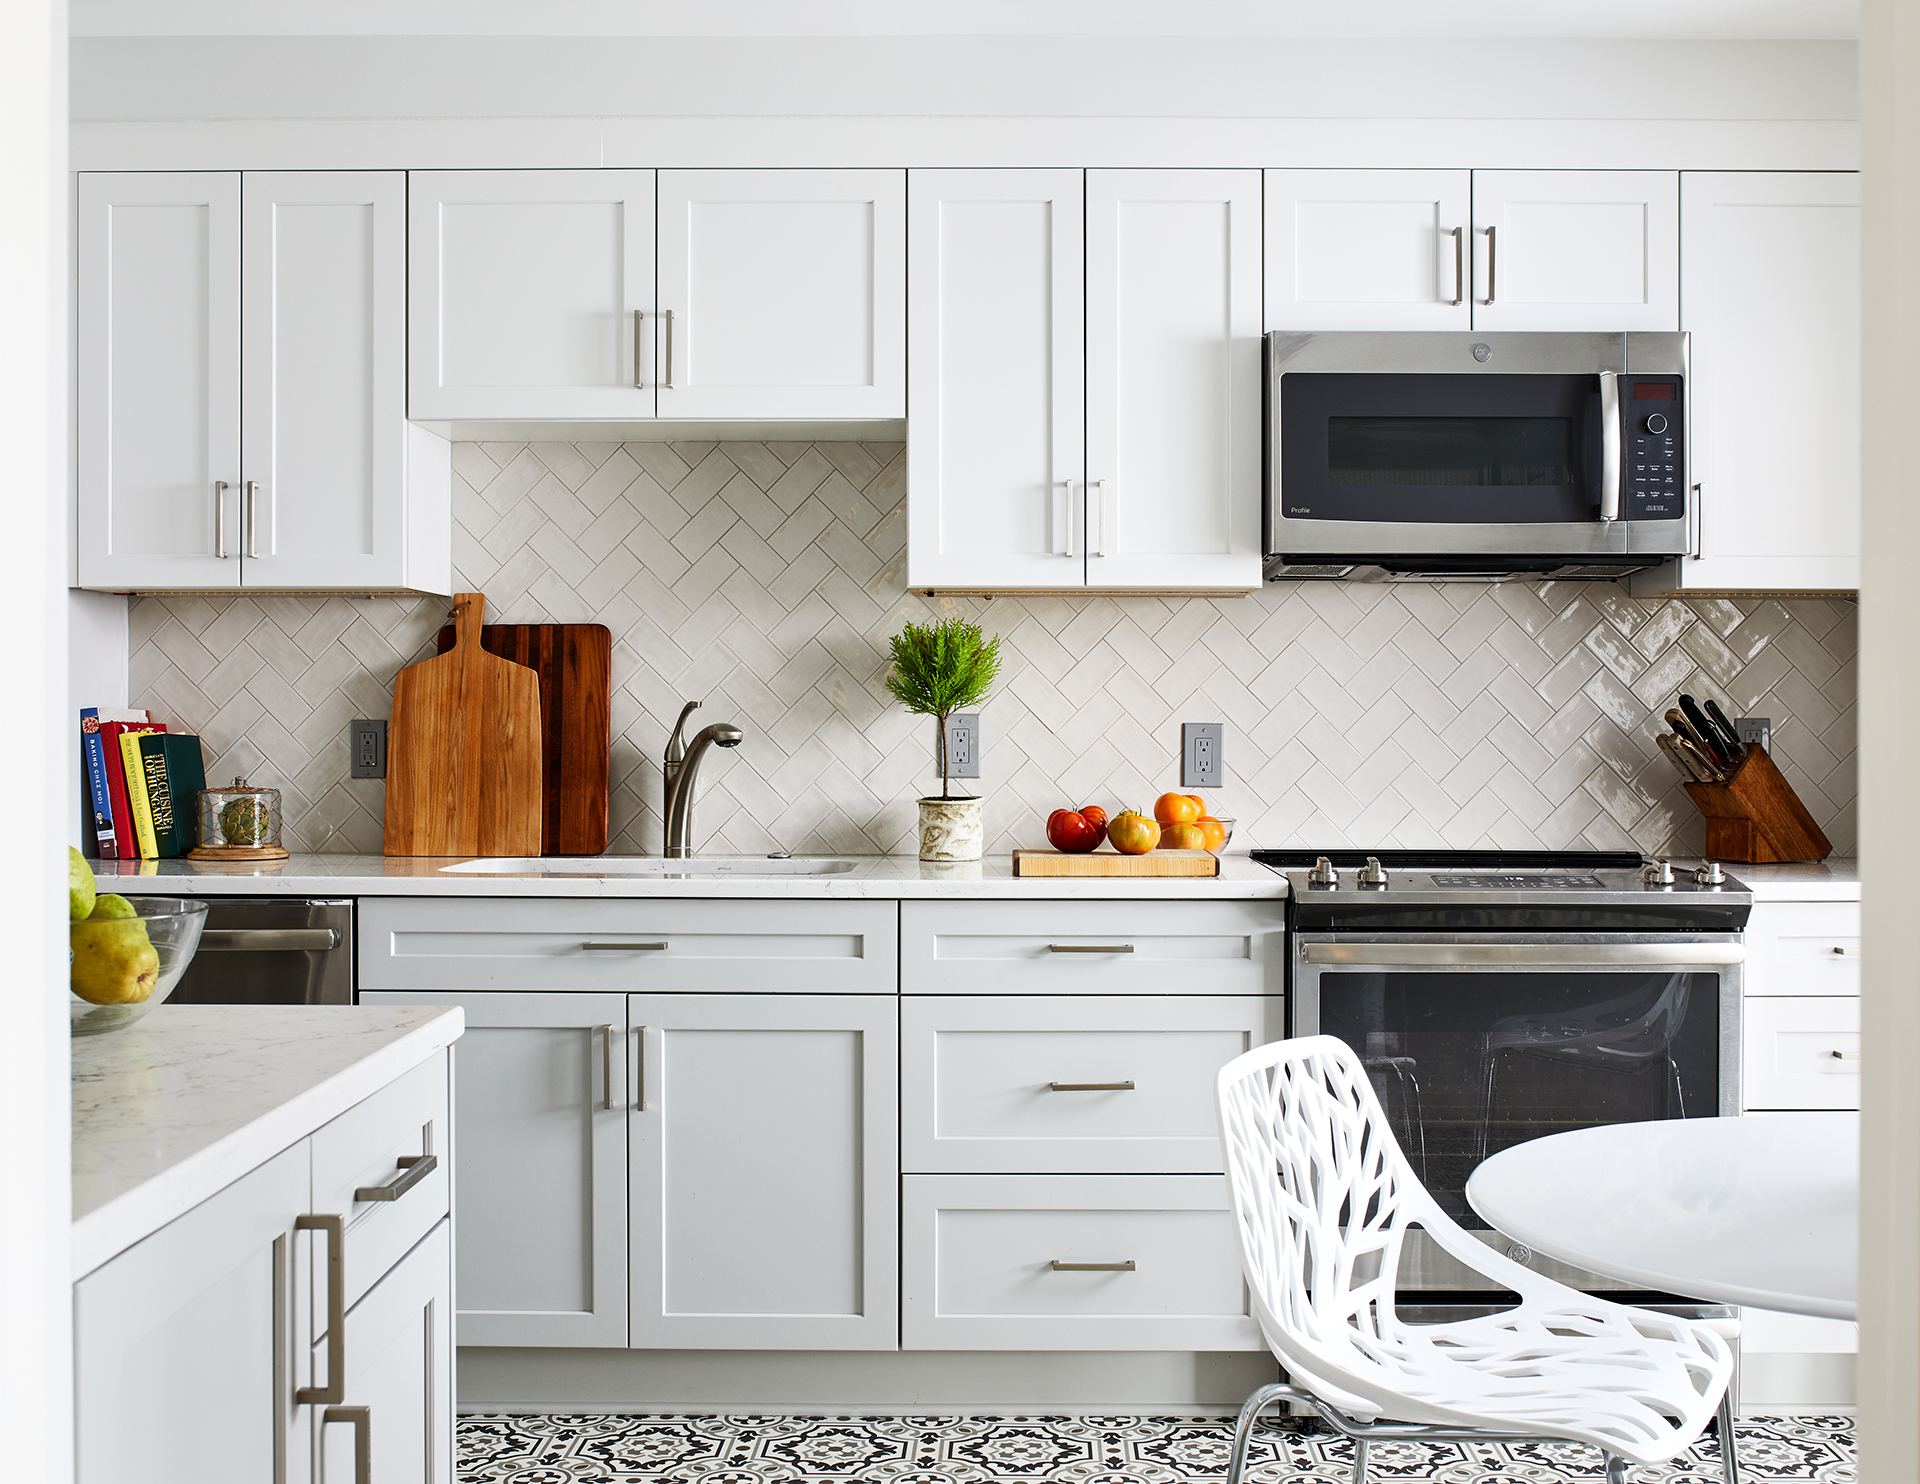


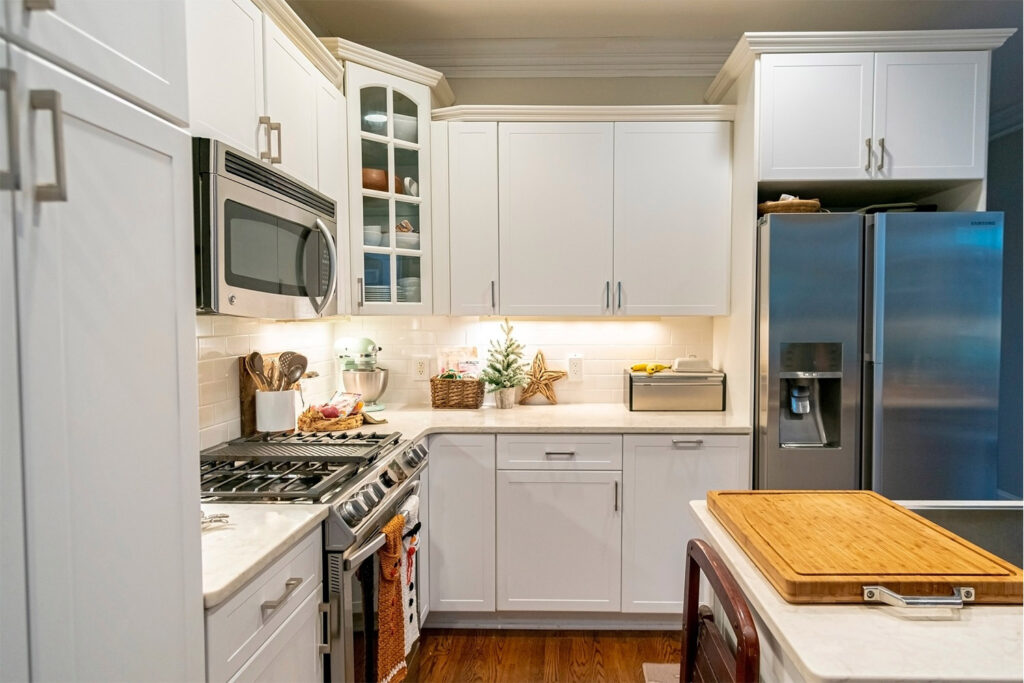
:upscale()/2018/12/03/962/n/1922794/642286e0e4a20b5a__J6A3340.jpg)


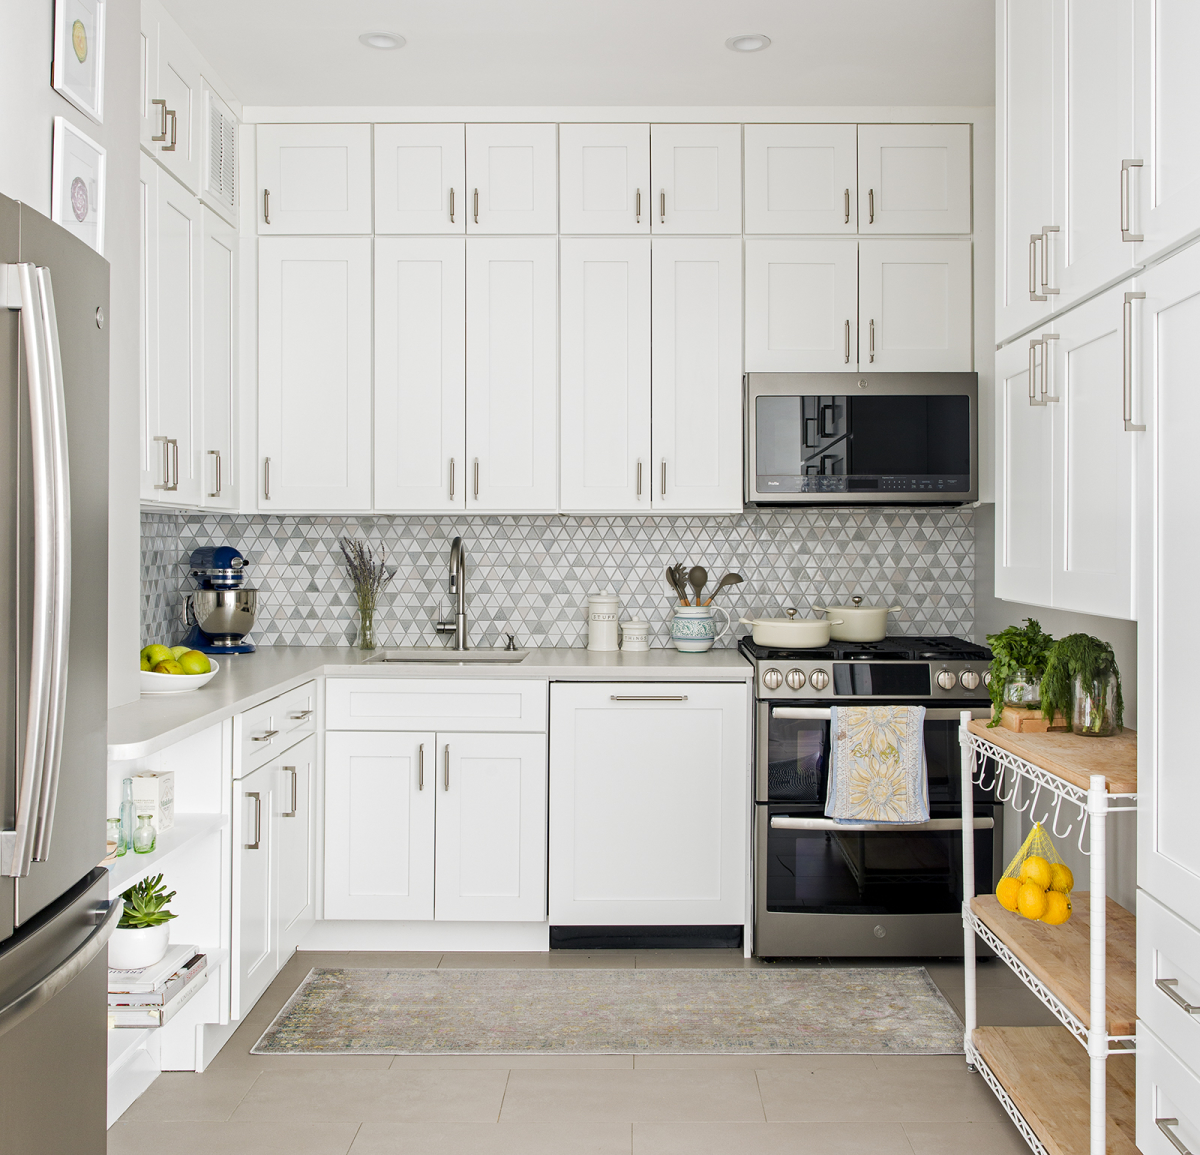
:no_upscale()/cdn.vox-cdn.com/uploads/chorus_asset/file/19796542/26__2_.jpg)


.jpg)
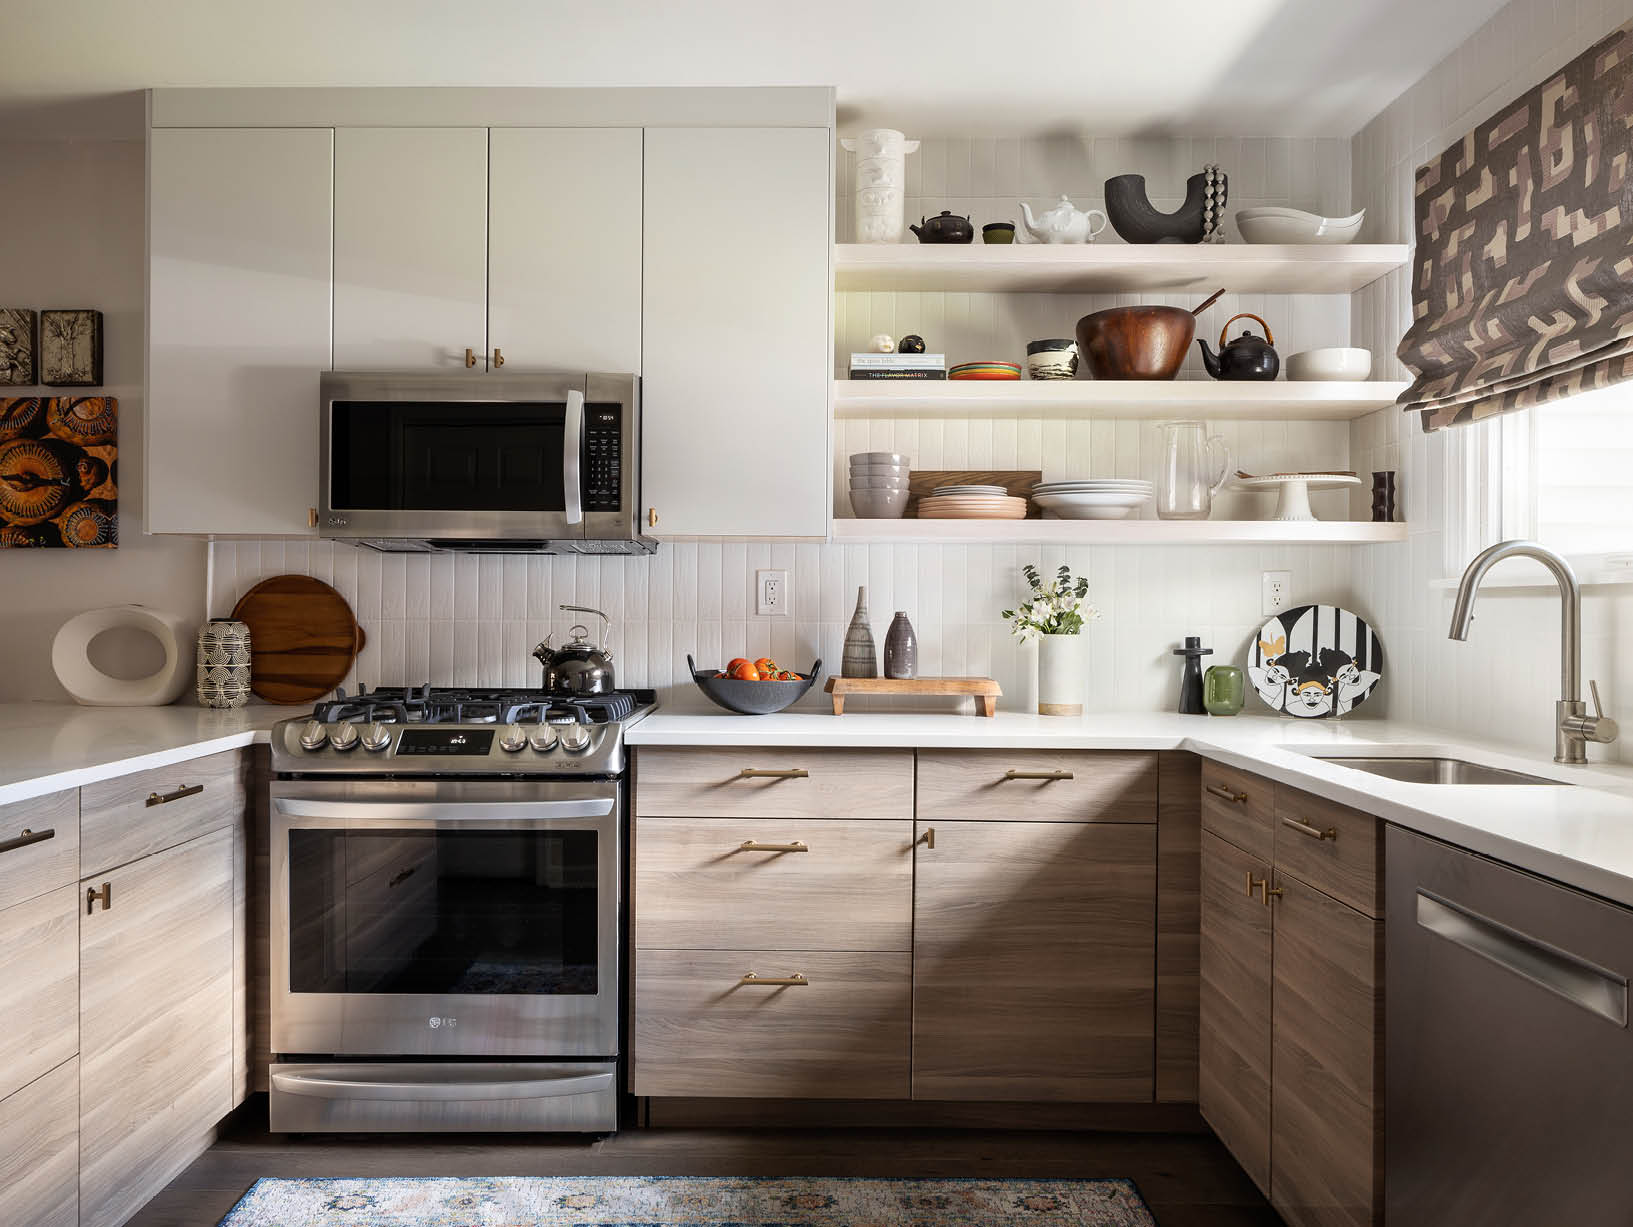
![BEFORE & AFTER [CAPE COD KITCHEN REVEAL!] – Orangetree Interiors](https://cdn.shopify.com/s/files/1/1961/3139/files/kitchen-design-chantilly-lace-cabinets_grande.jpg?v=1559275956)