


![[DIAGRAM] Logic Block Diagram - MYDIAGRAM.ONLINE](https://electricalacademia.com/wp-content/uploads/2017/06/block-diagram.gif)
![Solved [1] For the block diagram shown below, use the | Chegg.com](https://media.cheggcdn.com/media/529/529f55ac-7bea-4b1d-a9ef-39b0c79fe9c3/Screenshot2024-11-09at9.20.31AM.png)

![[DIAGRAM] Step 7 Block Diagram - MYDIAGRAM.ONLINE](https://fuse.wikichip.org/wp-content/uploads/2018/11/sifive-7-series-block-diagram.png)


![Block diagram of used algorithm in third technique [7] | Download ...](https://www.researchgate.net/publication/270018945/figure/fig4/AS:319487732666371@1453183219555/Block-diagram-of-used-algorithm-in-third-technique-7.png)


![[DIAGRAM] Step 7 Block Diagram - MYDIAGRAM.ONLINE](https://www.aldec.com/images/content/products/hes_fpga_boards/virtex_7/hes7xv12000bt_diagram_small.jpg)


%20Block%20Diagram.png)


![[DIAGRAM] Step 7 Block Diagram - MYDIAGRAM.ONLINE](https://www.nandland.com/goboard/images/project5-7-segment-block-diagram.png)

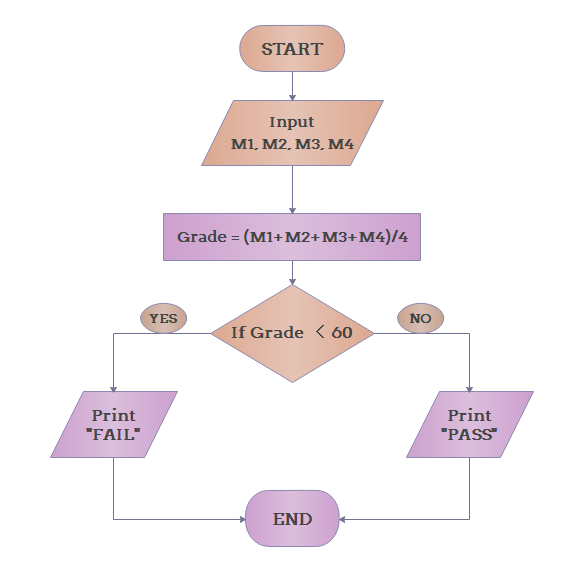
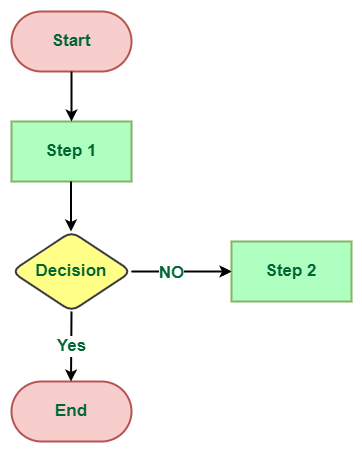
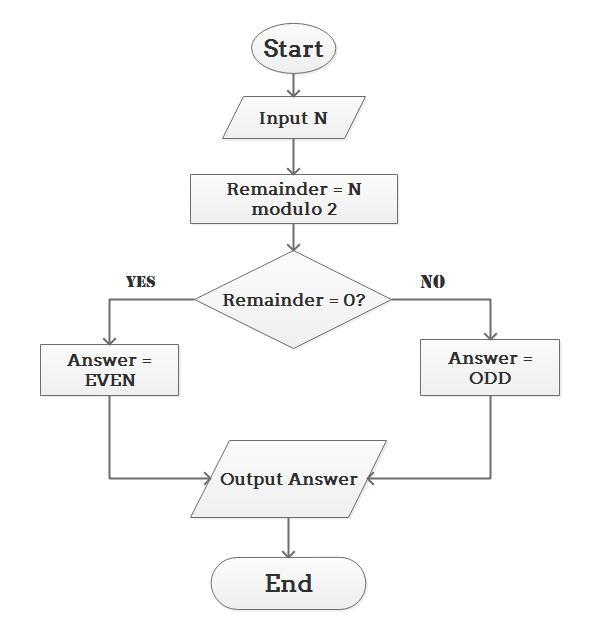
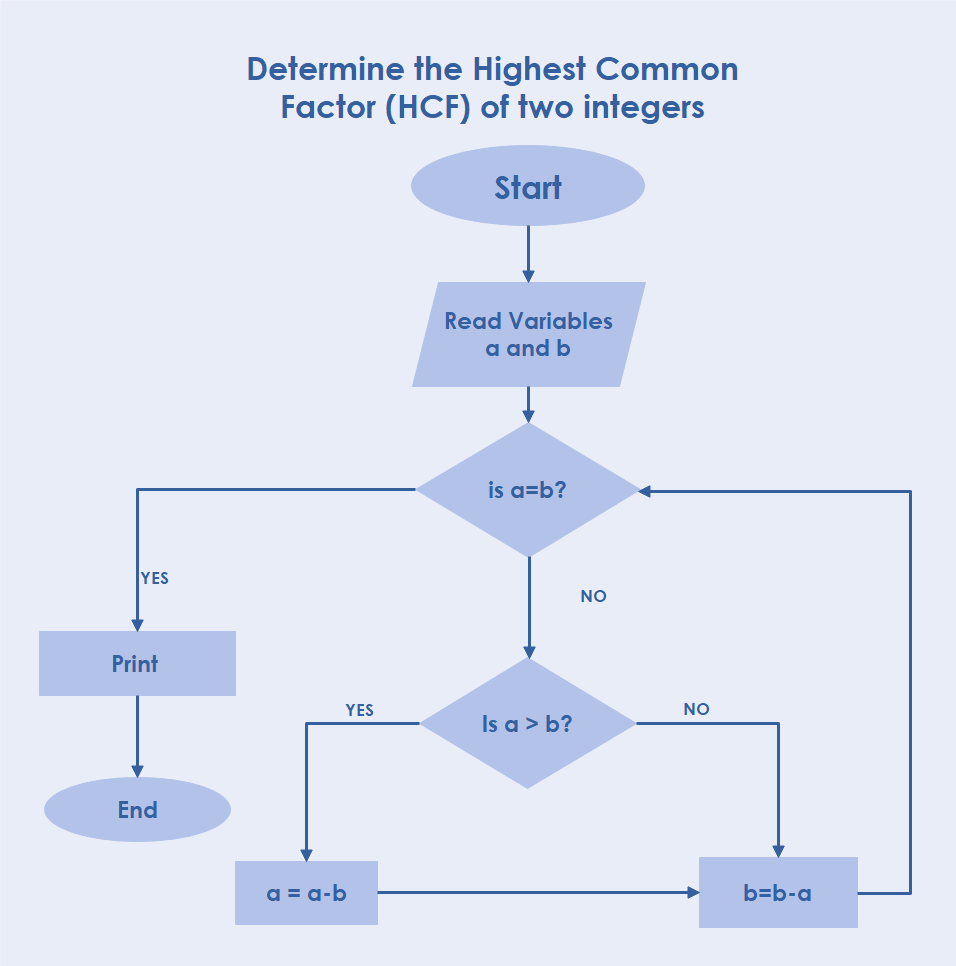
Document the past through vast arrays of historically-significant block diagram showing different steps of the algorithm. | download photographs. heritage-preserving showcasing photography, images, and pictures. designed to preserve historical significance. The block diagram showing different steps of the algorithm. | download collection maintains consistent quality standards across all images. Suitable for various applications including web design, social media, personal projects, and digital content creation All block diagram showing different steps of the algorithm. | download images are available in high resolution with professional-grade quality, optimized for both digital and print applications, and include comprehensive metadata for easy organization and usage. Discover the perfect block diagram showing different steps of the algorithm. | download images to enhance your visual communication needs. Advanced search capabilities make finding the perfect block diagram showing different steps of the algorithm. | download image effortless and efficient. Reliable customer support ensures smooth experience throughout the block diagram showing different steps of the algorithm. | download selection process. Each image in our block diagram showing different steps of the algorithm. | download gallery undergoes rigorous quality assessment before inclusion. Whether for commercial projects or personal use, our block diagram showing different steps of the algorithm. | download collection delivers consistent excellence. The block diagram showing different steps of the algorithm. | download archive serves professionals, educators, and creatives across diverse industries.