


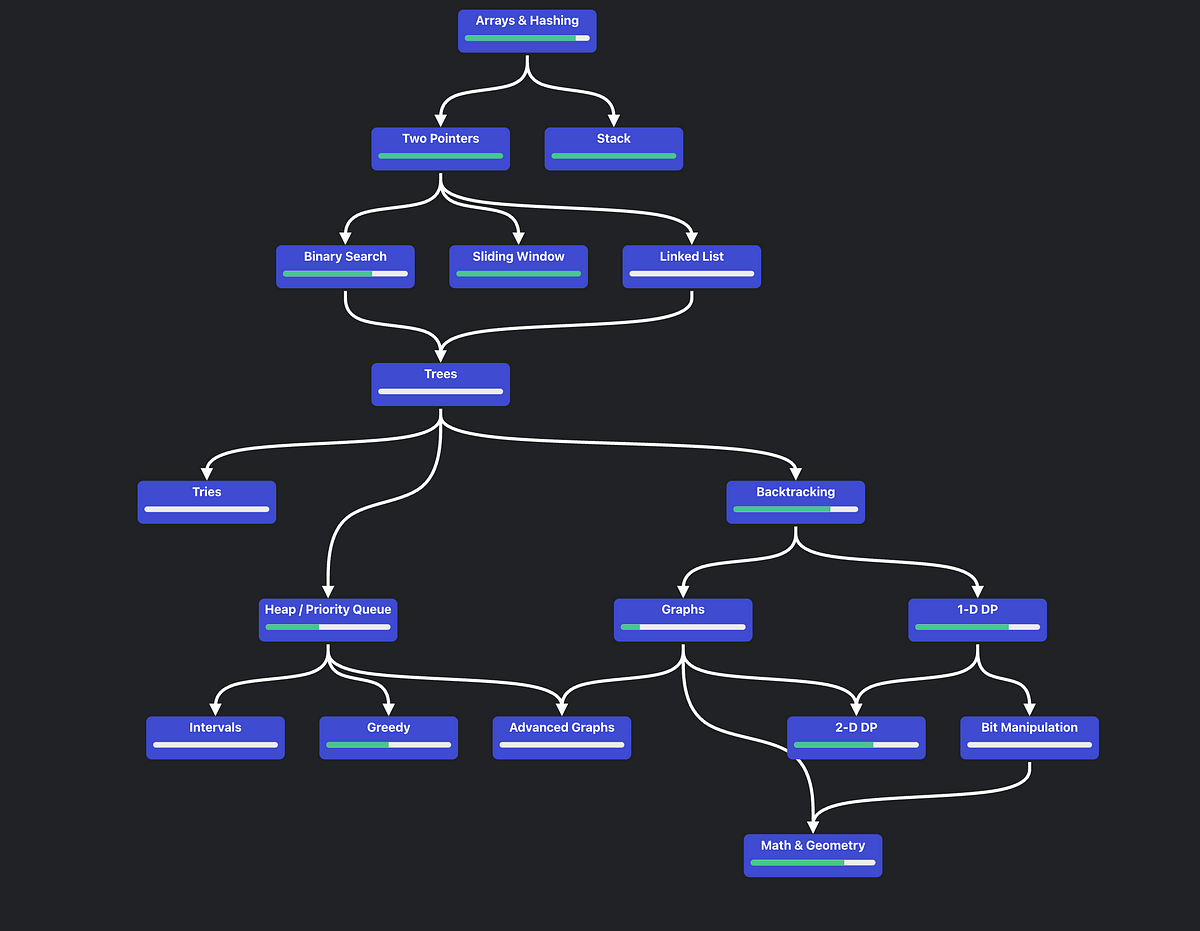


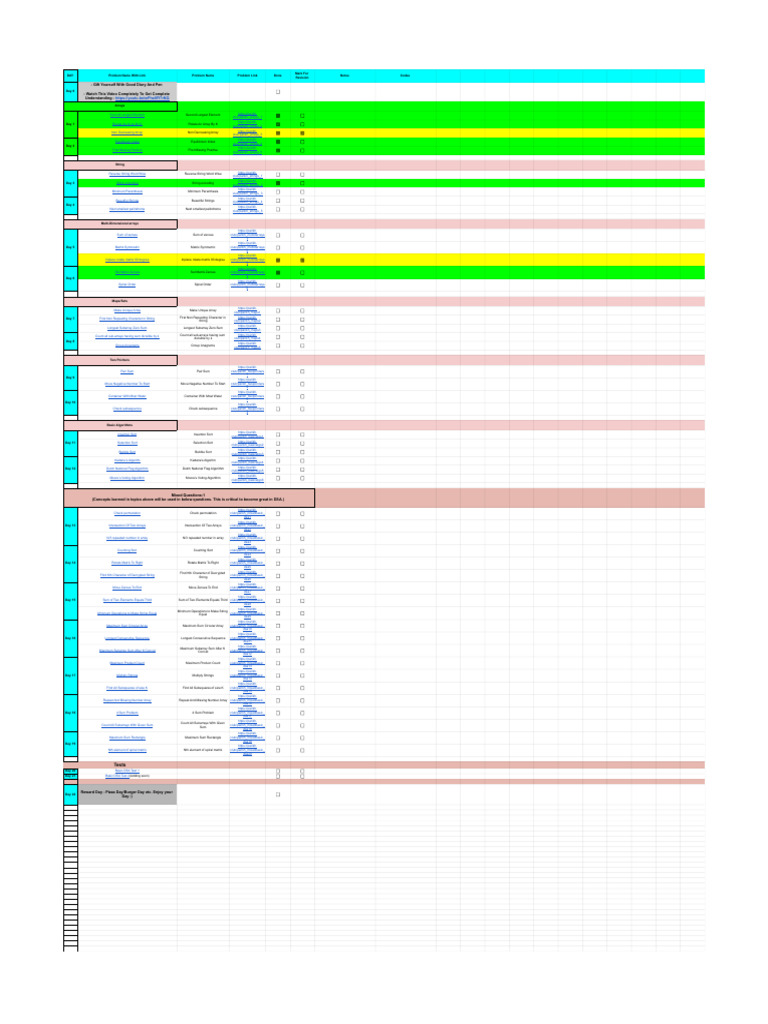


![[ DSA Simplified ] || Explanation - How to approach ? || Must visit ...](https://assets.leetcode.com/users/images/e2270c93-b5d8-49e5-8159-c1295790753c_1665866065.4495363.png)


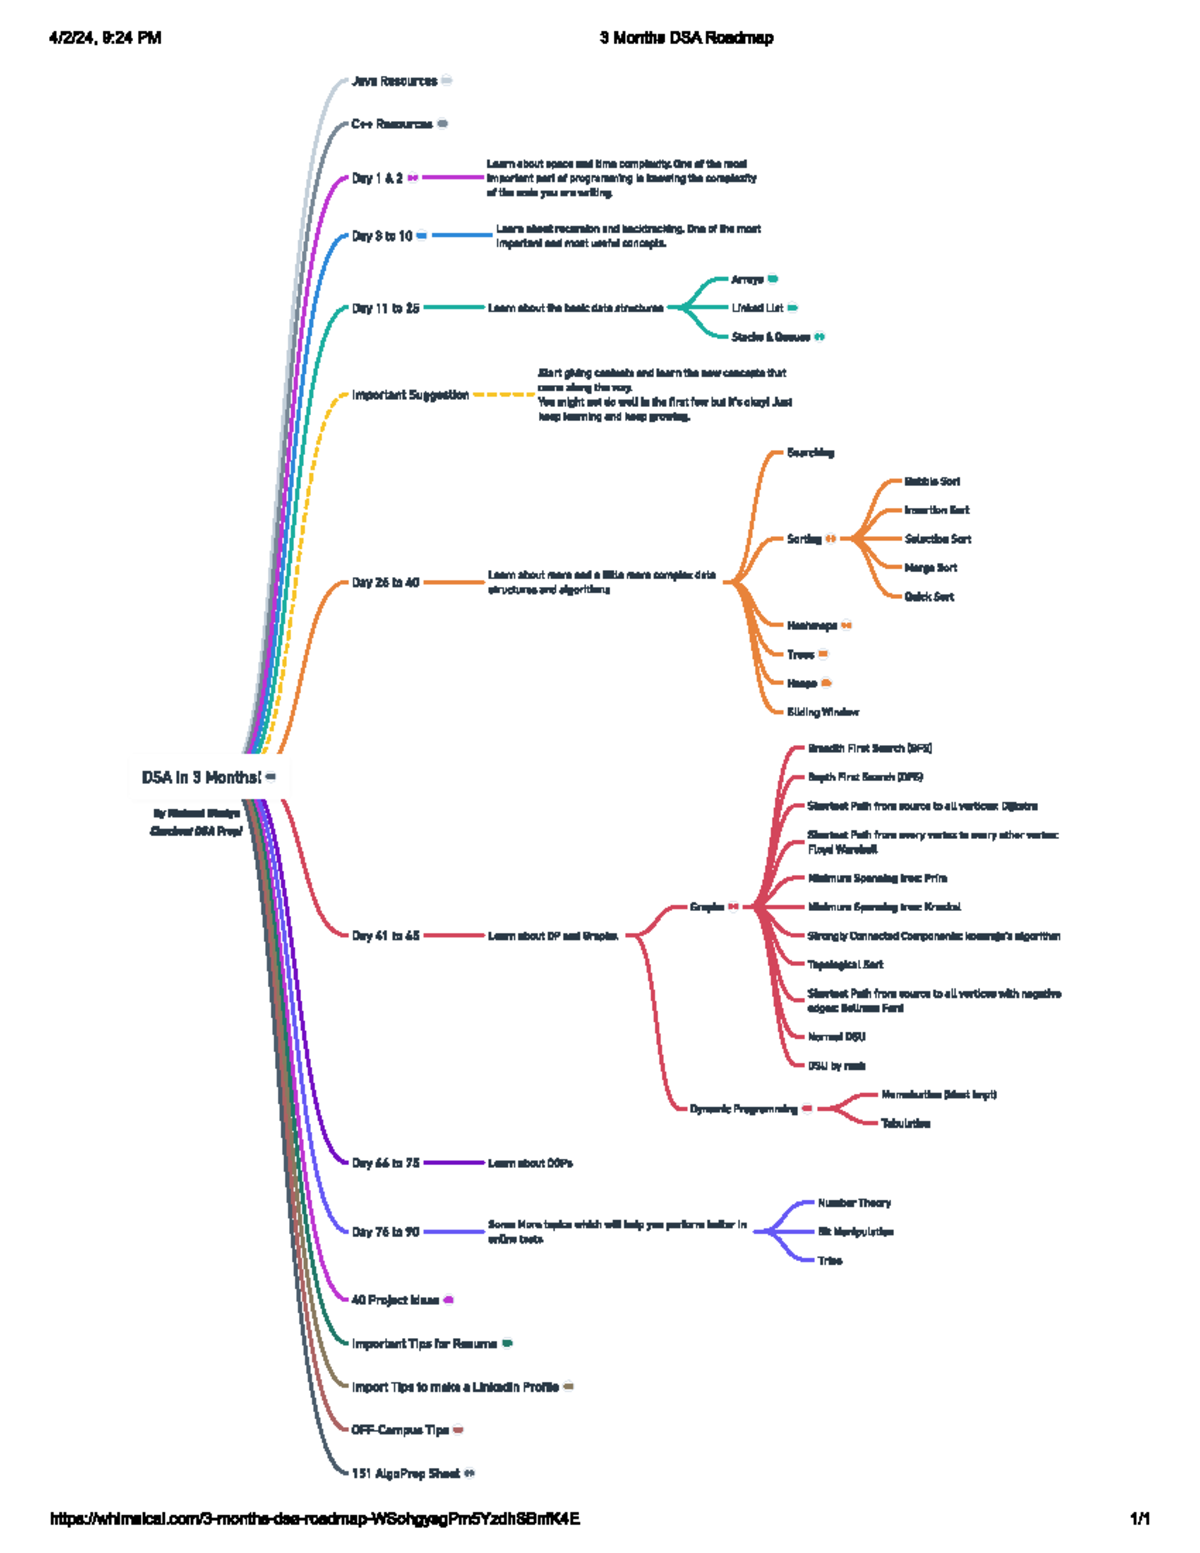
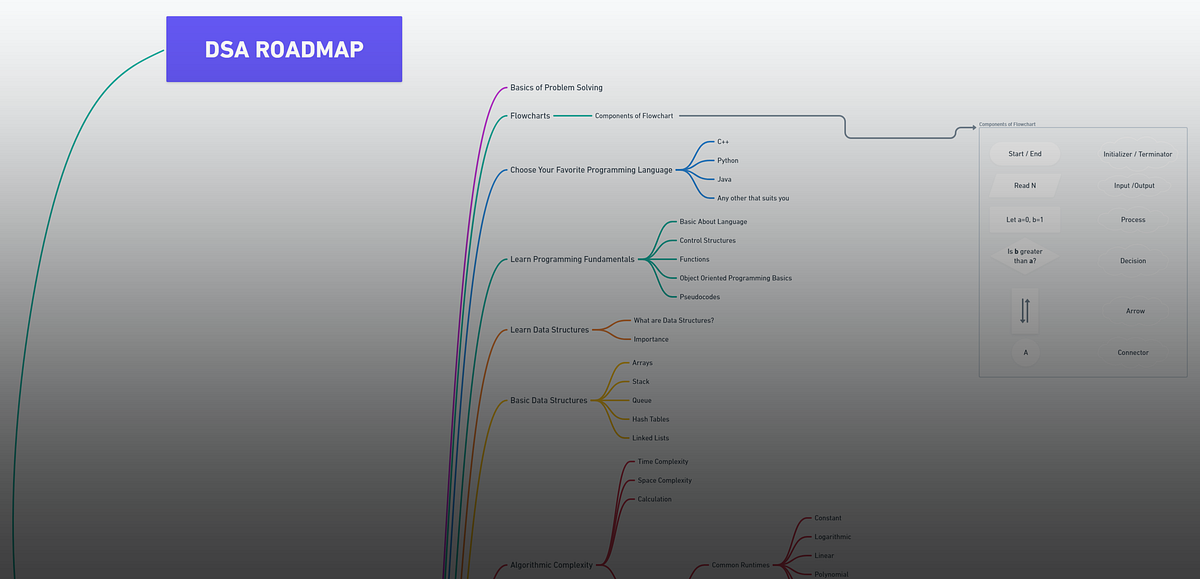
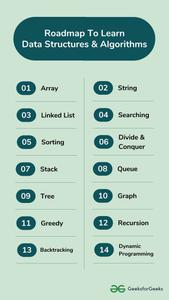
Explore the artistic interpretation of dsa roadmap leetcode — step by step guide | by char waka | medium through vast arrays of expressive photographs. expressing the artistic vision of photography, images, and pictures. perfect for galleries and artistic exhibitions. The dsa roadmap leetcode — step by step guide | by char waka | medium collection maintains consistent quality standards across all images. Suitable for various applications including web design, social media, personal projects, and digital content creation All dsa roadmap leetcode — step by step guide | by char waka | medium images are available in high resolution with professional-grade quality, optimized for both digital and print applications, and include comprehensive metadata for easy organization and usage. Discover the perfect dsa roadmap leetcode — step by step guide | by char waka | medium images to enhance your visual communication needs. Whether for commercial projects or personal use, our dsa roadmap leetcode — step by step guide | by char waka | medium collection delivers consistent excellence. Diverse style options within the dsa roadmap leetcode — step by step guide | by char waka | medium collection suit various aesthetic preferences. Each image in our dsa roadmap leetcode — step by step guide | by char waka | medium gallery undergoes rigorous quality assessment before inclusion. Our dsa roadmap leetcode — step by step guide | by char waka | medium database continuously expands with fresh, relevant content from skilled photographers.