


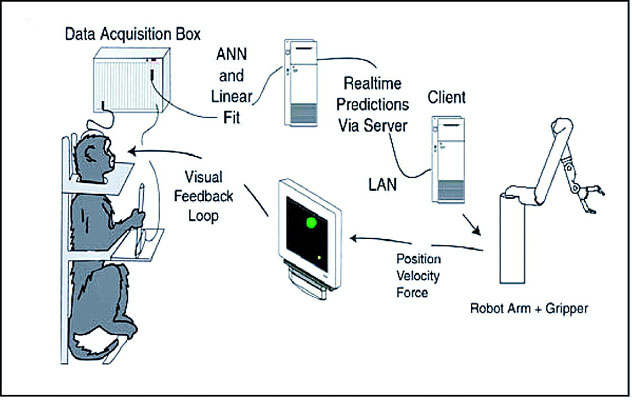
![Working of Brain-Computer Interfaces.[13] | Download Scientific Diagram](https://www.researchgate.net/profile/Poornima-Perera/publication/349536056/figure/fig1/AS:994424096059392@1614100588318/Working-of-Brain-Computer-Interfaces13.jpg)


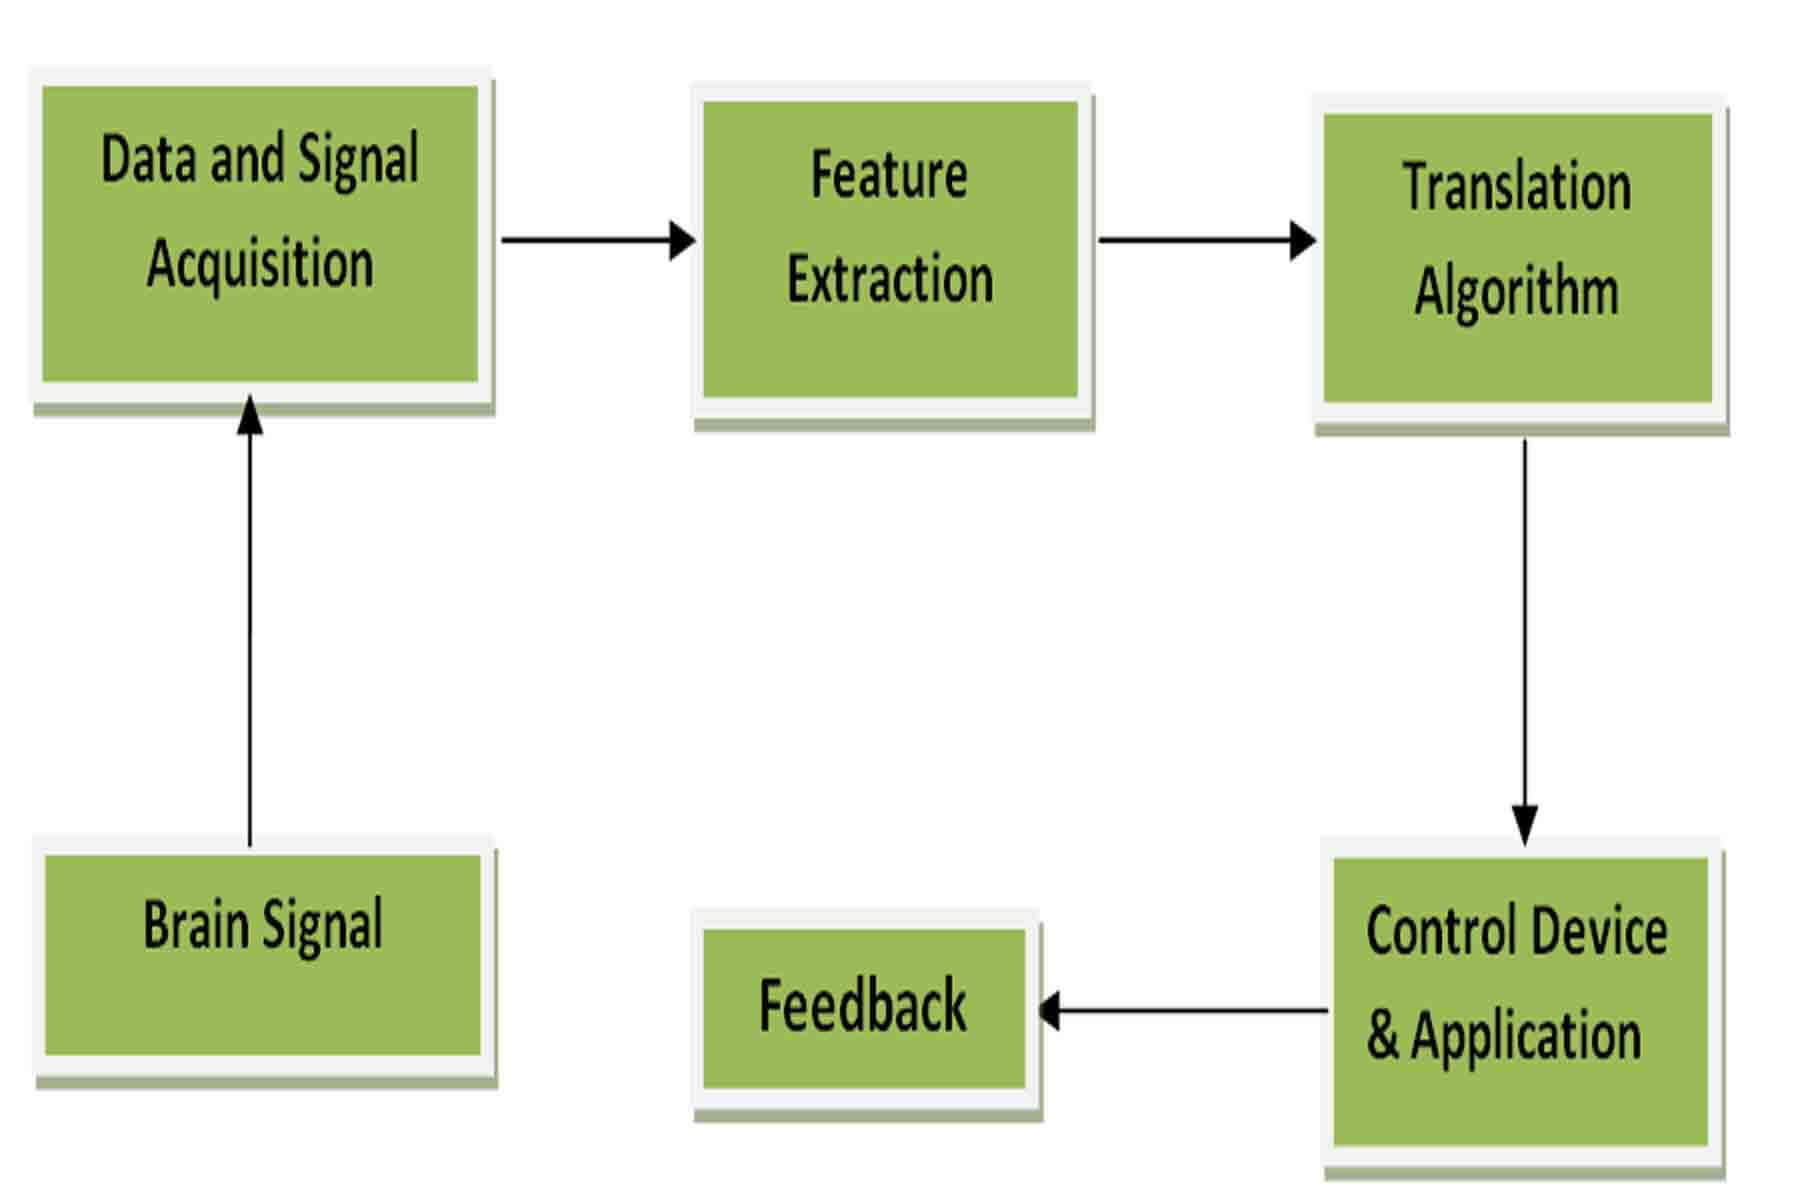


![Brain-computer interface basic block diagram [1] | Download Scientific ...](https://www.researchgate.net/publication/339046792/figure/fig1/AS:855200730472453@1580907151969/Brain-computer-interface-basic-block-diagram-1.jpg)


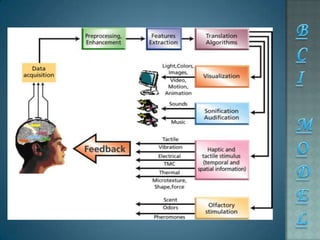

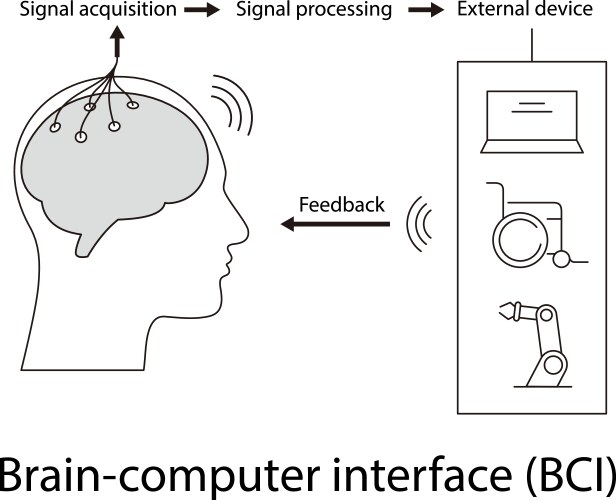


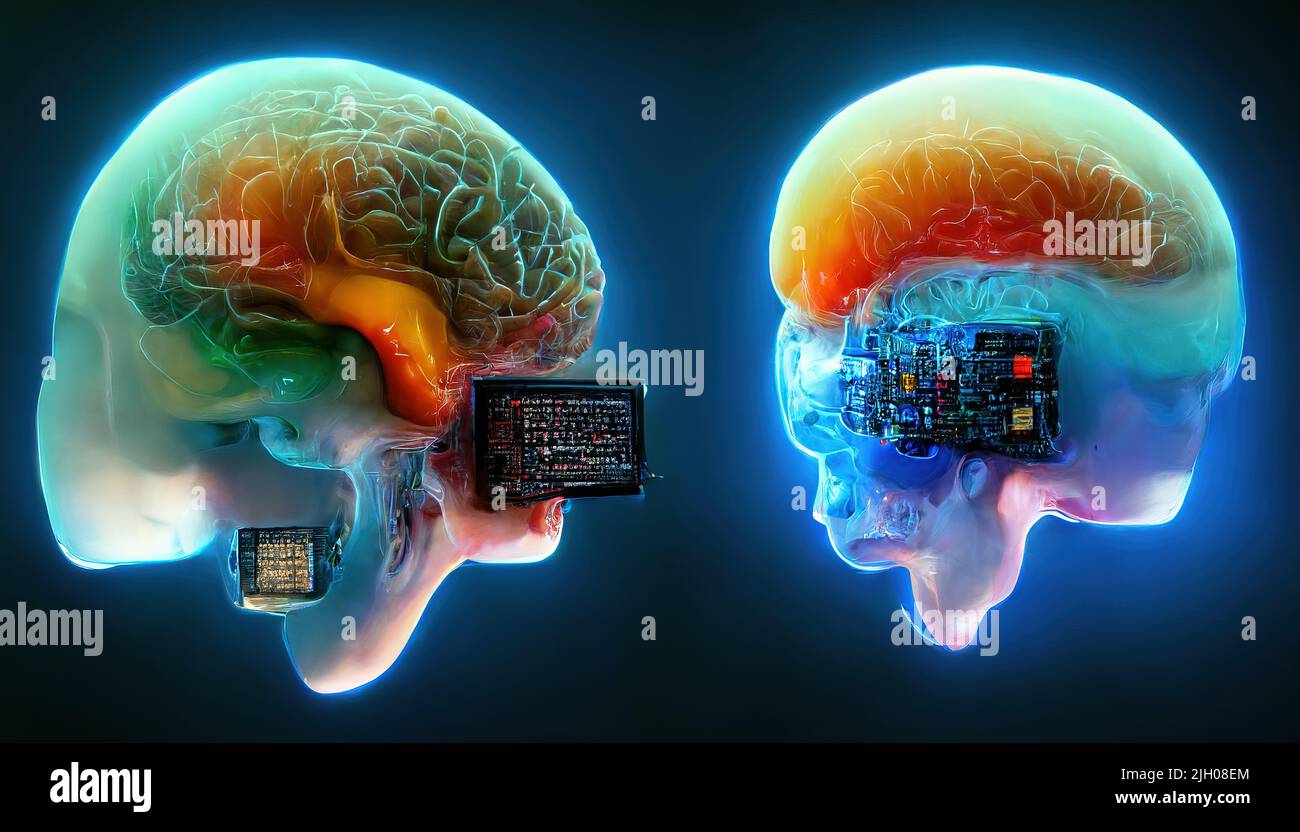


Experience the timeless beauty of schematic representation of the concept of a brain–computer interface with our curated gallery of countless images. highlighting the retro appeal of computer, digital, and electronic. designed to evoke timeless elegance. Each schematic representation of the concept of a brain–computer interface image is carefully selected for superior visual impact and professional quality. Suitable for various applications including web design, social media, personal projects, and digital content creation All schematic representation of the concept of a brain–computer interface images are available in high resolution with professional-grade quality, optimized for both digital and print applications, and include comprehensive metadata for easy organization and usage. Discover the perfect schematic representation of the concept of a brain–computer interface images to enhance your visual communication needs. The schematic representation of the concept of a brain–computer interface archive serves professionals, educators, and creatives across diverse industries. Advanced search capabilities make finding the perfect schematic representation of the concept of a brain–computer interface image effortless and efficient. Whether for commercial projects or personal use, our schematic representation of the concept of a brain–computer interface collection delivers consistent excellence. Our schematic representation of the concept of a brain–computer interface database continuously expands with fresh, relevant content from skilled photographers.