


![25+ Free Flask Courses for beginners [2025 JUL]](https://i.ytimg.com/vi/Qr4QMBUPxWo/maxresdefault.jpg)


![Python Flask for… by Alejandro Garcia [Leanpub PDF/iPad/Kindle]](https://d2sofvawe08yqg.cloudfront.net/python-flask-for-beginners/hero?1598357143)

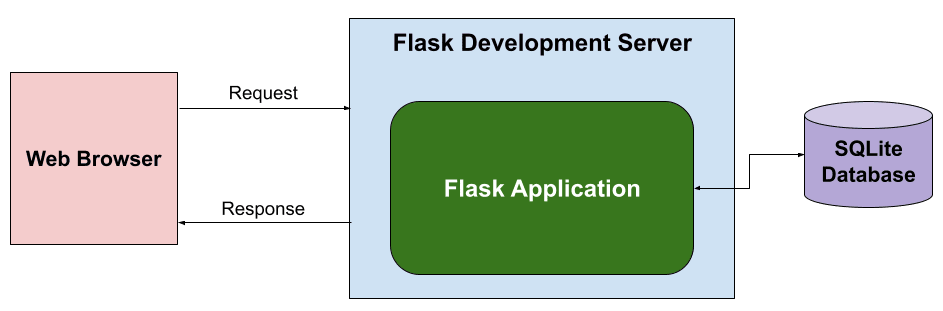
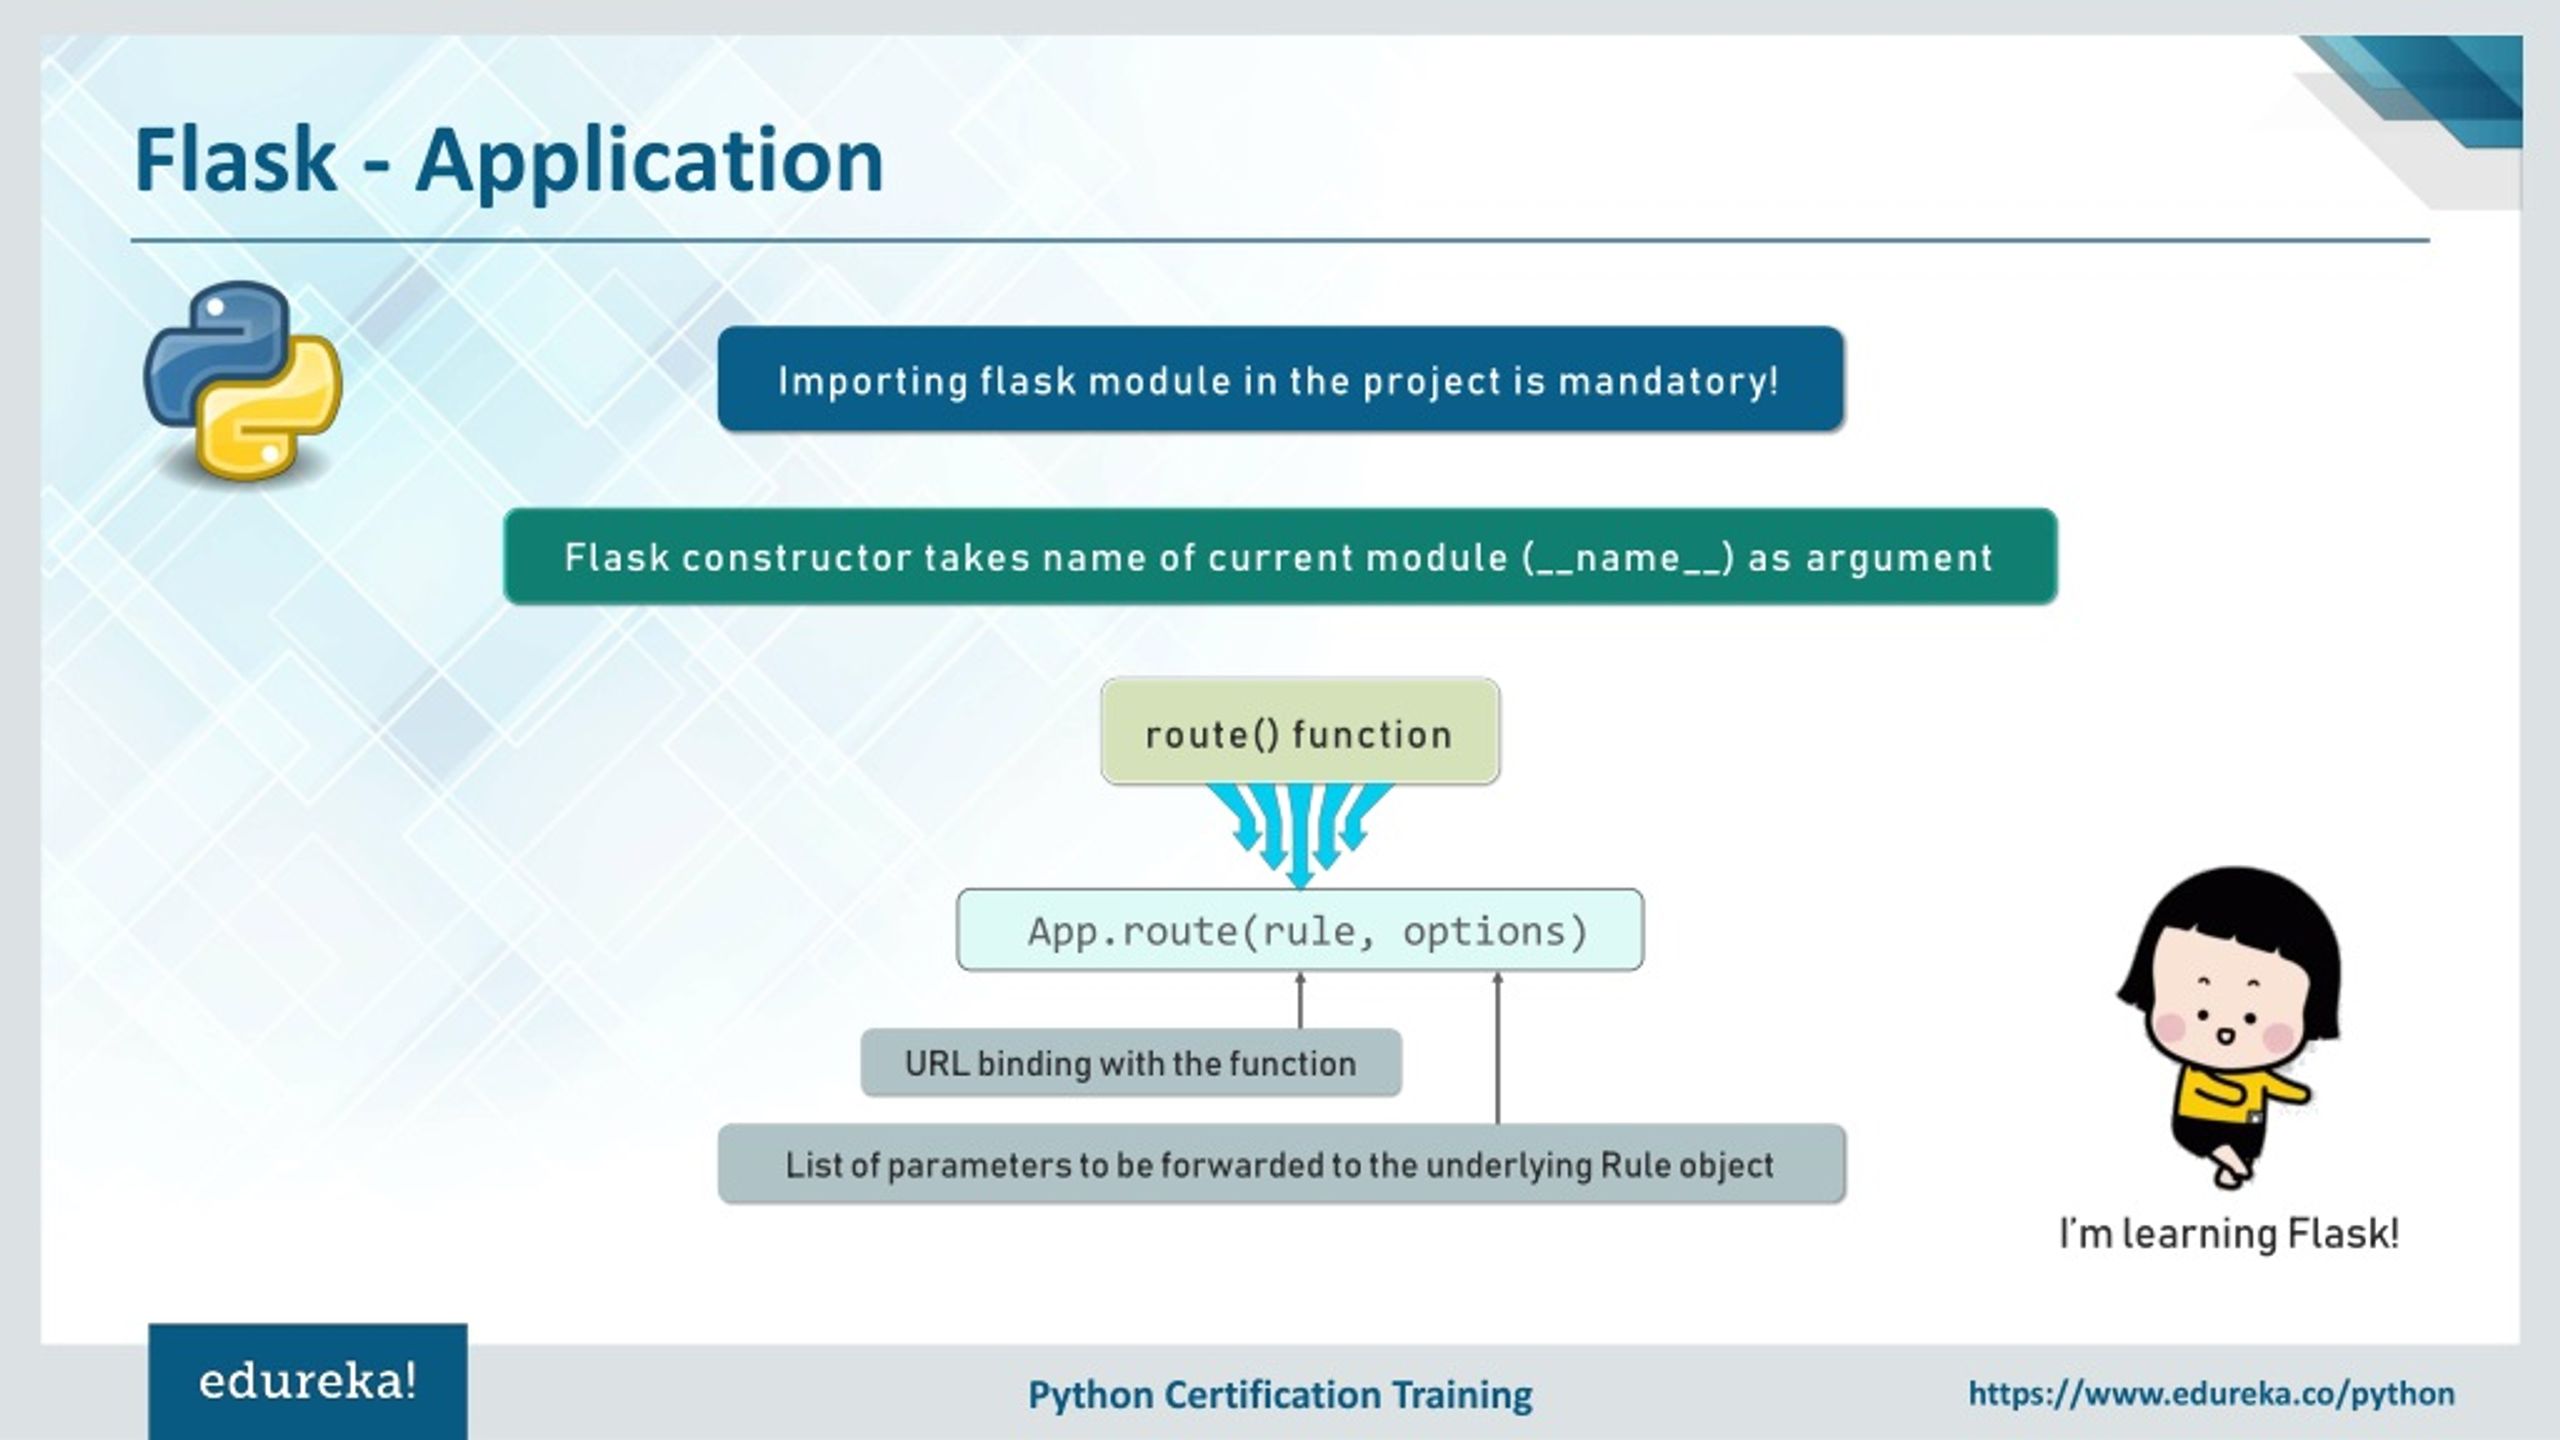


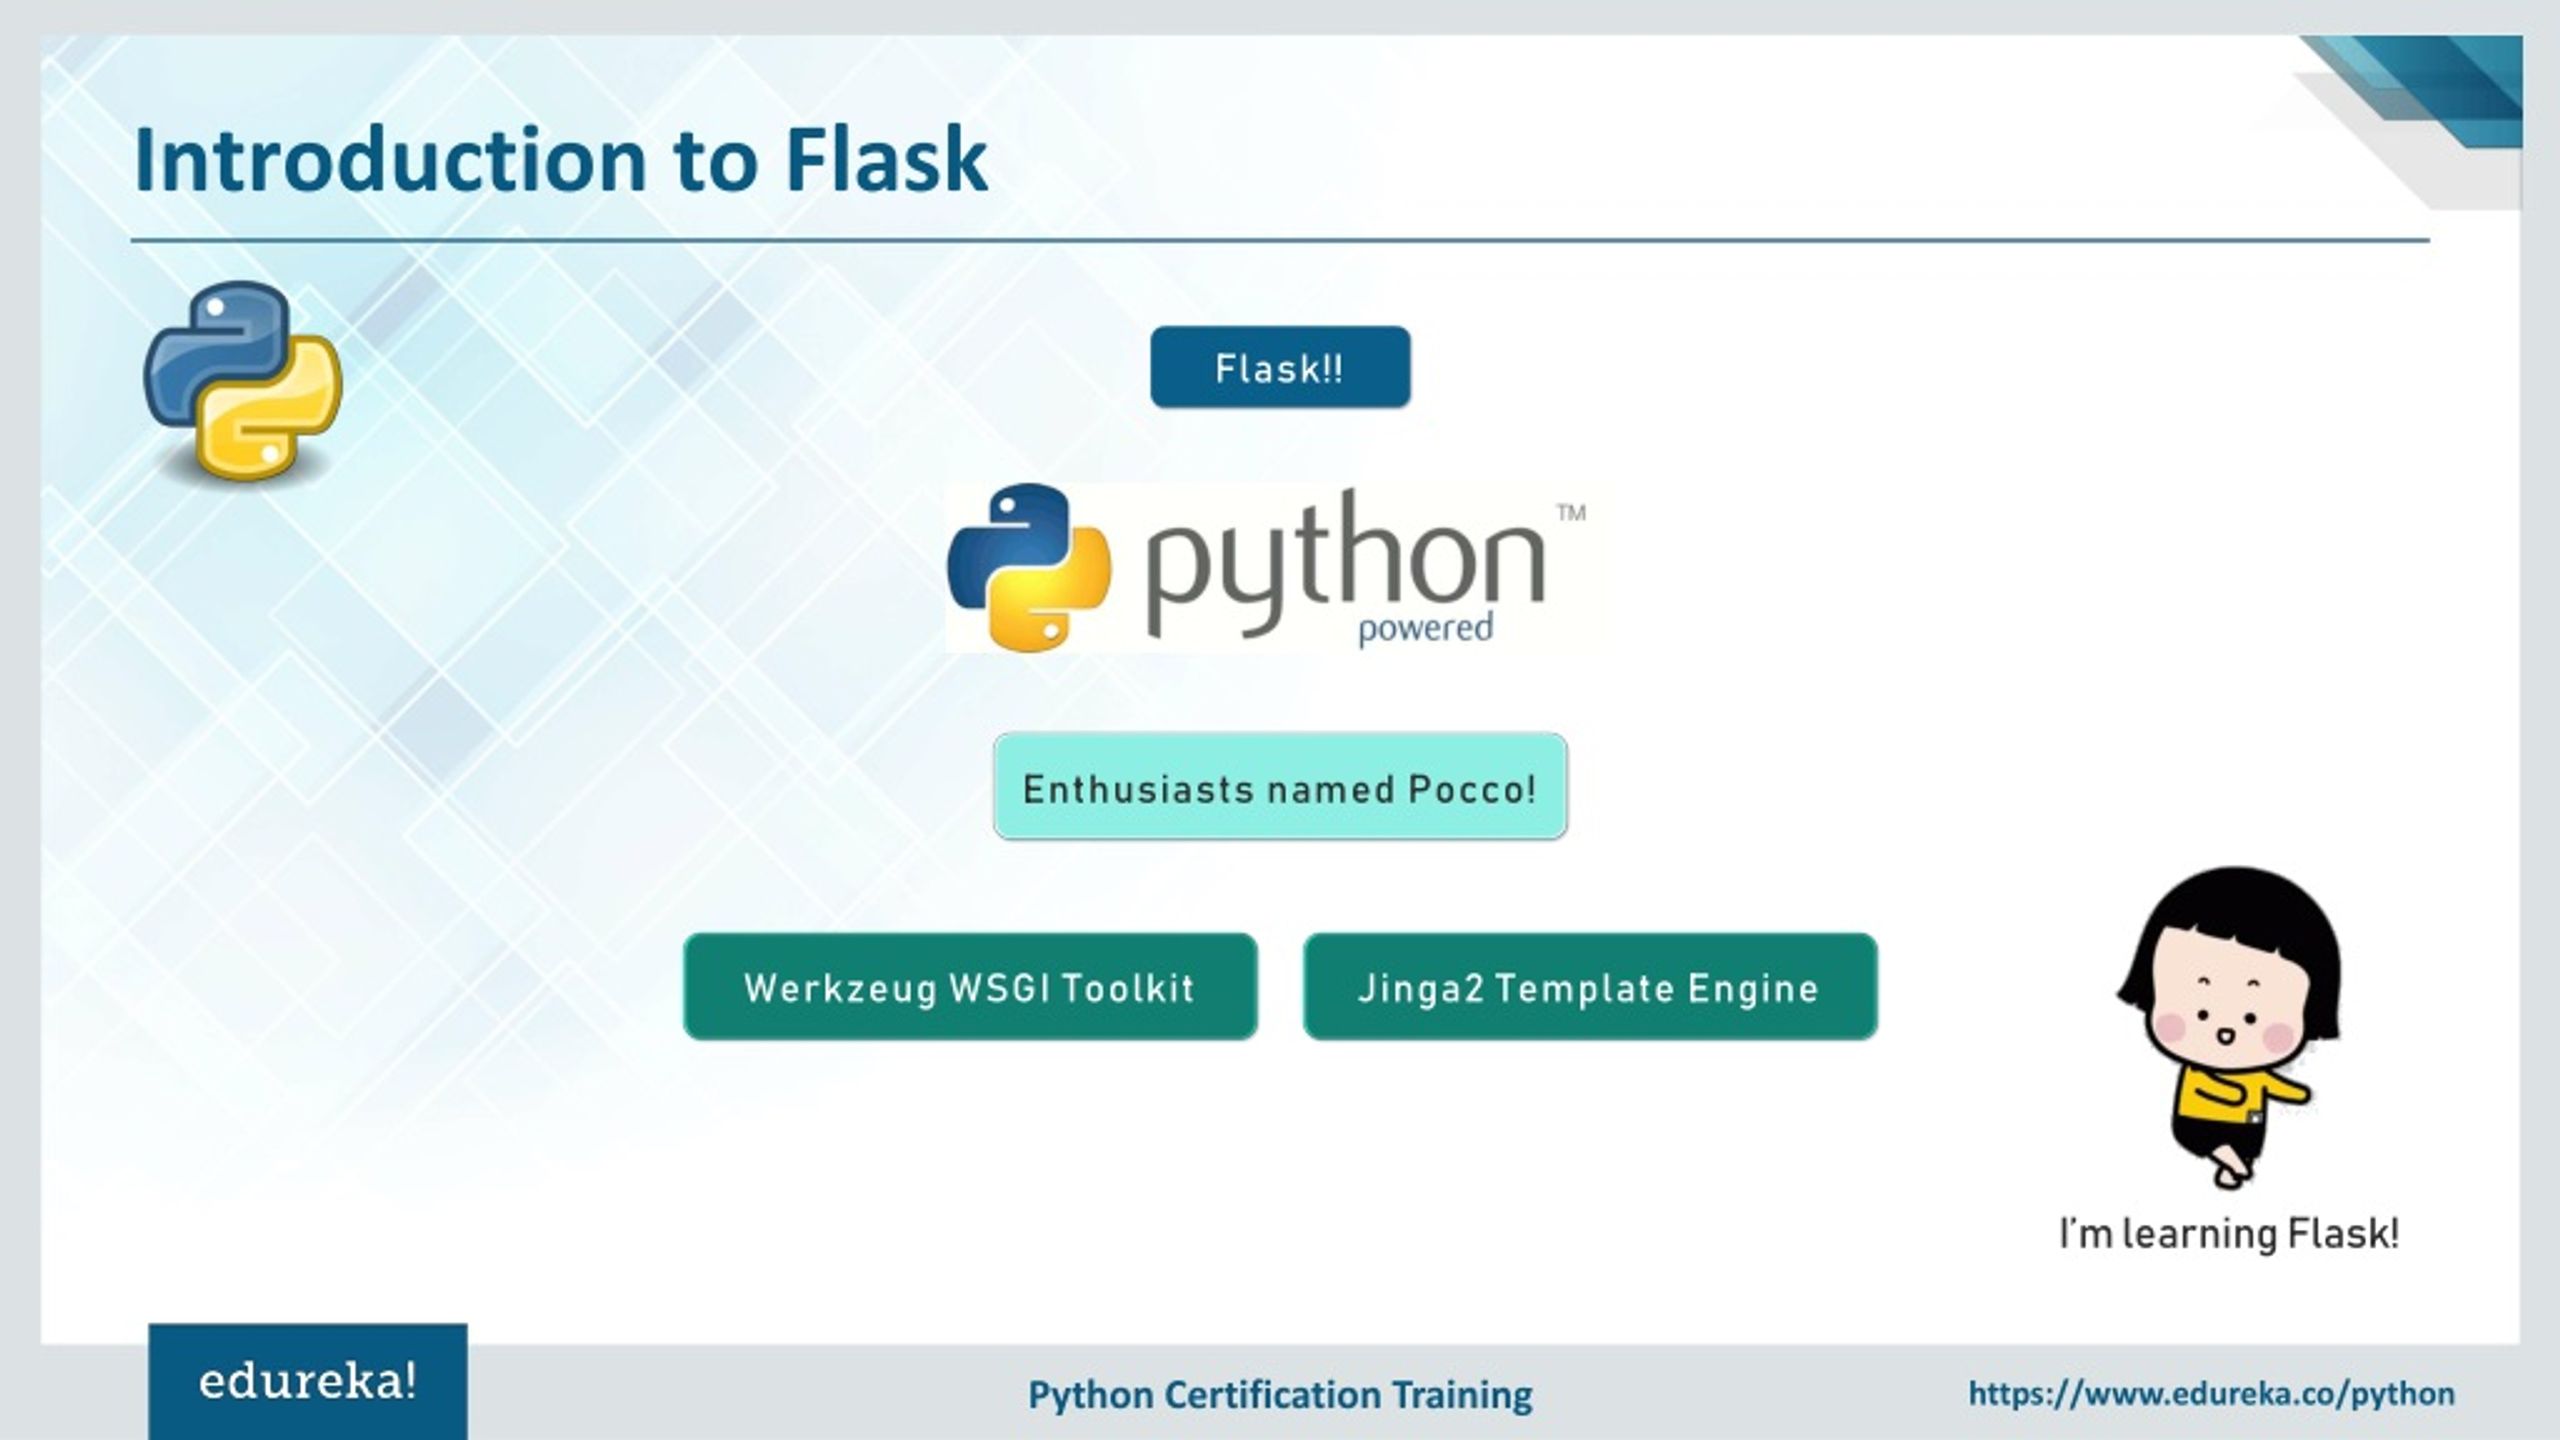
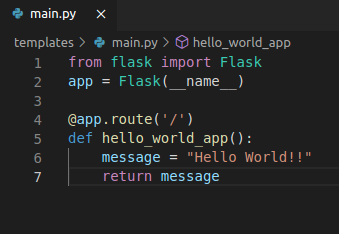
Embrace the remarkable lifestyle with our learn flask a … z : introduction. part i: introduction | by binayak collection of numerous inspiring images. encouraging positive living via artistic, creative, and design. perfect for lifestyle magazines and blogs. Each learn flask a … z : introduction. part i: introduction | by binayak image is carefully selected for superior visual impact and professional quality. Suitable for various applications including web design, social media, personal projects, and digital content creation All learn flask a … z : introduction. part i: introduction | by binayak images are available in high resolution with professional-grade quality, optimized for both digital and print applications, and include comprehensive metadata for easy organization and usage. Explore the versatility of our learn flask a … z : introduction. part i: introduction | by binayak collection for various creative and professional projects. Whether for commercial projects or personal use, our learn flask a … z : introduction. part i: introduction | by binayak collection delivers consistent excellence. Diverse style options within the learn flask a … z : introduction. part i: introduction | by binayak collection suit various aesthetic preferences. Reliable customer support ensures smooth experience throughout the learn flask a … z : introduction. part i: introduction | by binayak selection process. The learn flask a … z : introduction. part i: introduction | by binayak archive serves professionals, educators, and creatives across diverse industries.