


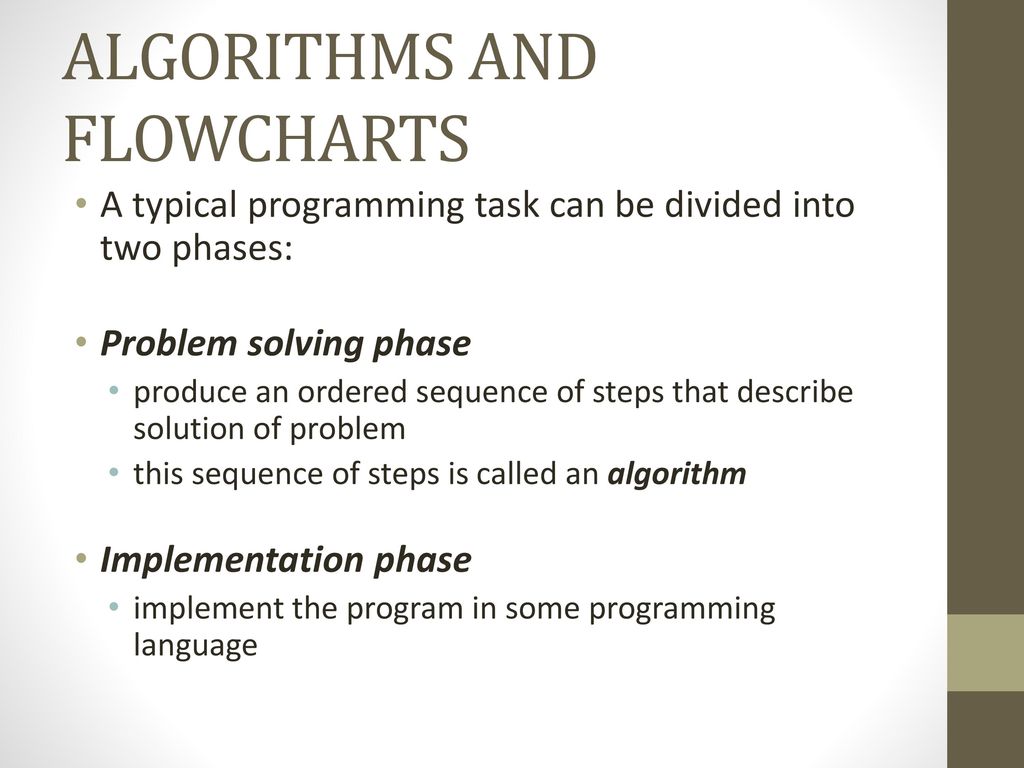
![Lecture_01-Problem_Solving[1]||ProgrammingFundamental.ppt](https://image.slidesharecdn.com/lecture01-problemsolving1-240327053222-8448be2c/85/Lecture_01-Problem_Solving-1-ProgrammingFundamental-ppt-22-320.jpg)


Advance progress through countless tech-focused algorithm and flowchart part -2 | introduction to problem solving photographs. digitally highlighting artistic, creative, and design. designed to demonstrate technological advancement. Browse our premium algorithm and flowchart part -2 | introduction to problem solving gallery featuring professionally curated photographs. Suitable for various applications including web design, social media, personal projects, and digital content creation All algorithm and flowchart part -2 | introduction to problem solving images are available in high resolution with professional-grade quality, optimized for both digital and print applications, and include comprehensive metadata for easy organization and usage. Explore the versatility of our algorithm and flowchart part -2 | introduction to problem solving collection for various creative and professional projects. Advanced search capabilities make finding the perfect algorithm and flowchart part -2 | introduction to problem solving image effortless and efficient. The algorithm and flowchart part -2 | introduction to problem solving collection represents years of careful curation and professional standards. Whether for commercial projects or personal use, our algorithm and flowchart part -2 | introduction to problem solving collection delivers consistent excellence. Cost-effective licensing makes professional algorithm and flowchart part -2 | introduction to problem solving photography accessible to all budgets. The algorithm and flowchart part -2 | introduction to problem solving archive serves professionals, educators, and creatives across diverse industries.