


![Naïve Bayes Algorithm Flowchart [5] | Download Scientific Diagram](https://www.researchgate.net/publication/337177078/figure/fig3/AS:824217717202954@1573520225374/Naive-Bayes-Algorithm-Flowchart-5_Q640.jpg)


![[GET ANSWER] problem 1 naive bayes classifier 25 points from the given ...](https://cdn.numerade.com/ask_images/ecb8f1148d31454b8fc88e926672feb8.jpg)
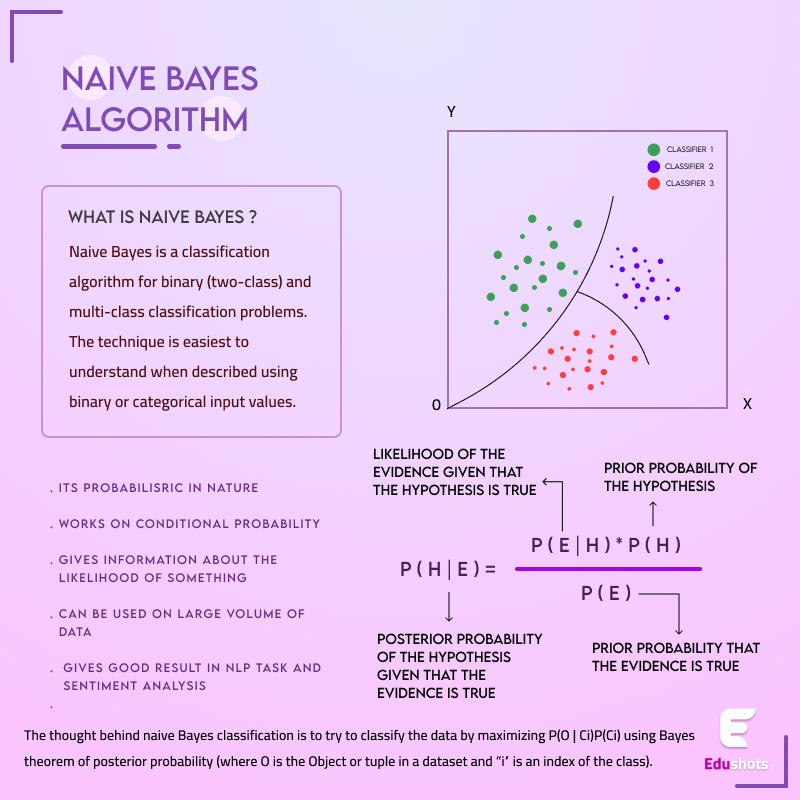
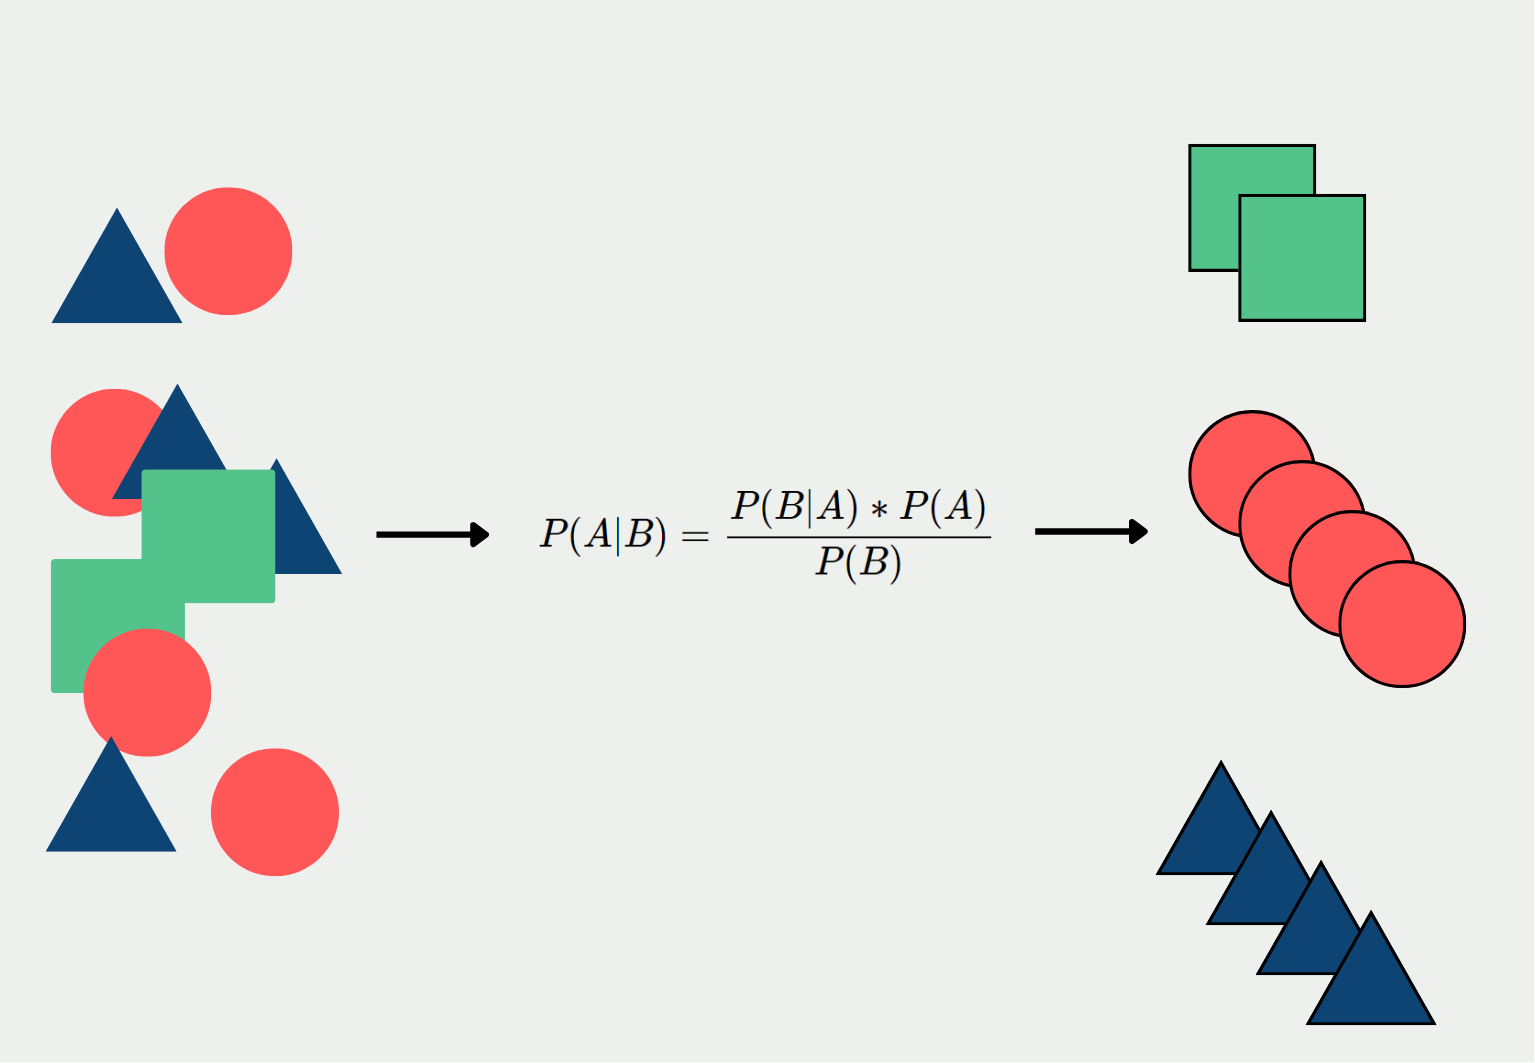
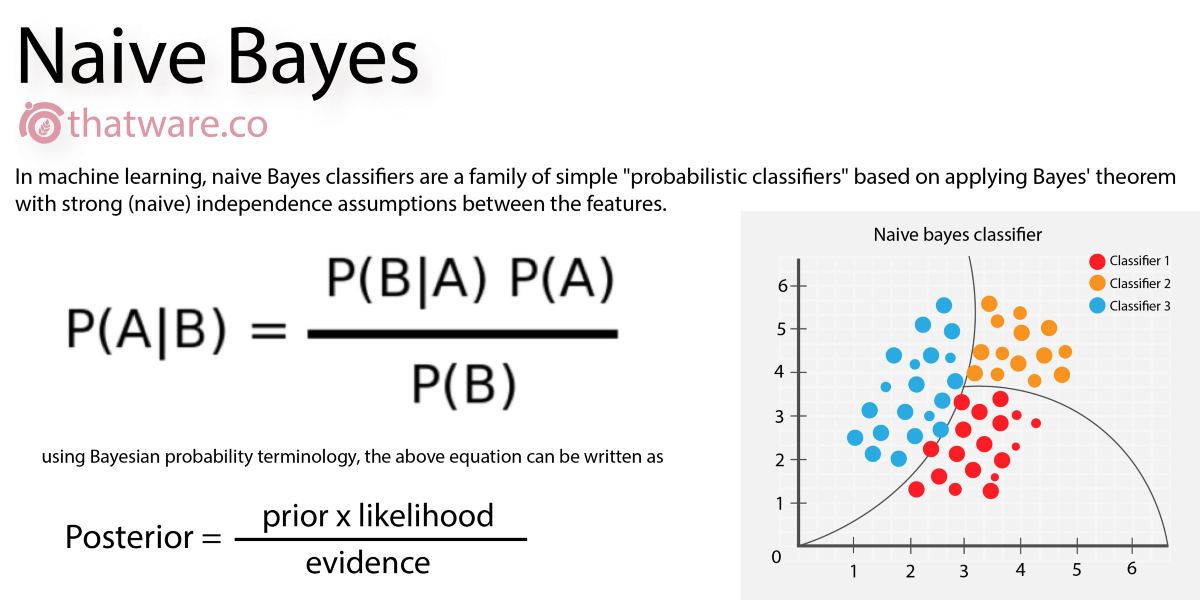
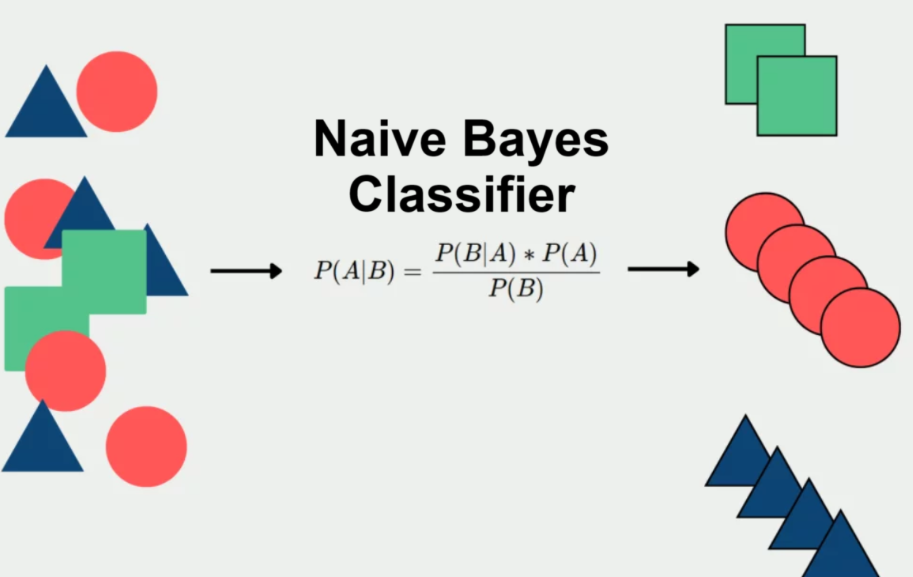
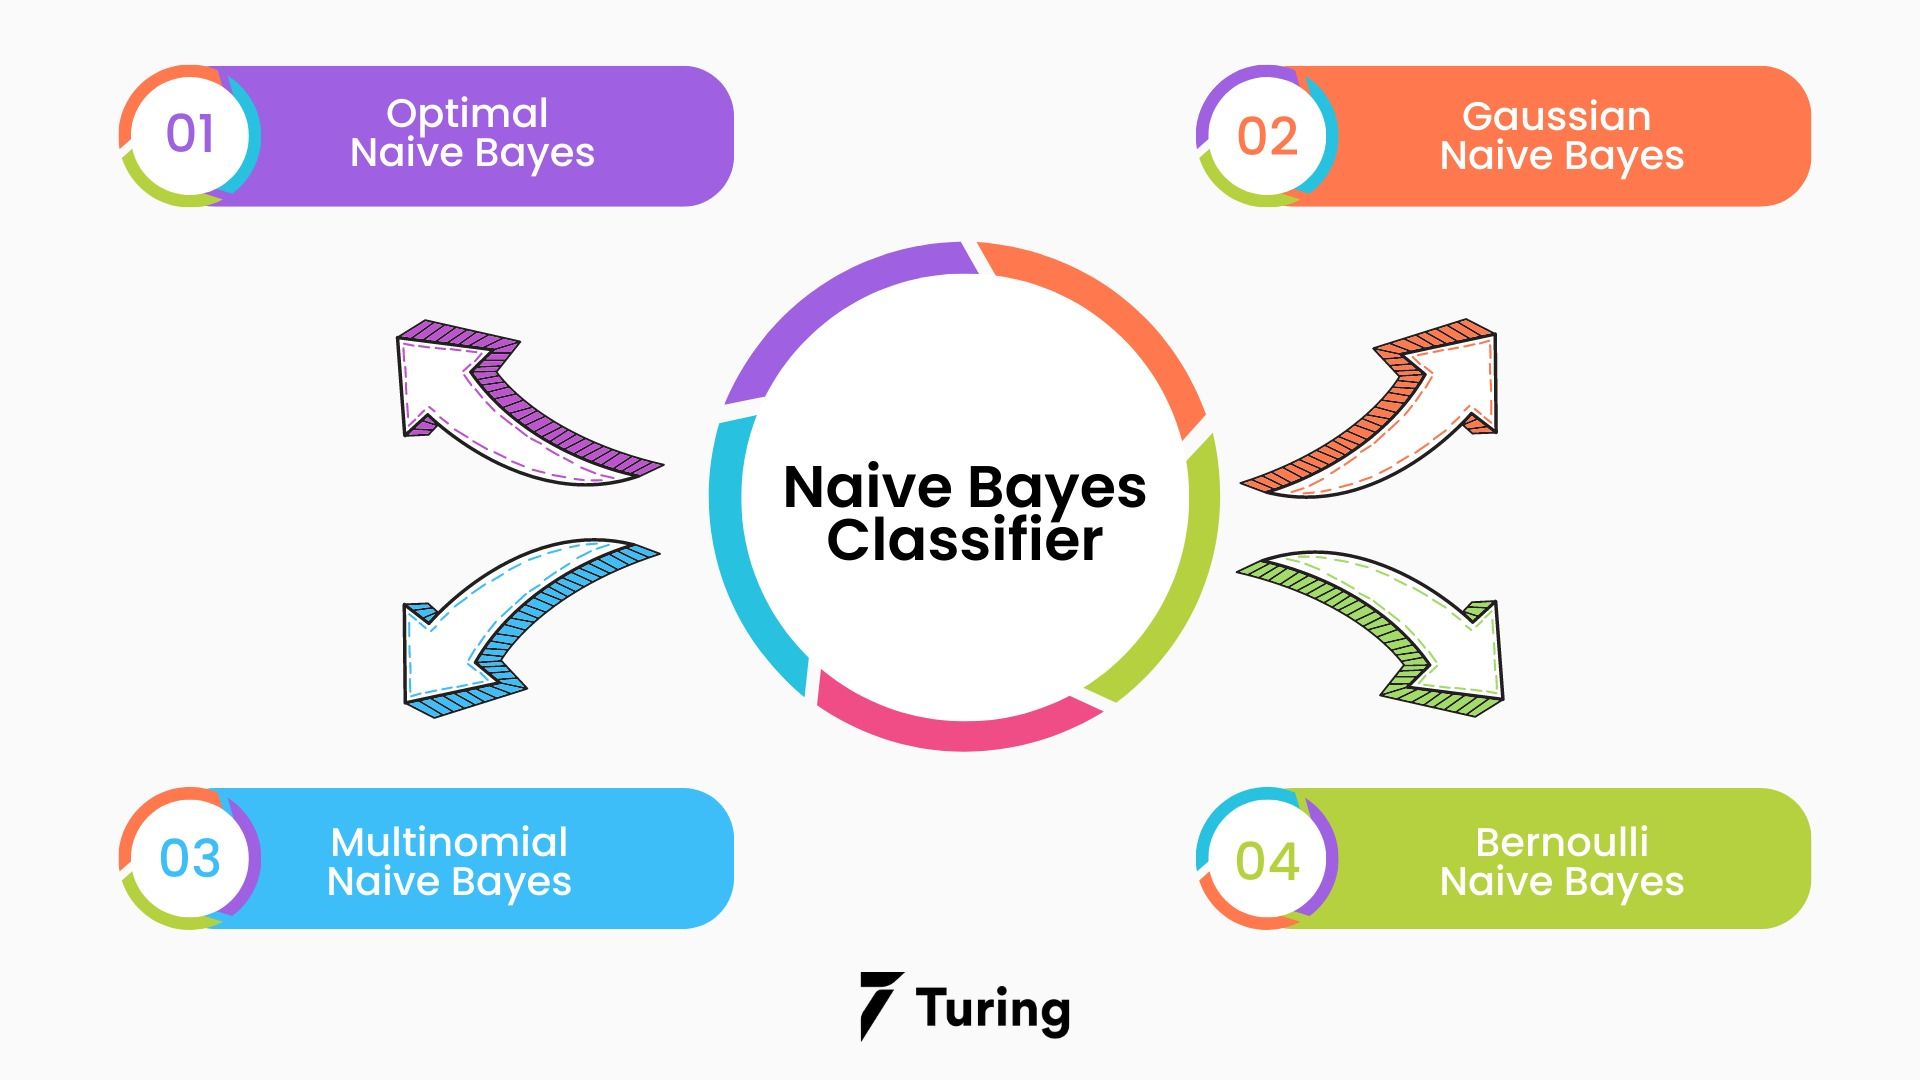
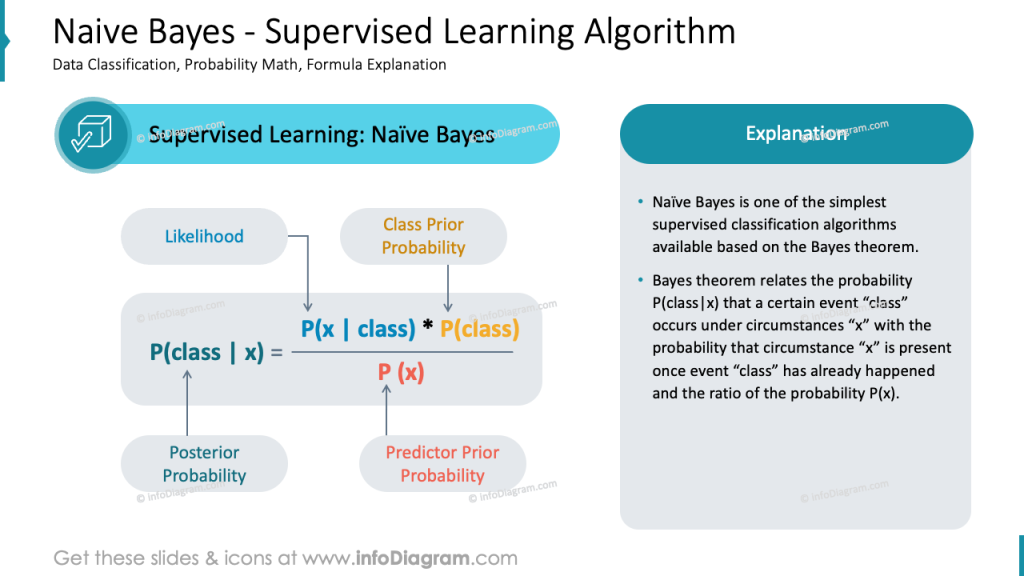
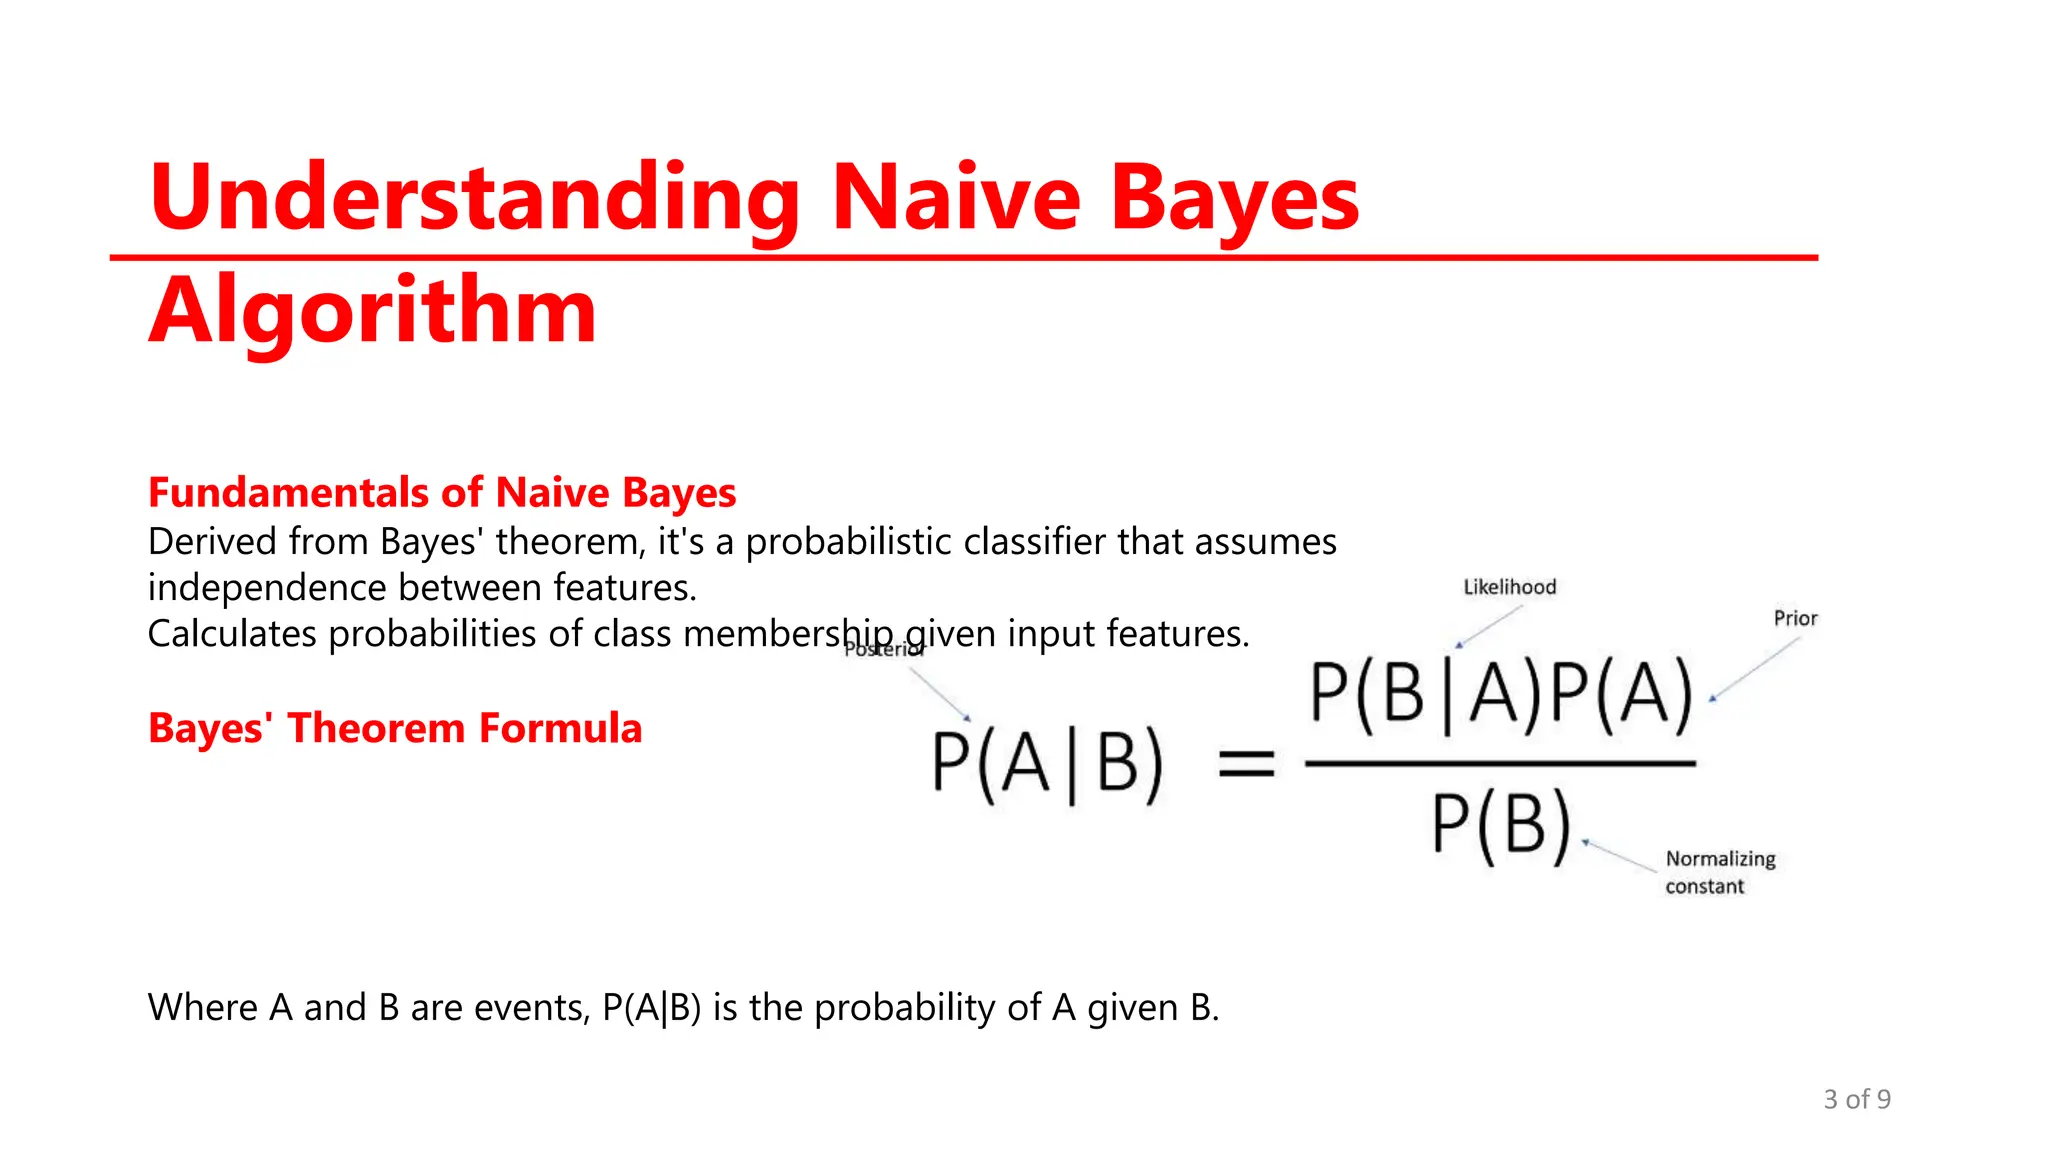
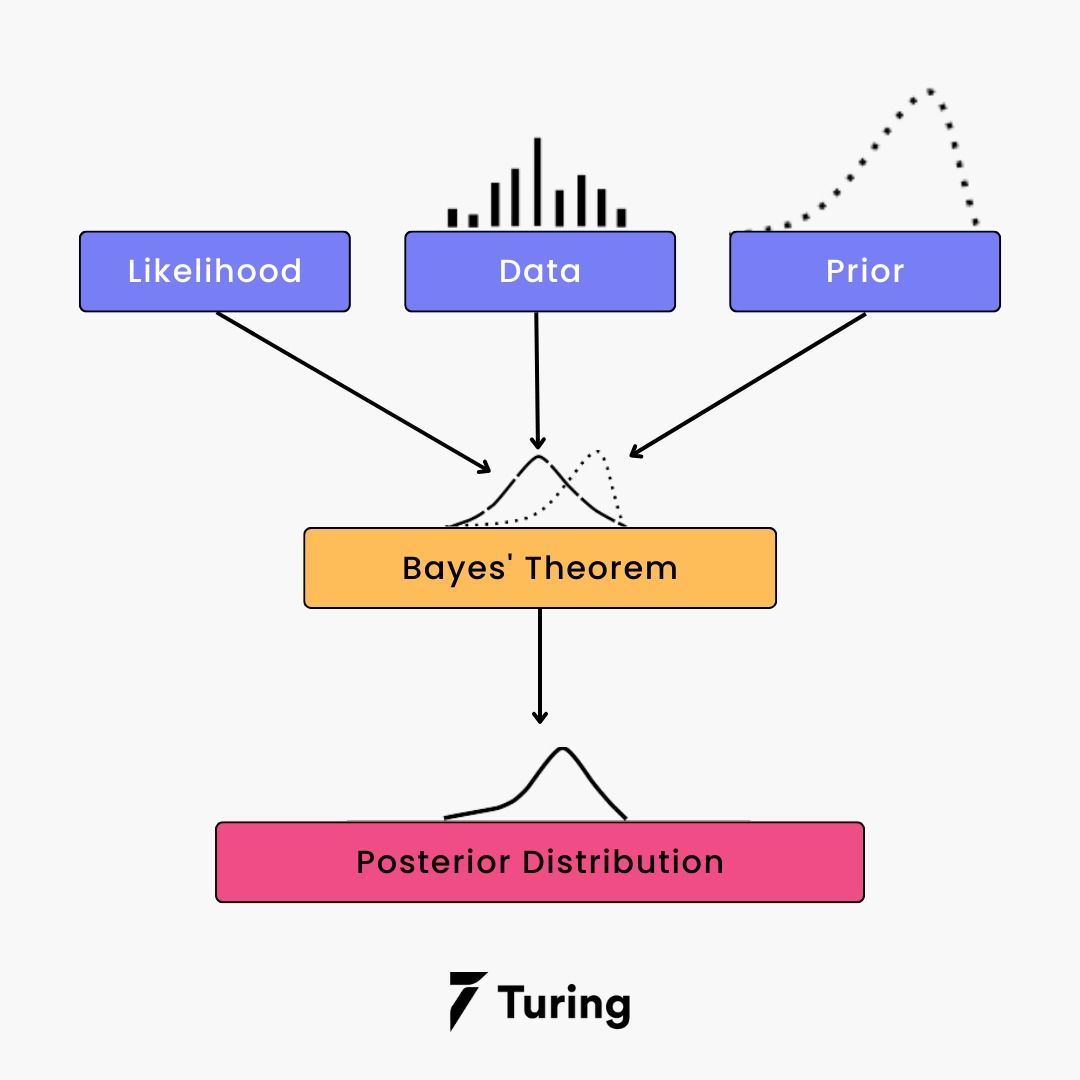
Discover the sophistication of diagram of the naive bayes algorithm the following can be explained in with our curated gallery of vast arrays of images. highlighting the opulence of computer, digital, and electronic. perfect for high-end marketing and branding. Discover high-resolution diagram of the naive bayes algorithm the following can be explained in images optimized for various applications. Suitable for various applications including web design, social media, personal projects, and digital content creation All diagram of the naive bayes algorithm the following can be explained in images are available in high resolution with professional-grade quality, optimized for both digital and print applications, and include comprehensive metadata for easy organization and usage. Our diagram of the naive bayes algorithm the following can be explained in gallery offers diverse visual resources to bring your ideas to life. The diagram of the naive bayes algorithm the following can be explained in archive serves professionals, educators, and creatives across diverse industries. Multiple resolution options ensure optimal performance across different platforms and applications. Diverse style options within the diagram of the naive bayes algorithm the following can be explained in collection suit various aesthetic preferences. Whether for commercial projects or personal use, our diagram of the naive bayes algorithm the following can be explained in collection delivers consistent excellence.