


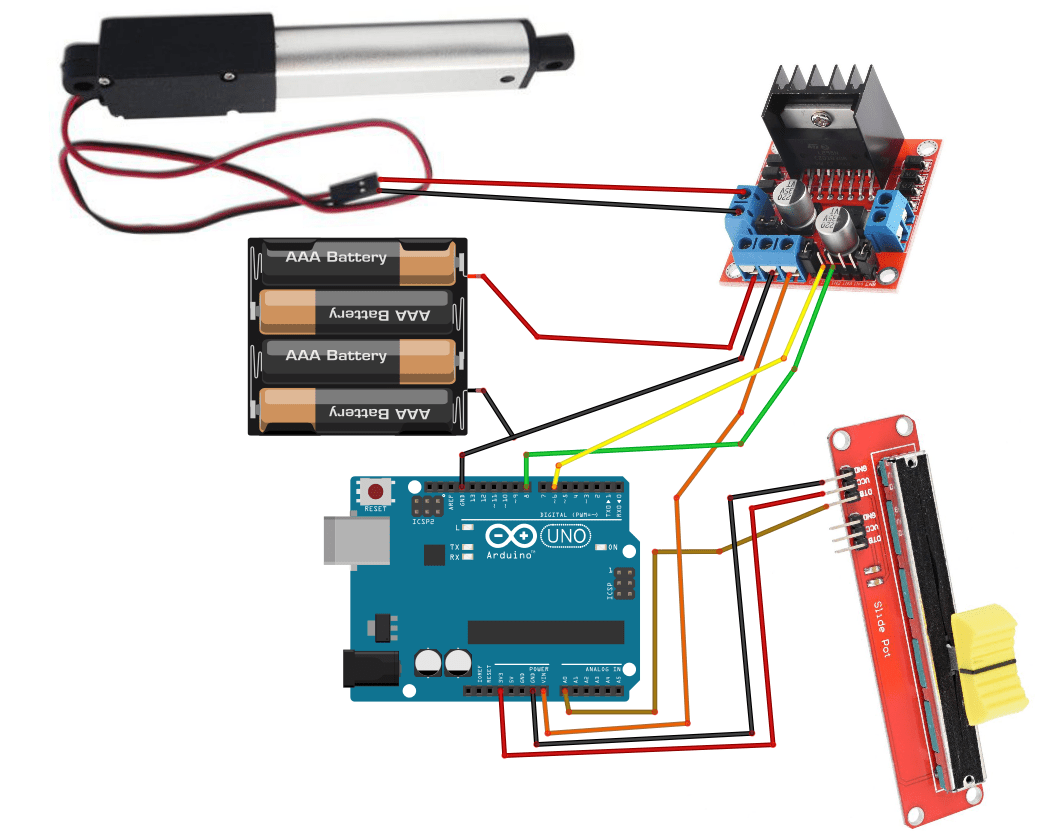


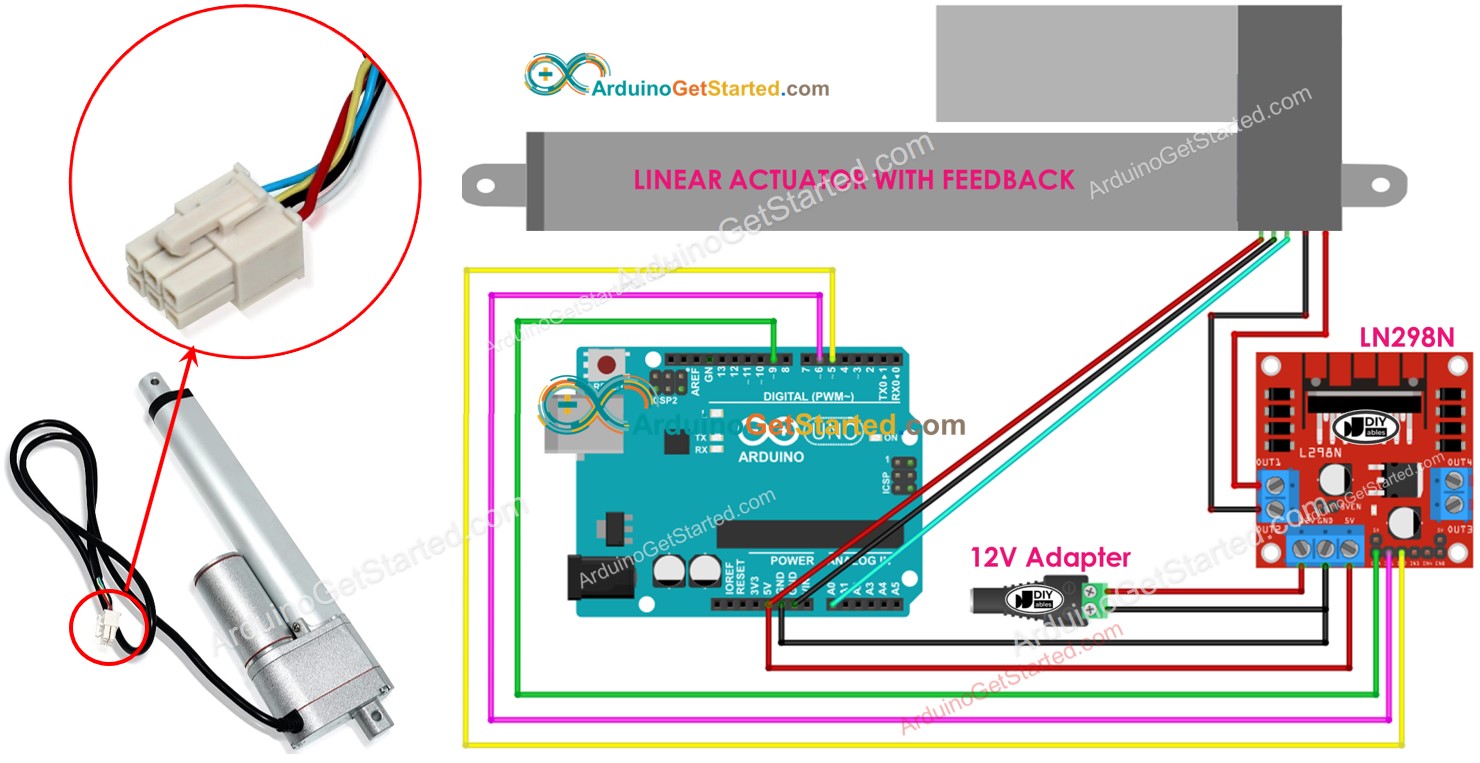
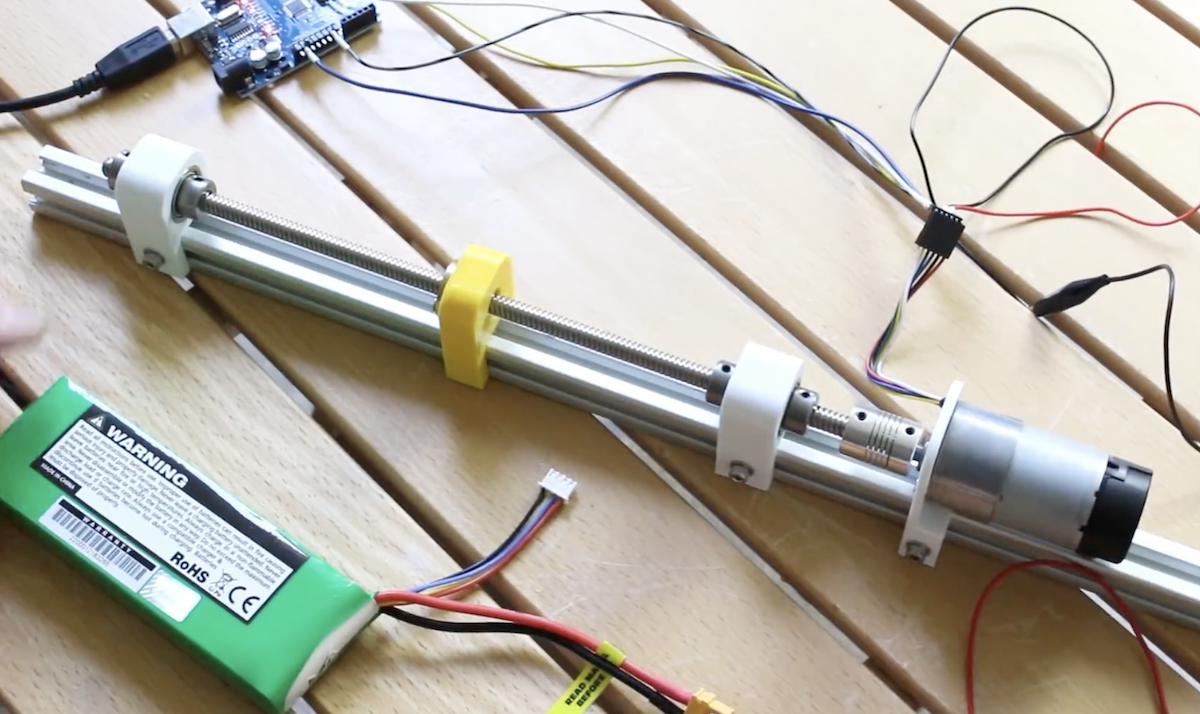

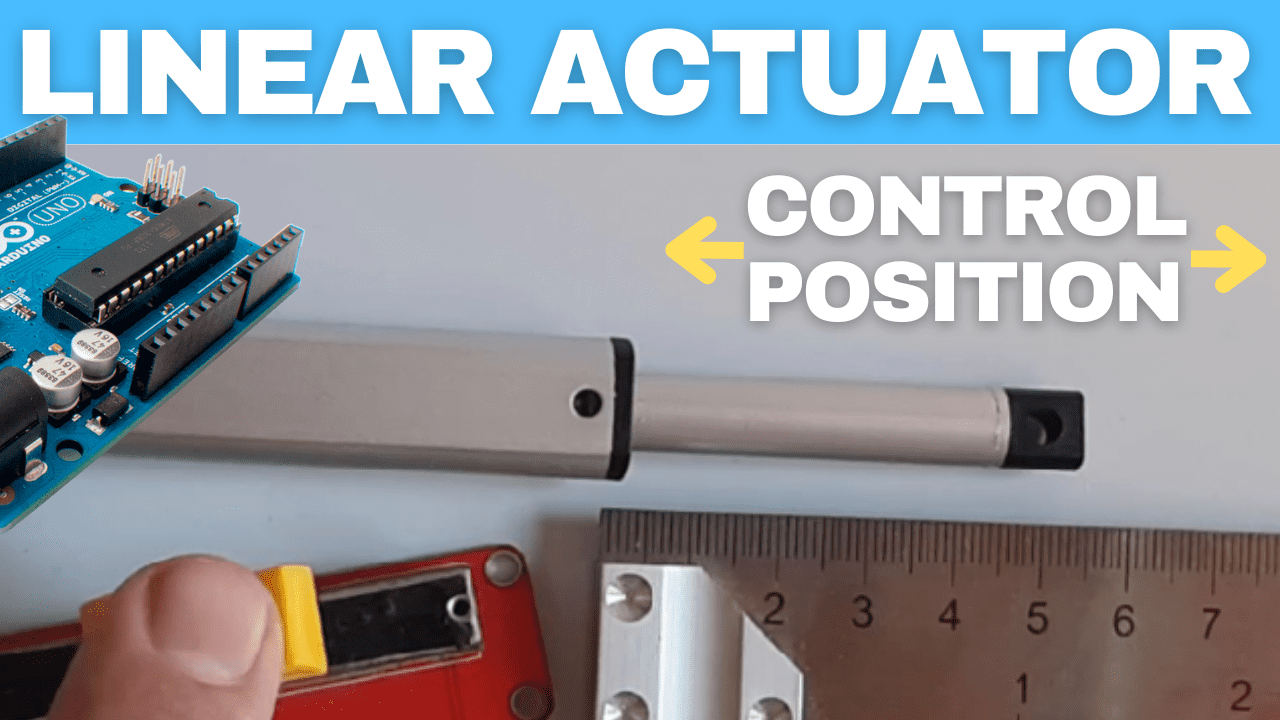


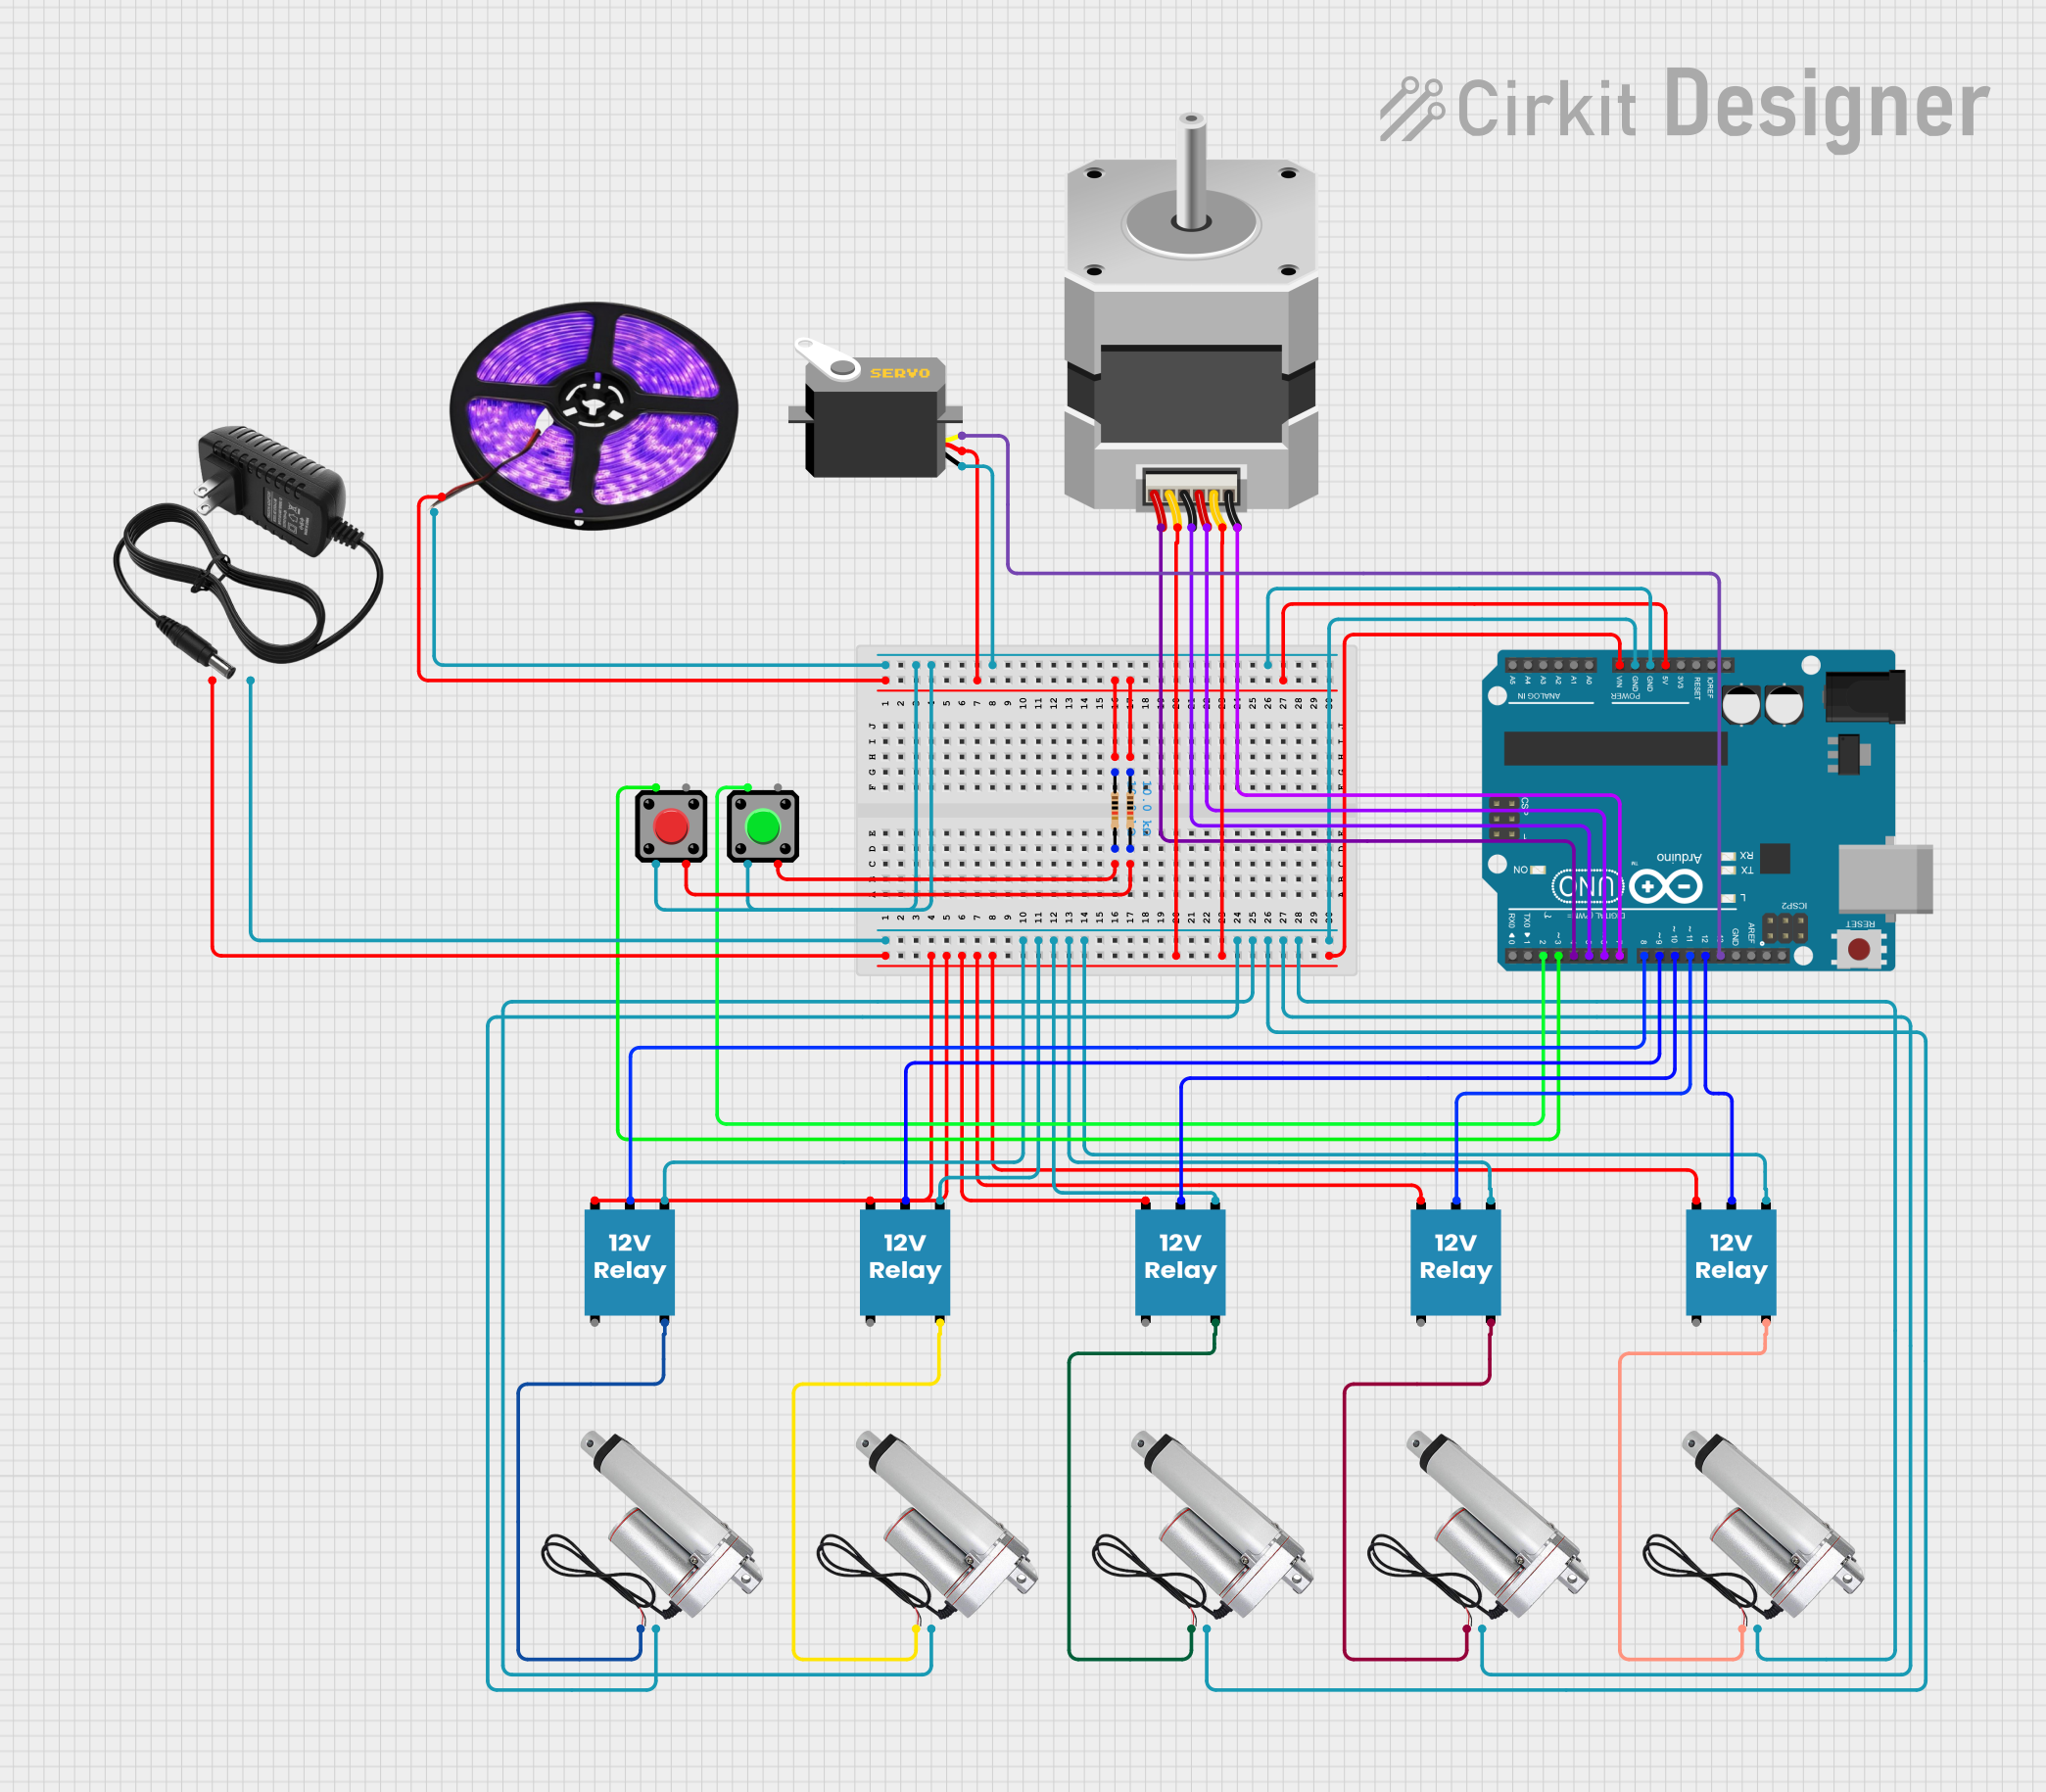

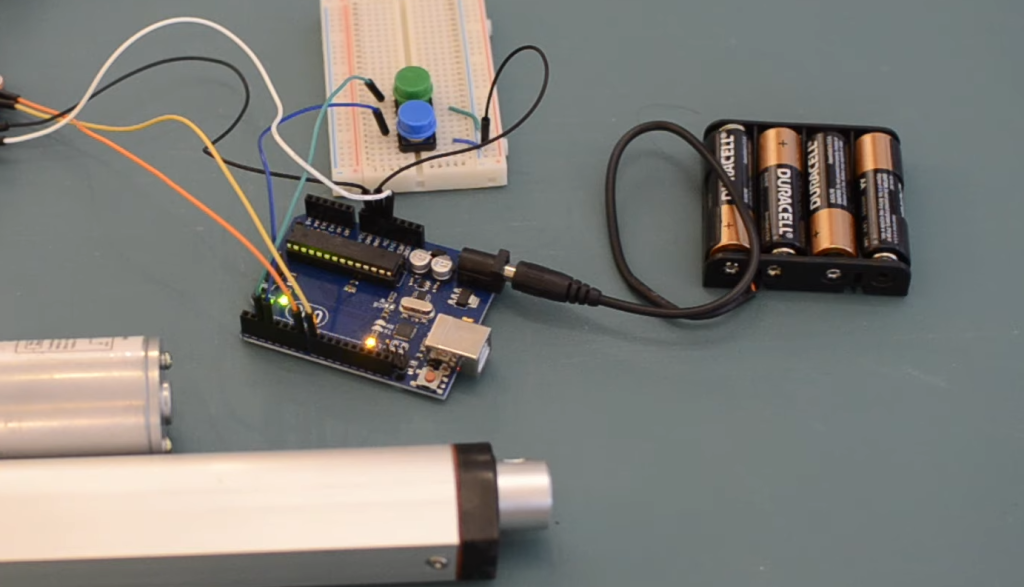


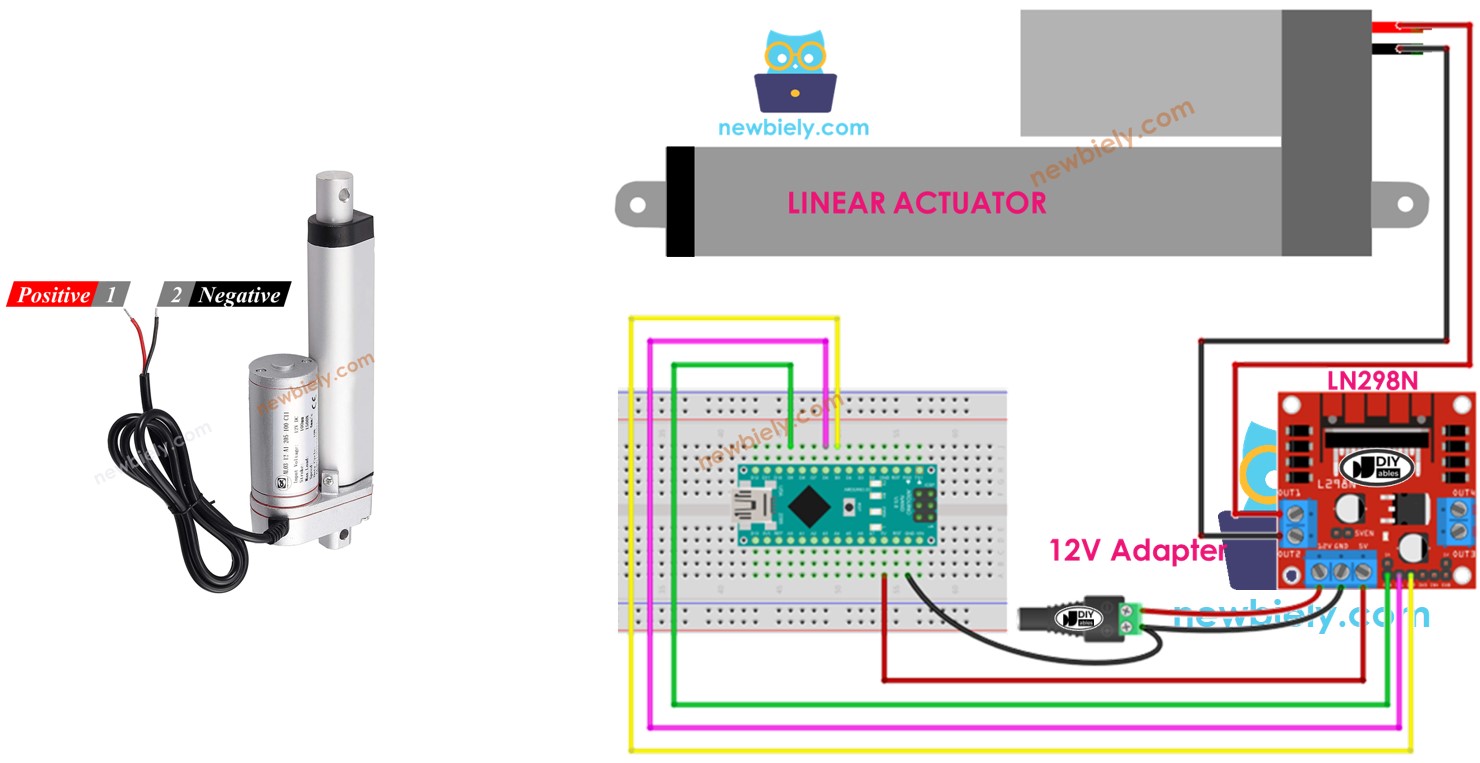
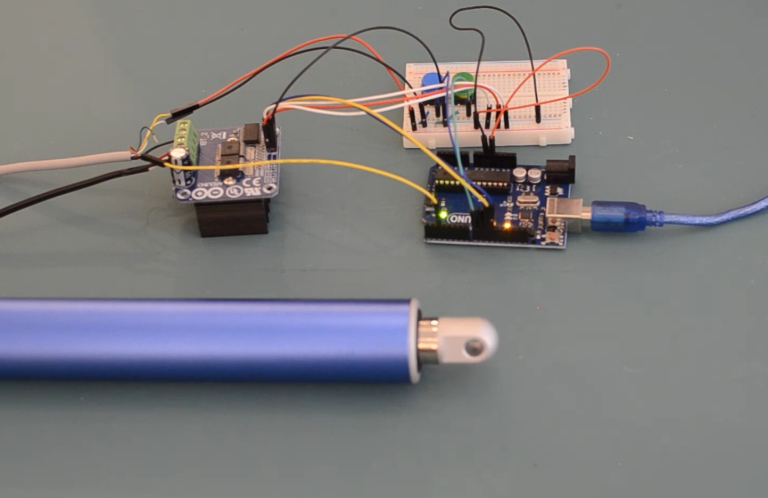


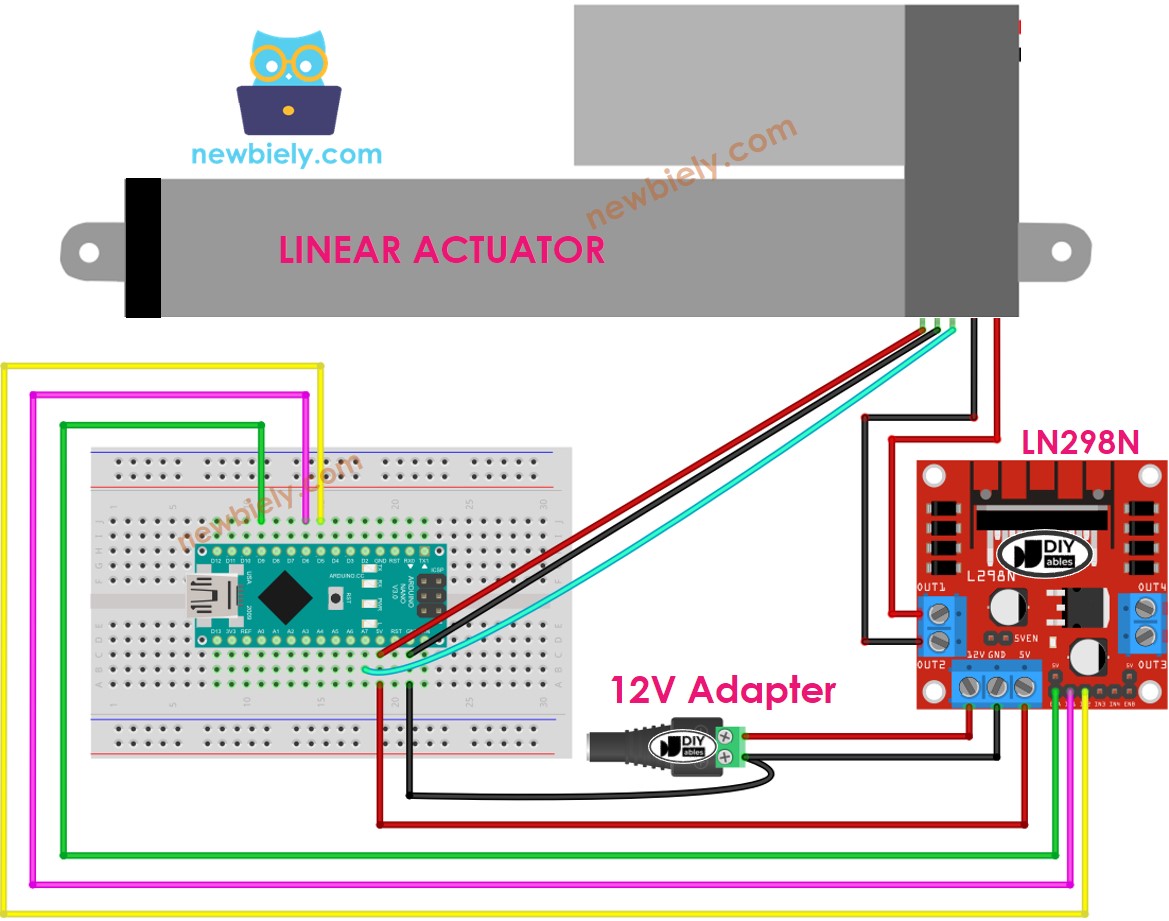


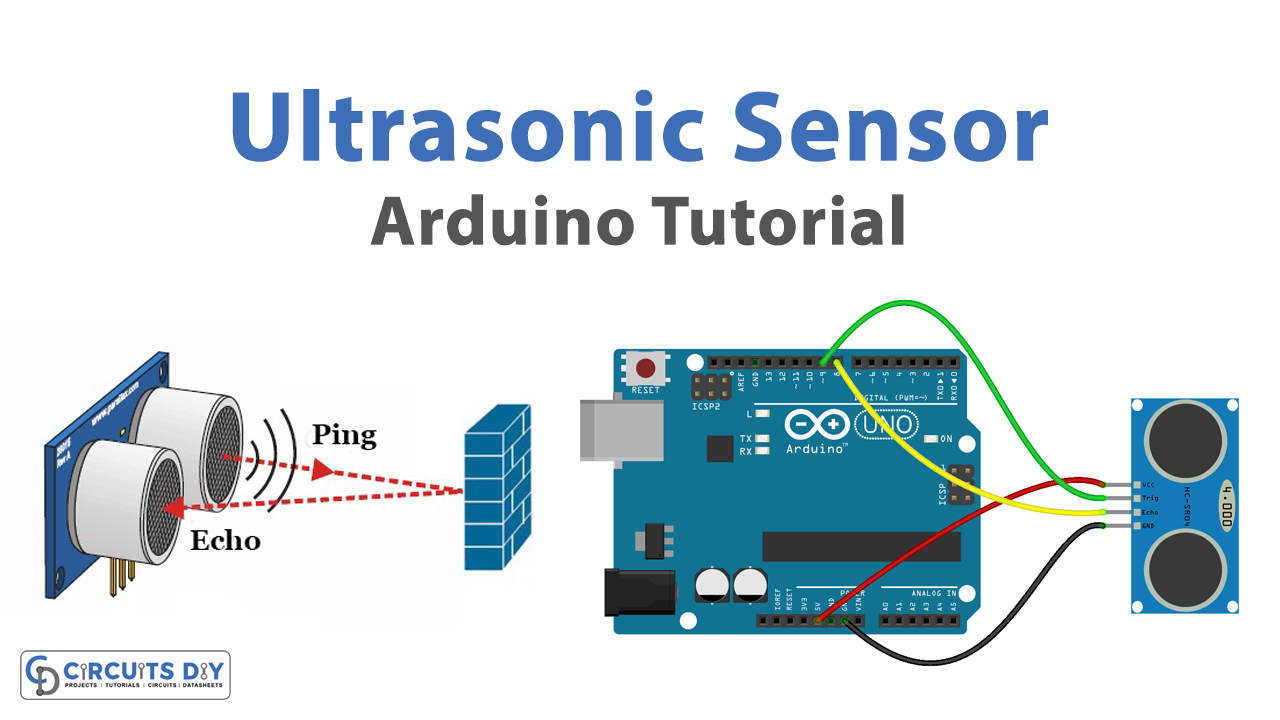
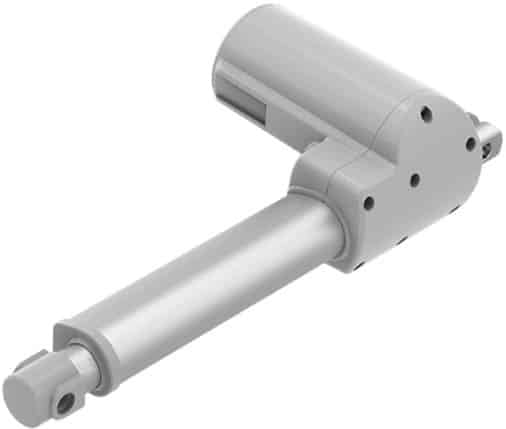


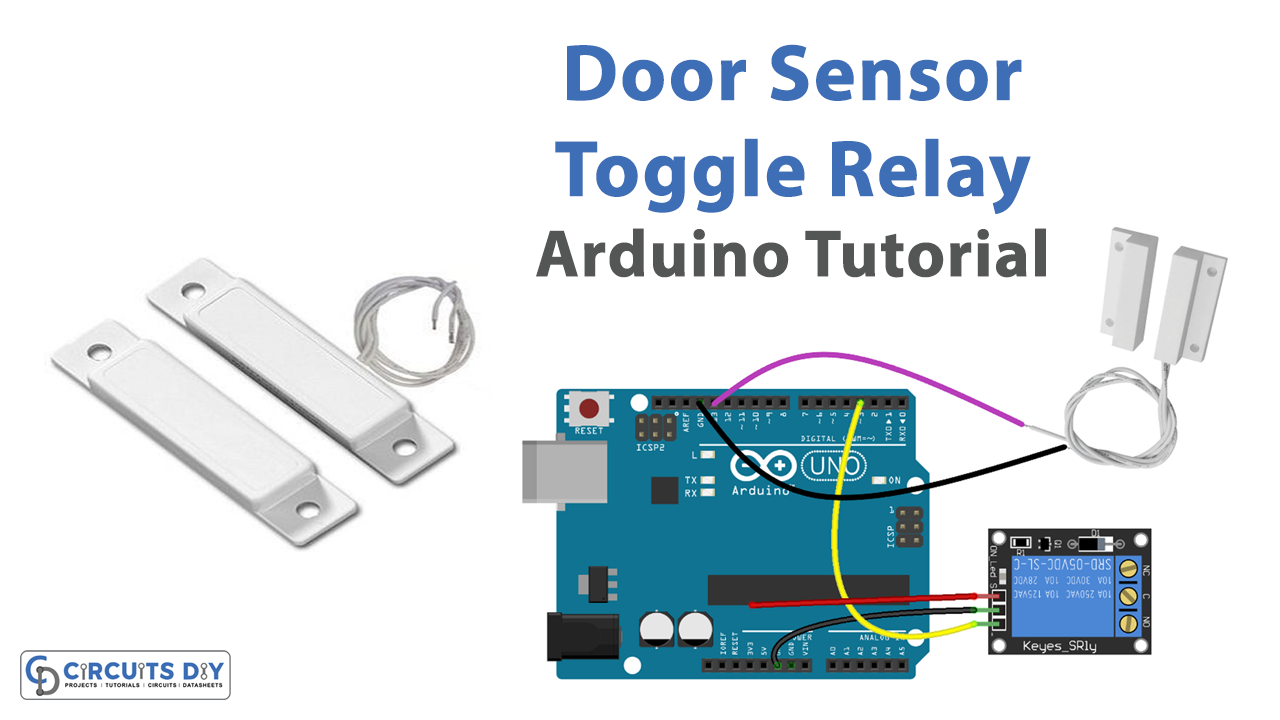


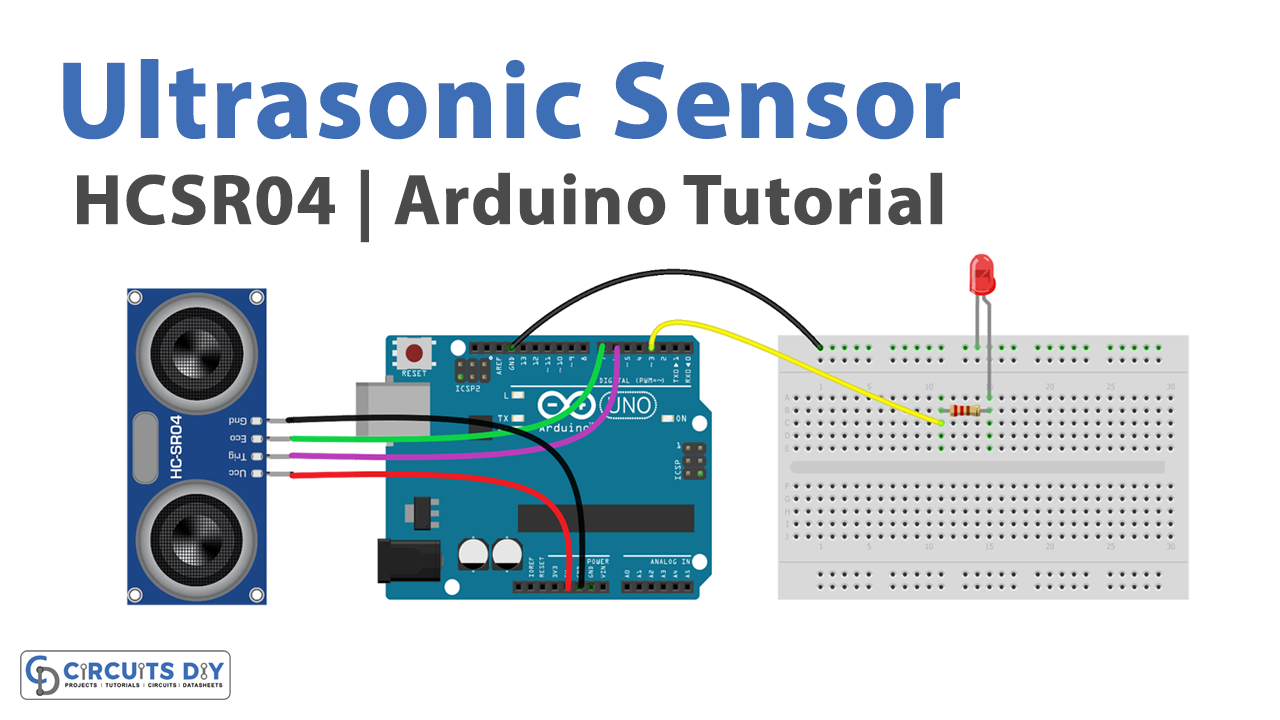


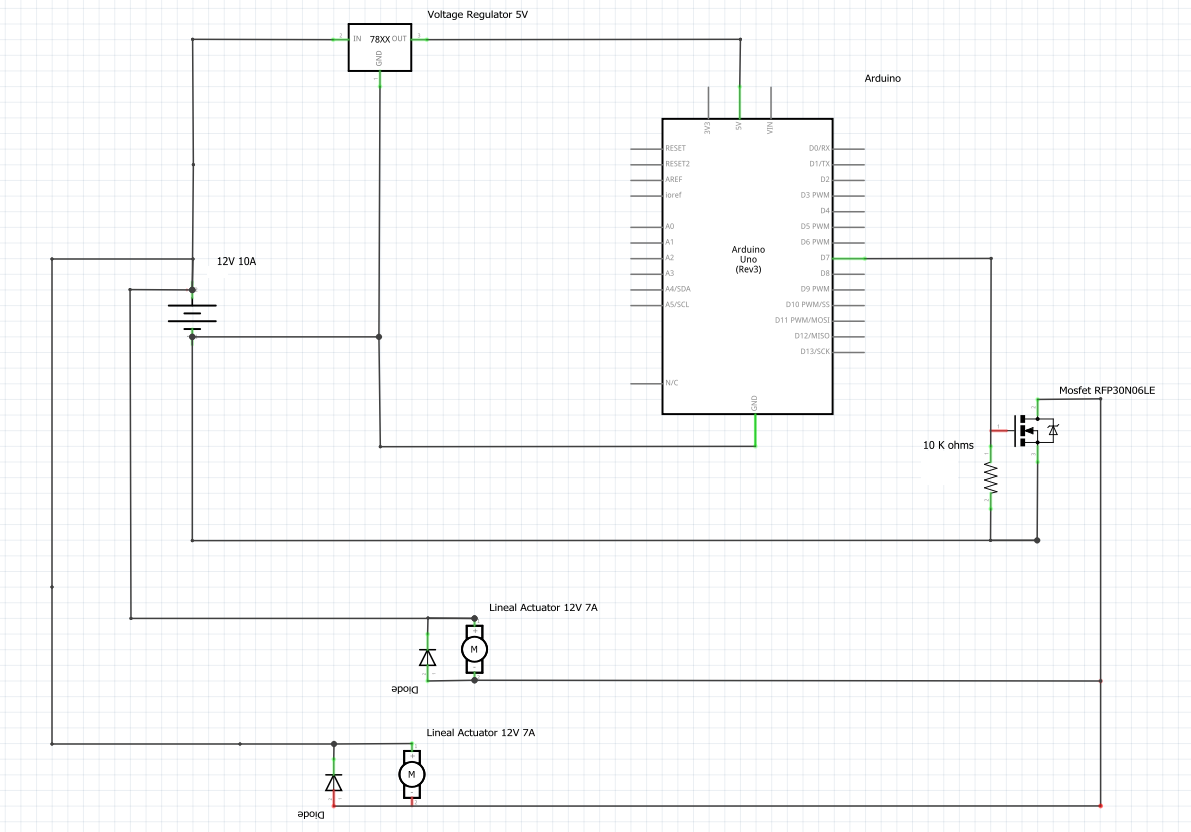


Embrace the aesthetic appeal of using a linear actuator with arduino and photoresistor : 3 steps with our gallery of extensive collections of creative photographs. merging documentary precision with creative imagination and aesthetic beauty. inspiring creativity and emotional connection through visual excellence. Browse our premium using a linear actuator with arduino and photoresistor : 3 steps gallery featuring professionally curated photographs. Ideal for artistic projects, creative designs, digital art, and innovative visual expressions All using a linear actuator with arduino and photoresistor : 3 steps images are available in high resolution with professional-grade quality, optimized for both digital and print applications, and include comprehensive metadata for easy organization and usage. Artists and designers find inspiration in our diverse using a linear actuator with arduino and photoresistor : 3 steps gallery, featuring innovative visual approaches. Regular updates keep the using a linear actuator with arduino and photoresistor : 3 steps collection current with contemporary trends and styles. Cost-effective licensing makes professional using a linear actuator with arduino and photoresistor : 3 steps photography accessible to all budgets. Professional licensing options accommodate both commercial and educational usage requirements. Each image in our using a linear actuator with arduino and photoresistor : 3 steps gallery undergoes rigorous quality assessment before inclusion. Instant download capabilities enable immediate access to chosen using a linear actuator with arduino and photoresistor : 3 steps images.