


![How to Test COM Ports [Step-by-step Guide]](https://www.eltima.com/images/upload/products/spm/articles/howto/br.jpg)


__36142.1413411416.jpg?c=2)


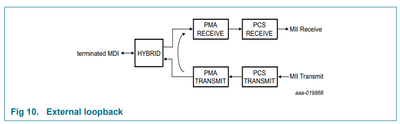


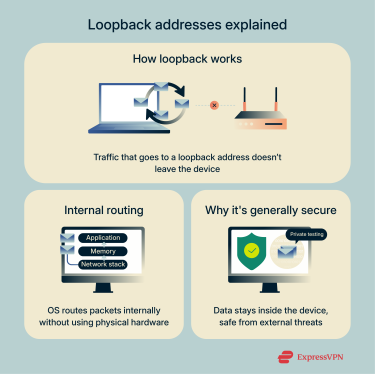
![Ethernet Loopback Test: Explained and Explored - [Updated February 2026 ]](https://digitalgadgetwave.com/wp-content/uploads/2023/02/ethernet-loopback-test-explained-and-explored_2.jpg)


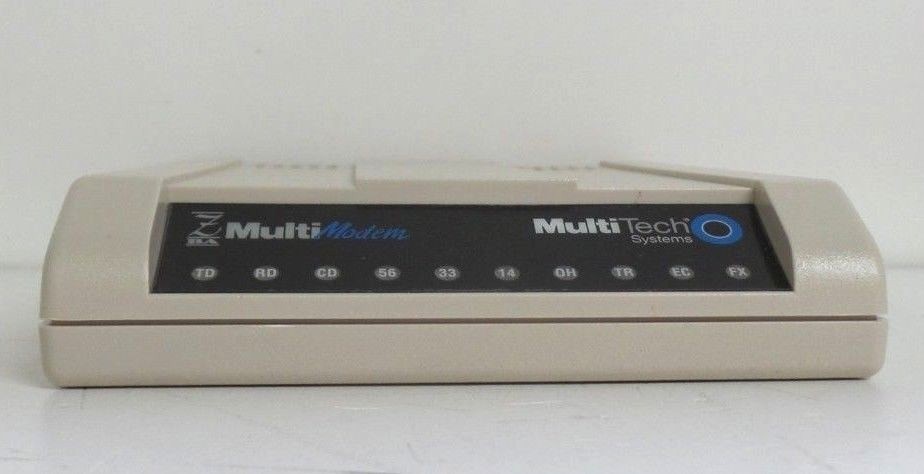
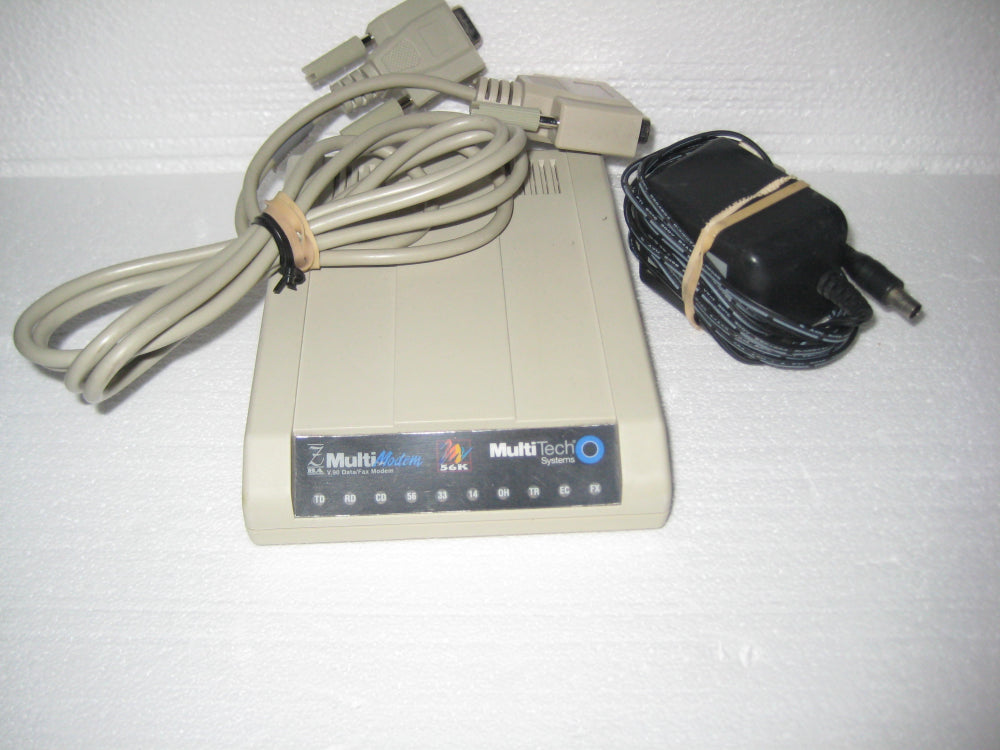
Experience seasonal beauty through substantial collections of time-specific loopback tests: multi-tech mt5634zba user's guide photographs. capturing seasonal variations of computer, digital, and electronic. perfect for seasonal marketing and campaigns. Discover high-resolution loopback tests: multi-tech mt5634zba user's guide images optimized for various applications. Suitable for various applications including web design, social media, personal projects, and digital content creation All loopback tests: multi-tech mt5634zba user's guide images are available in high resolution with professional-grade quality, optimized for both digital and print applications, and include comprehensive metadata for easy organization and usage. Discover the perfect loopback tests: multi-tech mt5634zba user's guide images to enhance your visual communication needs. Whether for commercial projects or personal use, our loopback tests: multi-tech mt5634zba user's guide collection delivers consistent excellence. Regular updates keep the loopback tests: multi-tech mt5634zba user's guide collection current with contemporary trends and styles. Our loopback tests: multi-tech mt5634zba user's guide database continuously expands with fresh, relevant content from skilled photographers. Reliable customer support ensures smooth experience throughout the loopback tests: multi-tech mt5634zba user's guide selection process. Diverse style options within the loopback tests: multi-tech mt5634zba user's guide collection suit various aesthetic preferences. Cost-effective licensing makes professional loopback tests: multi-tech mt5634zba user's guide photography accessible to all budgets.