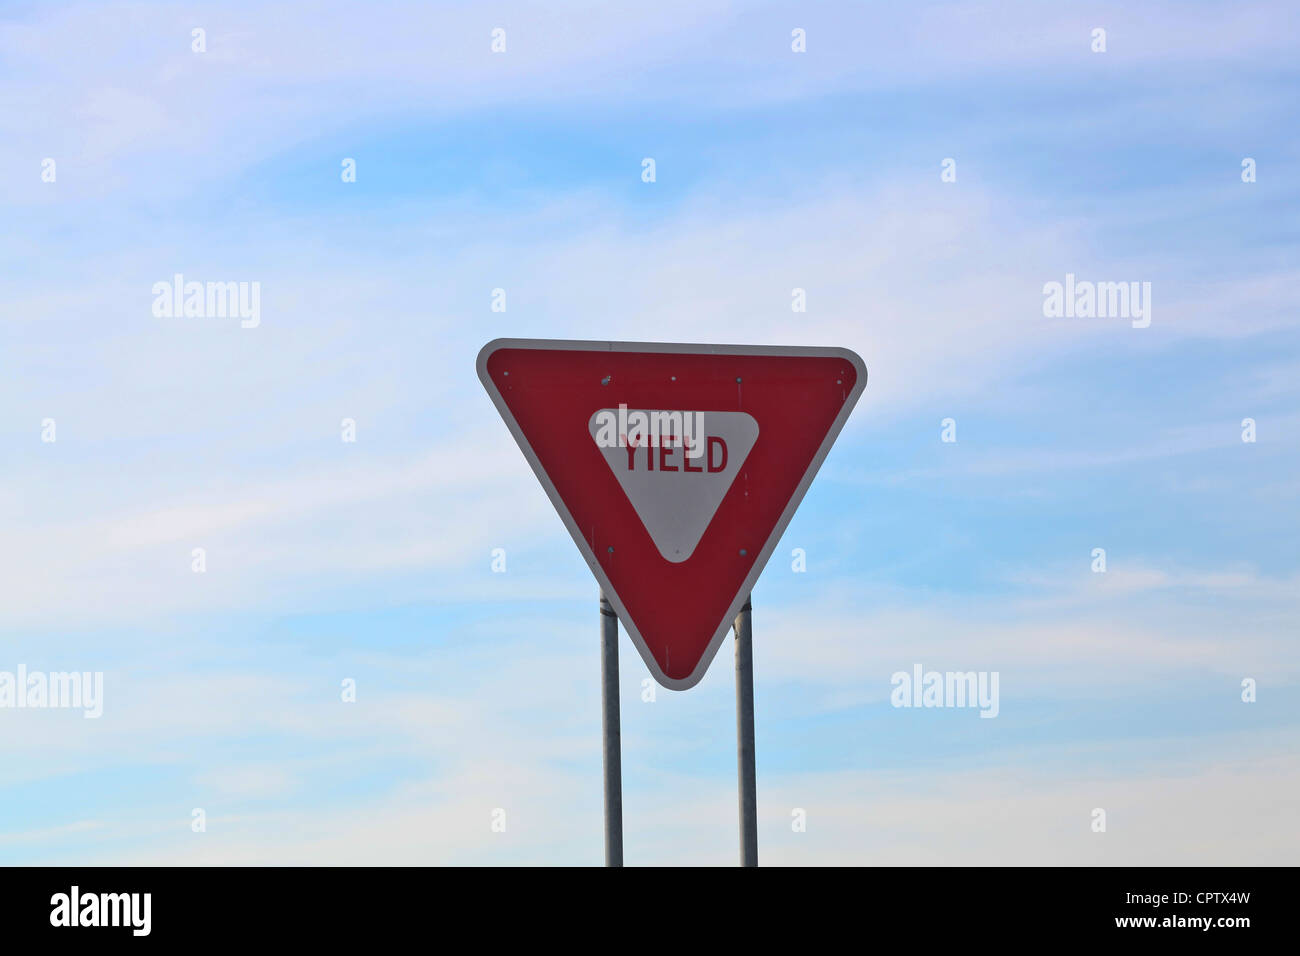
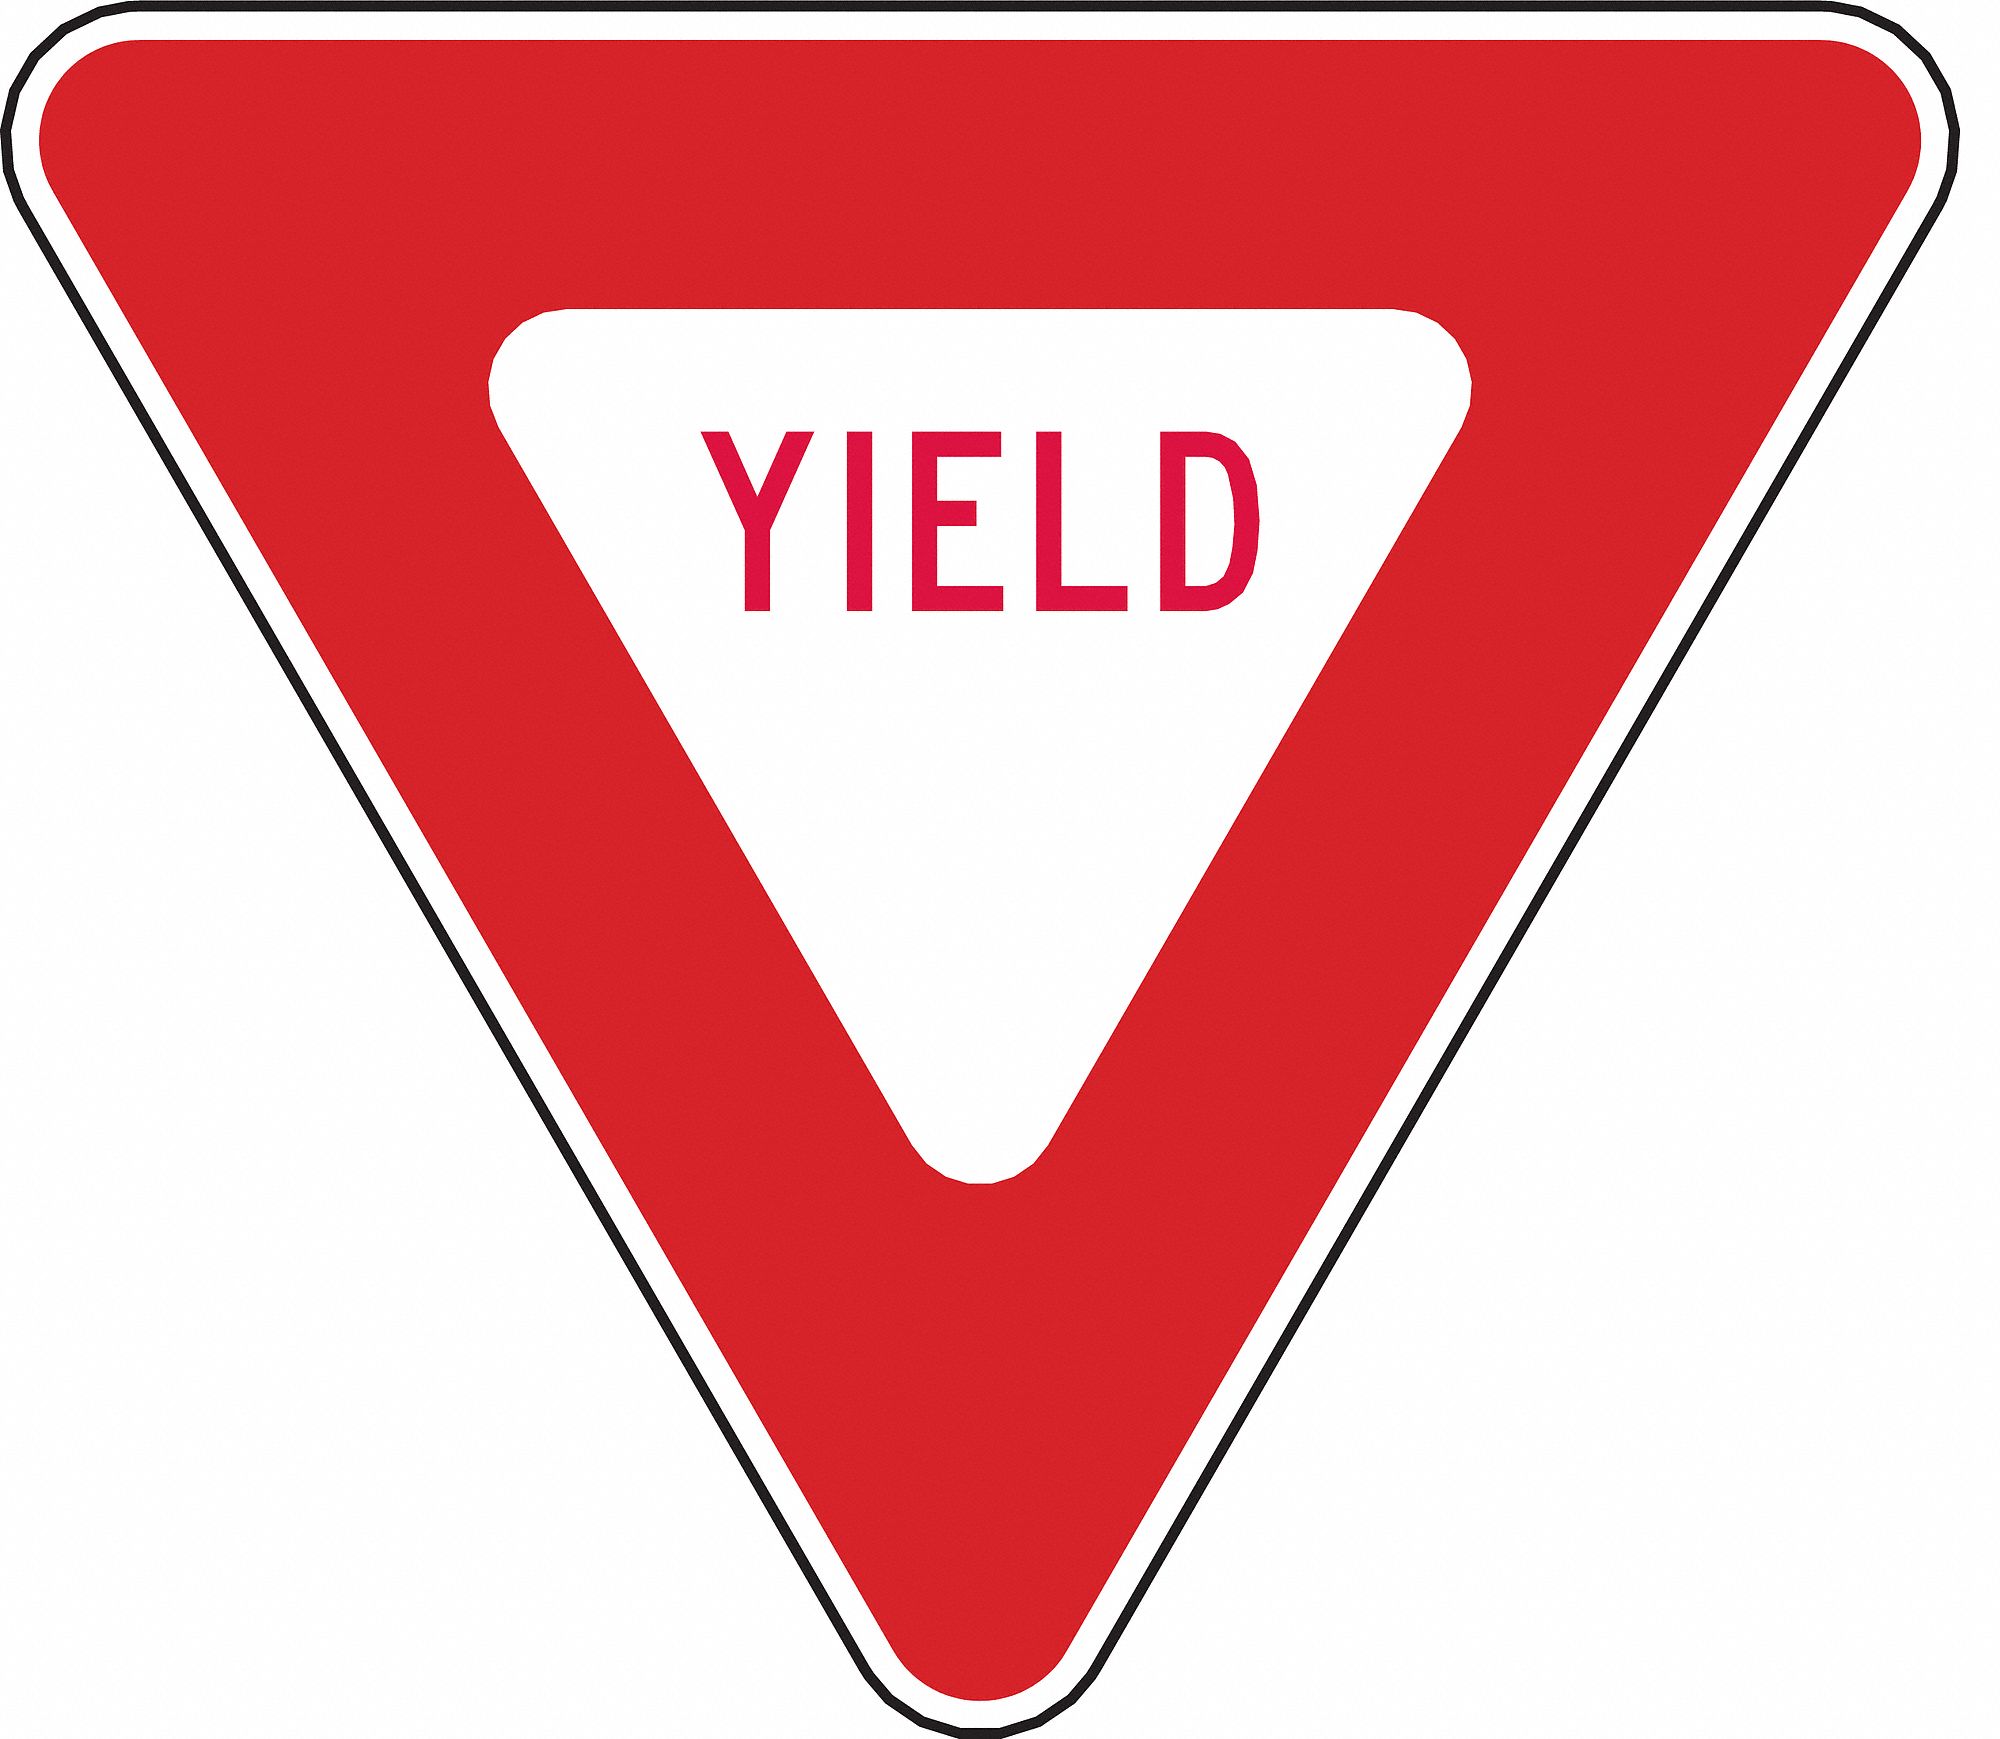
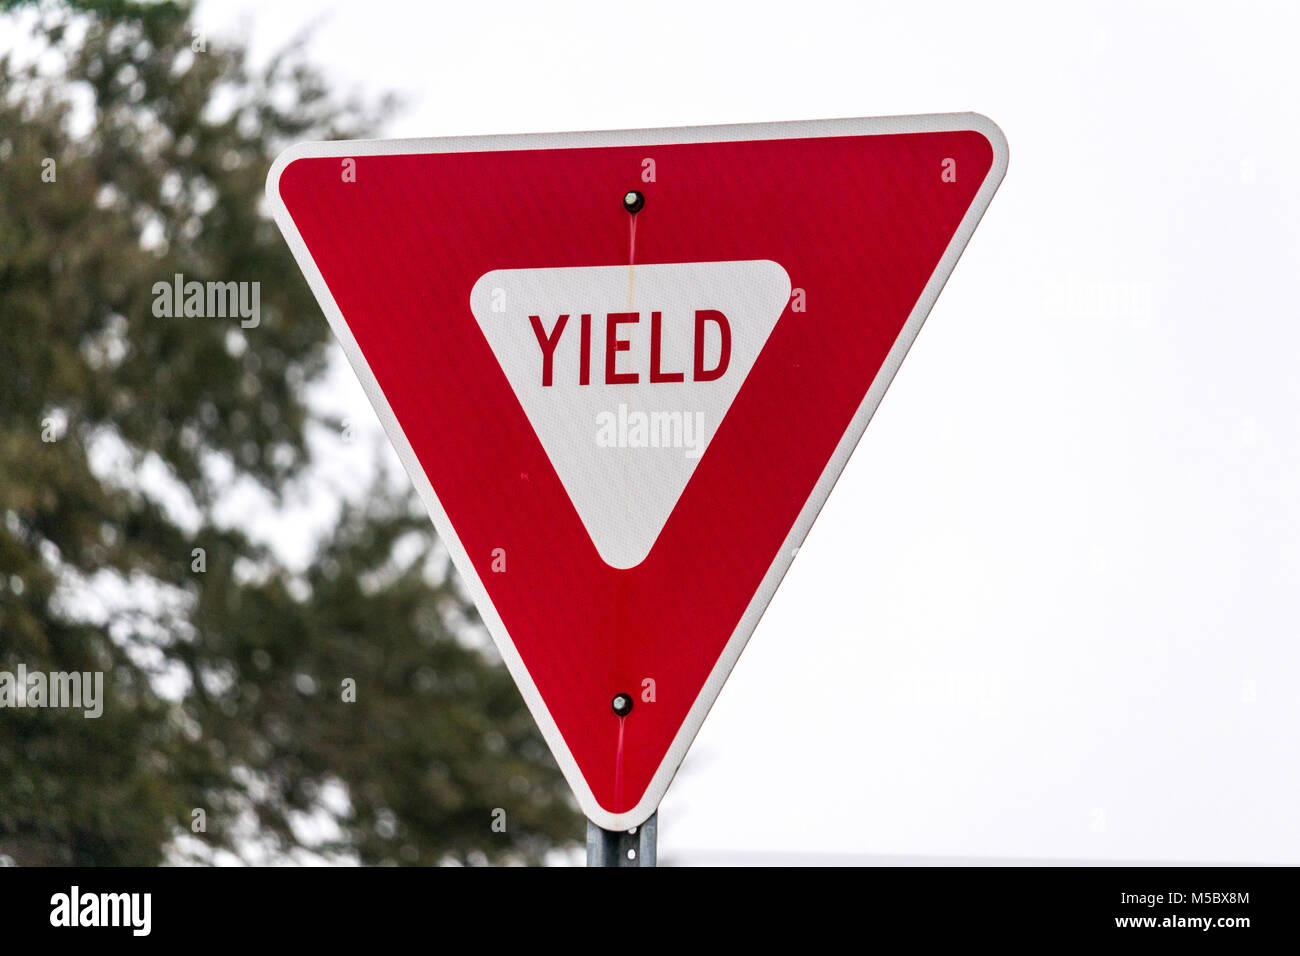
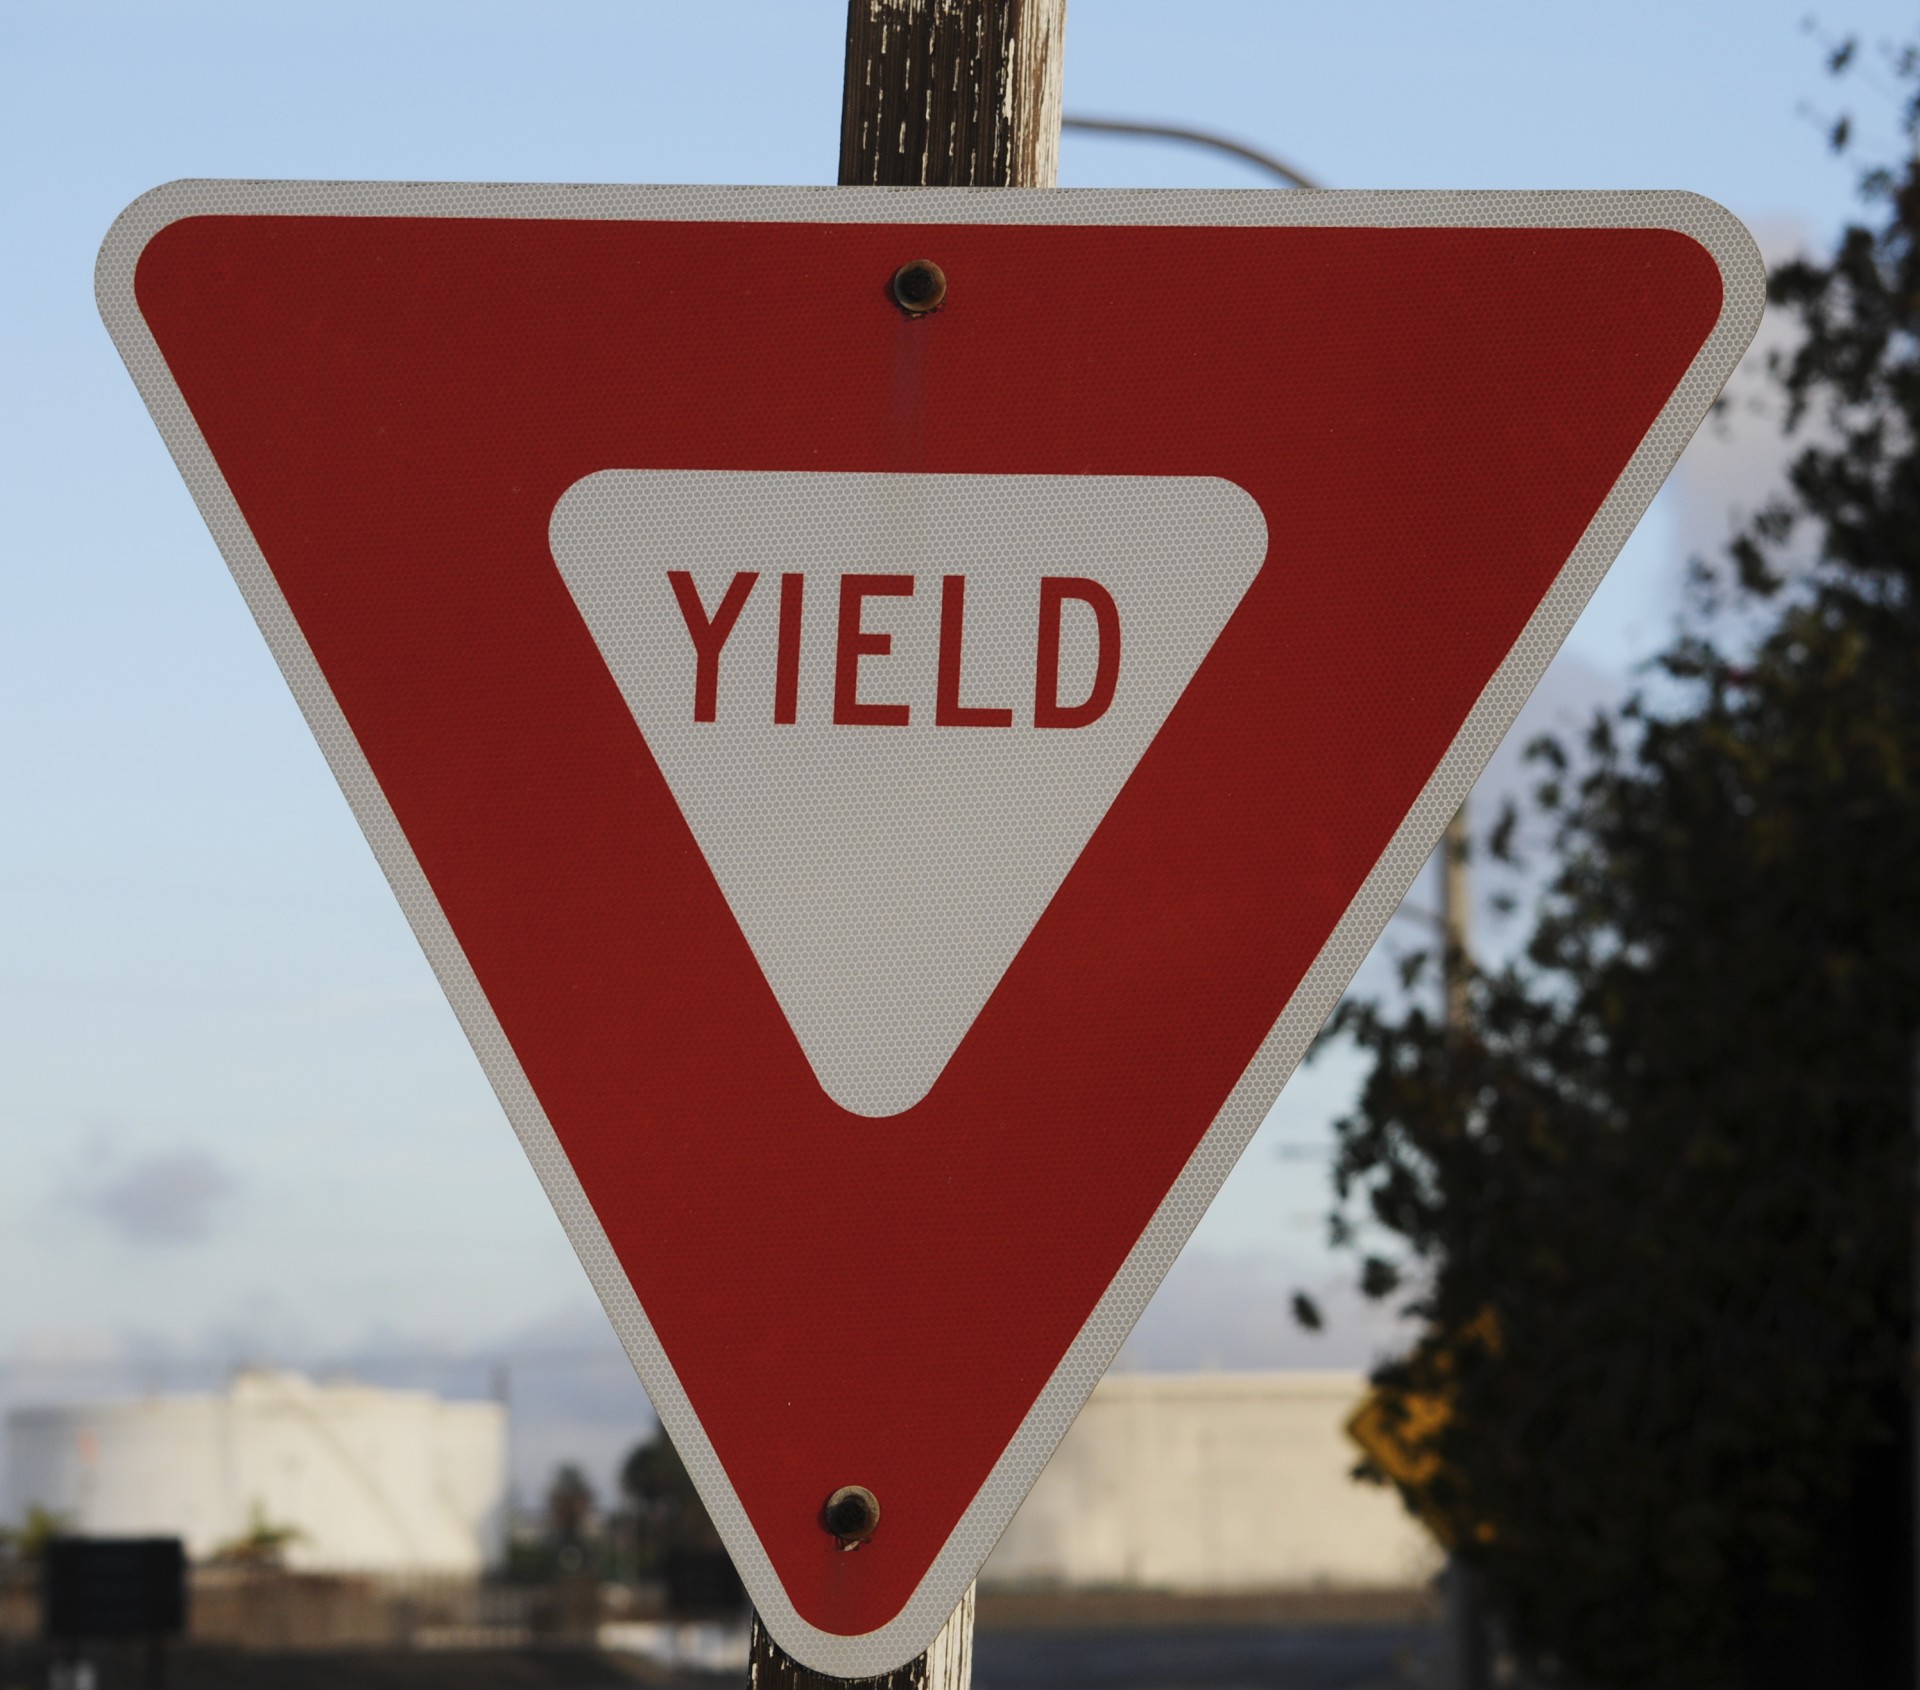
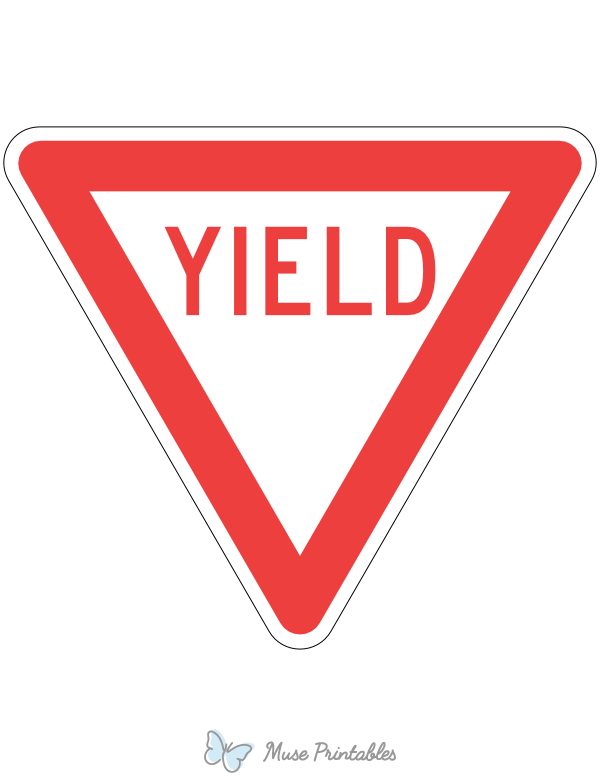
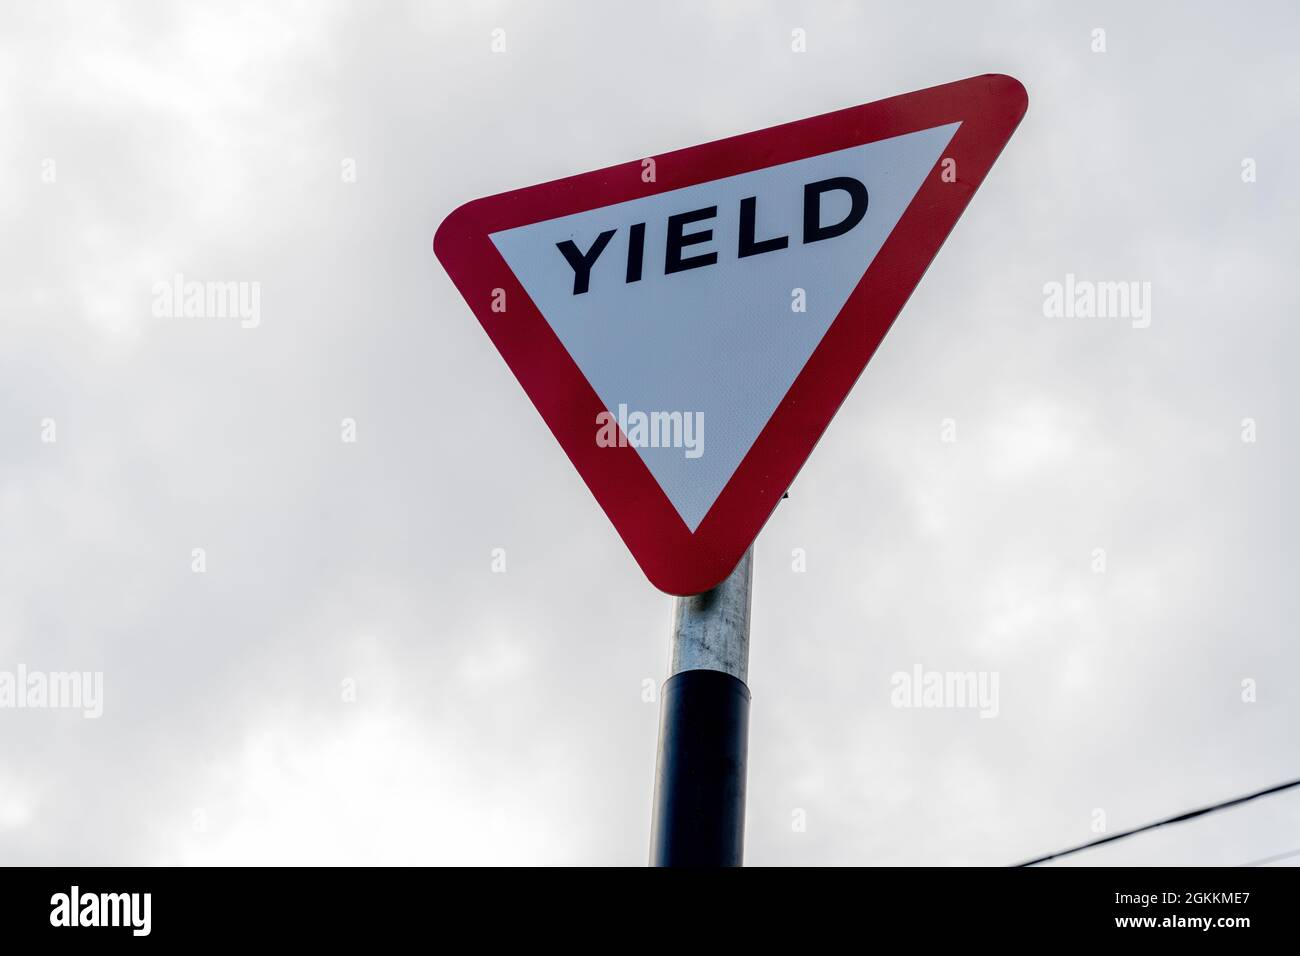
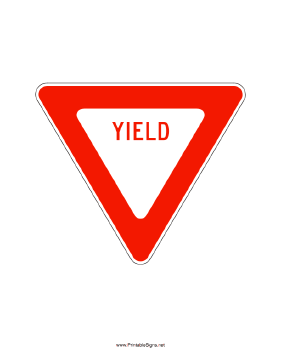
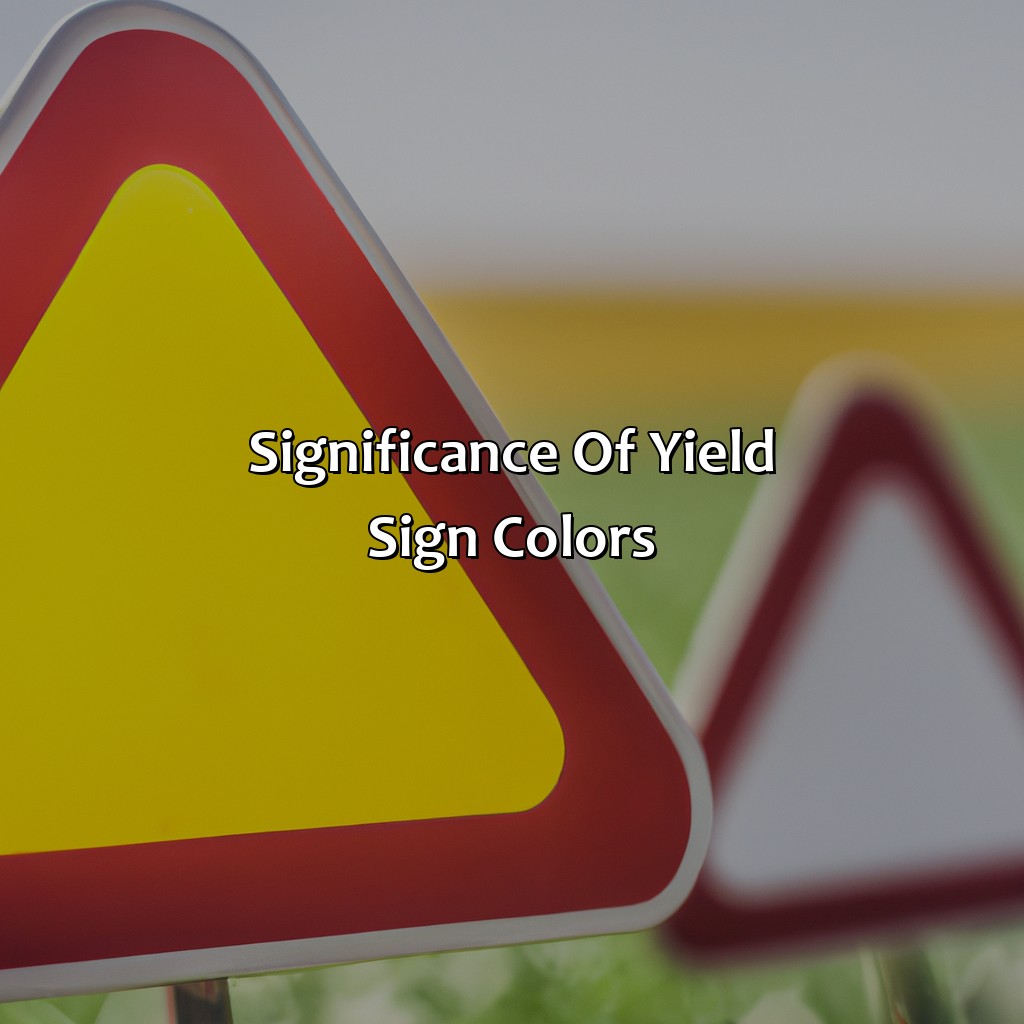
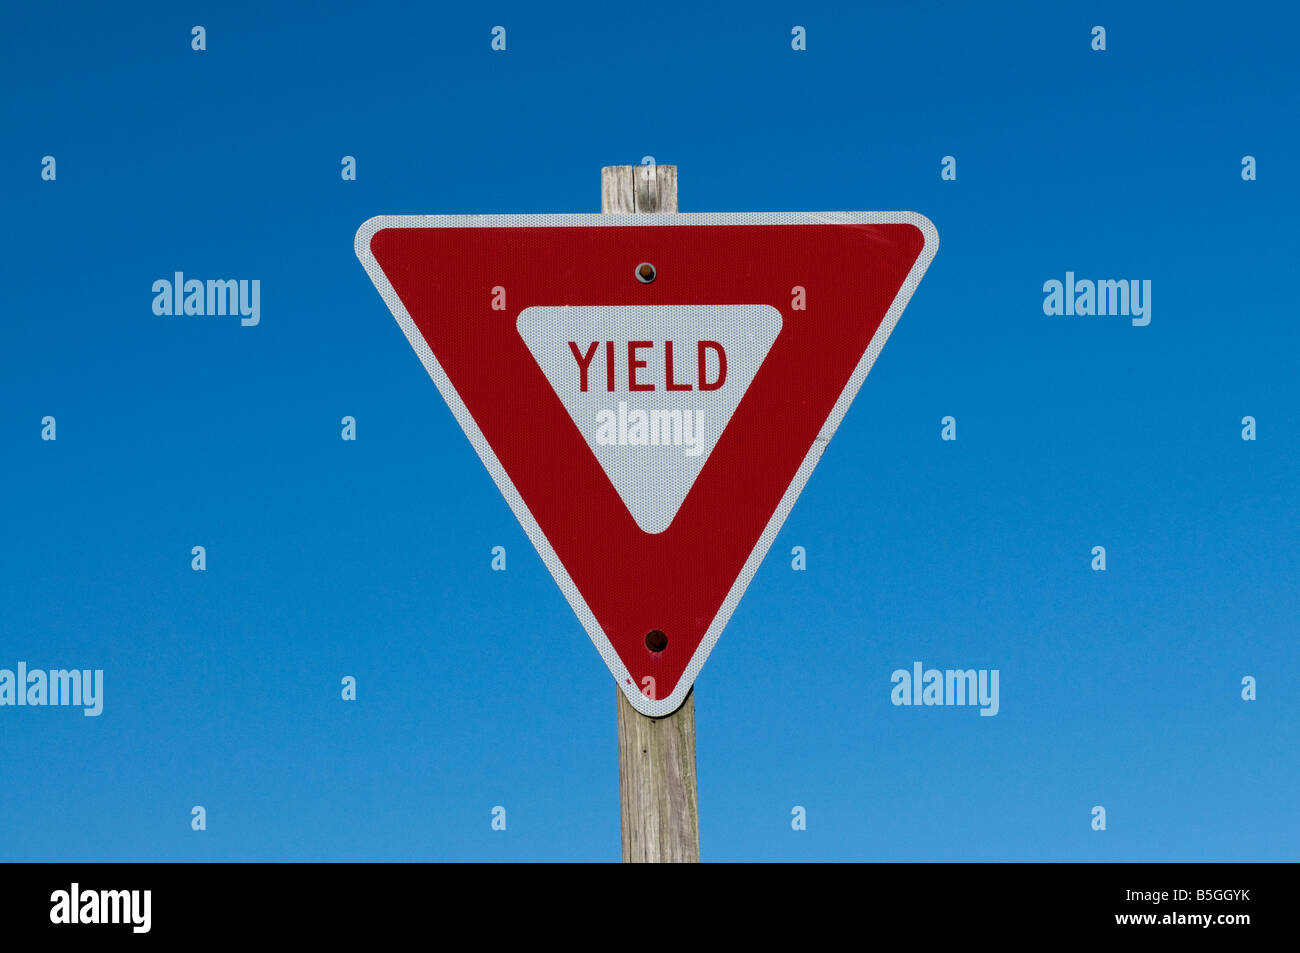
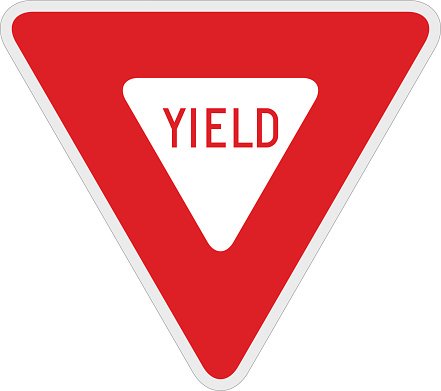
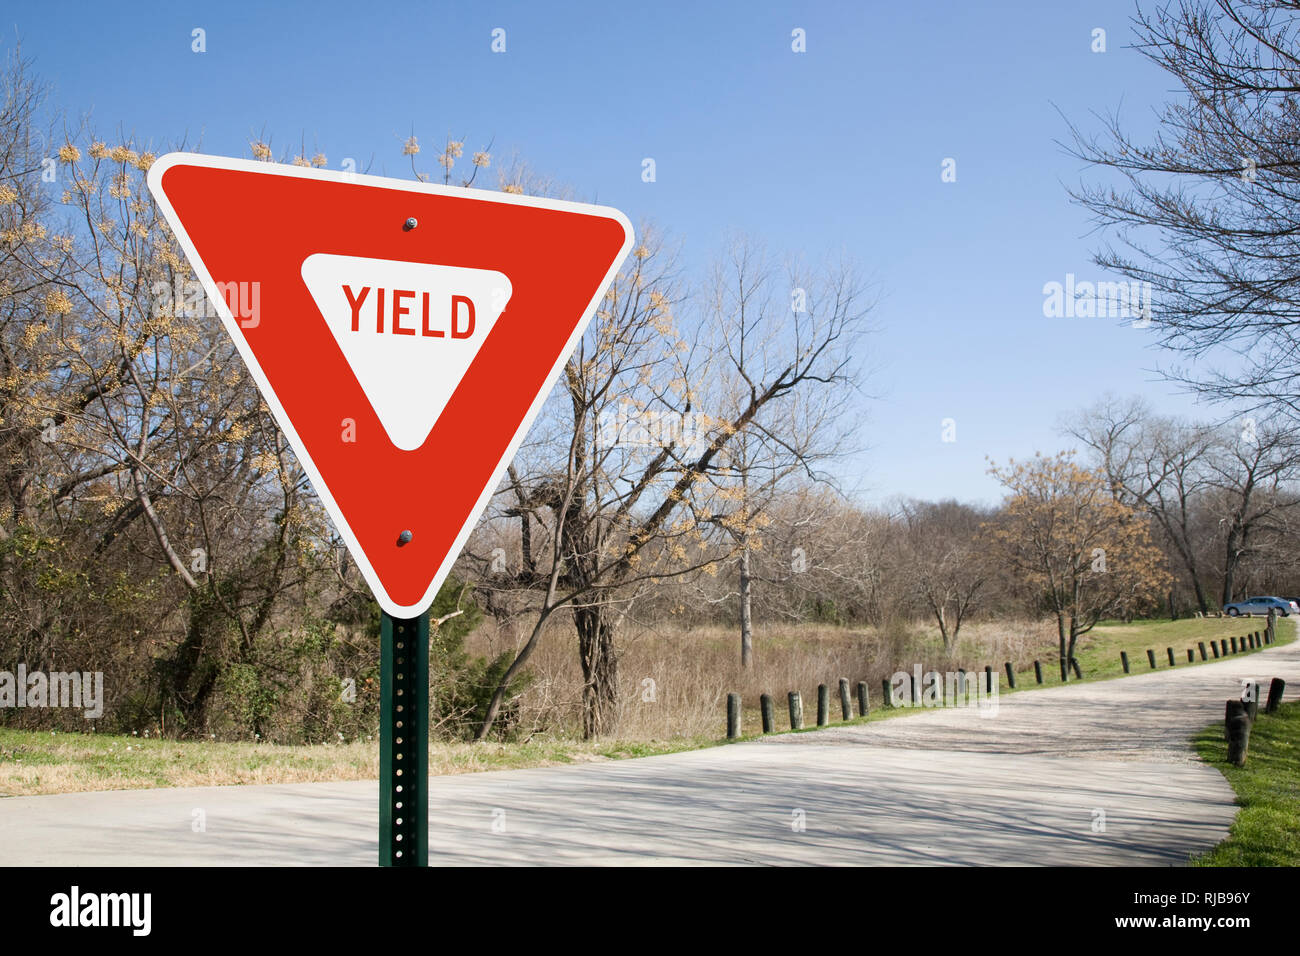
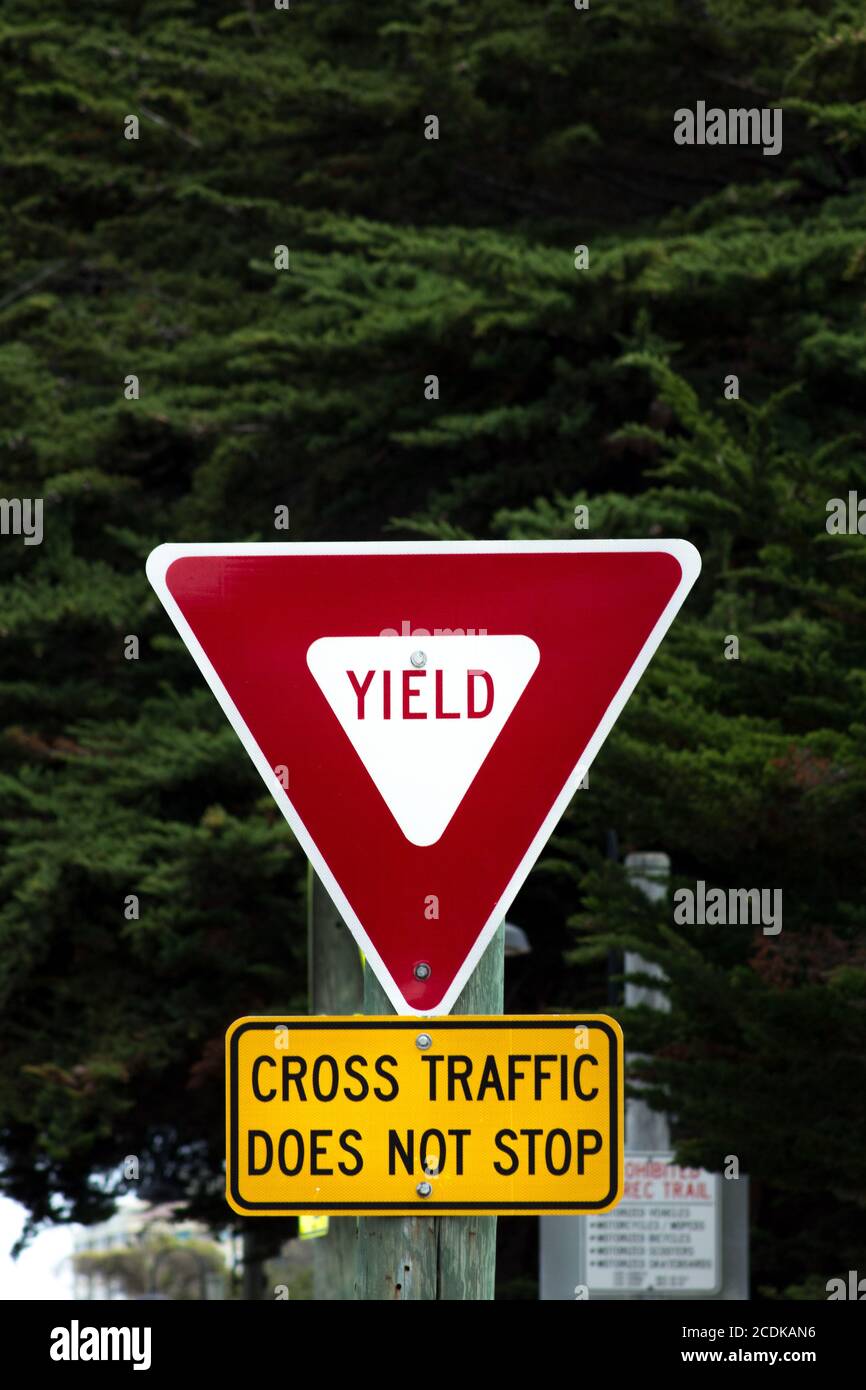
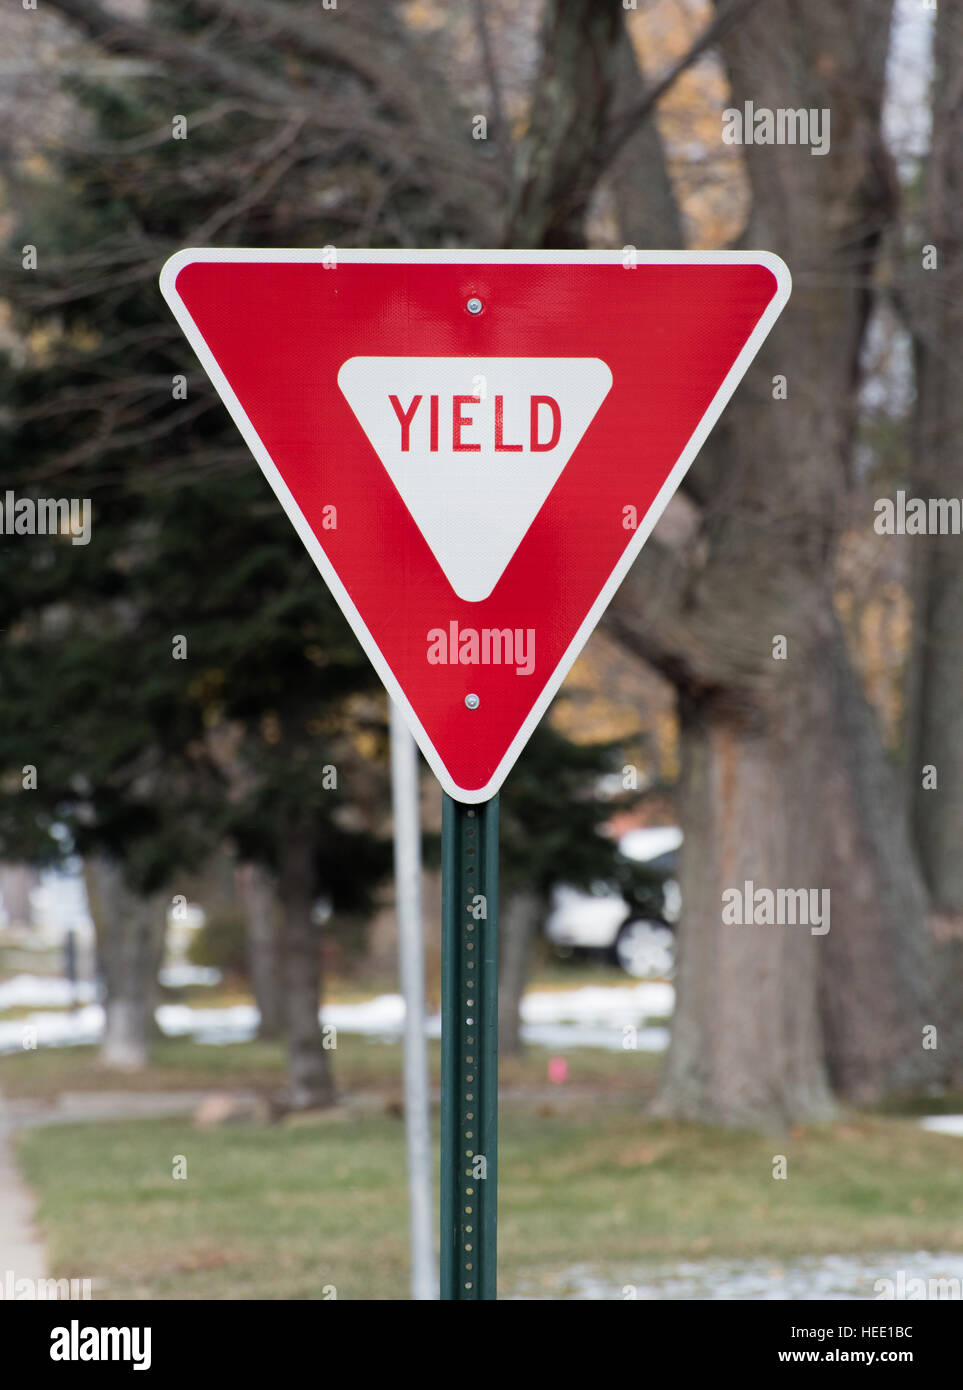
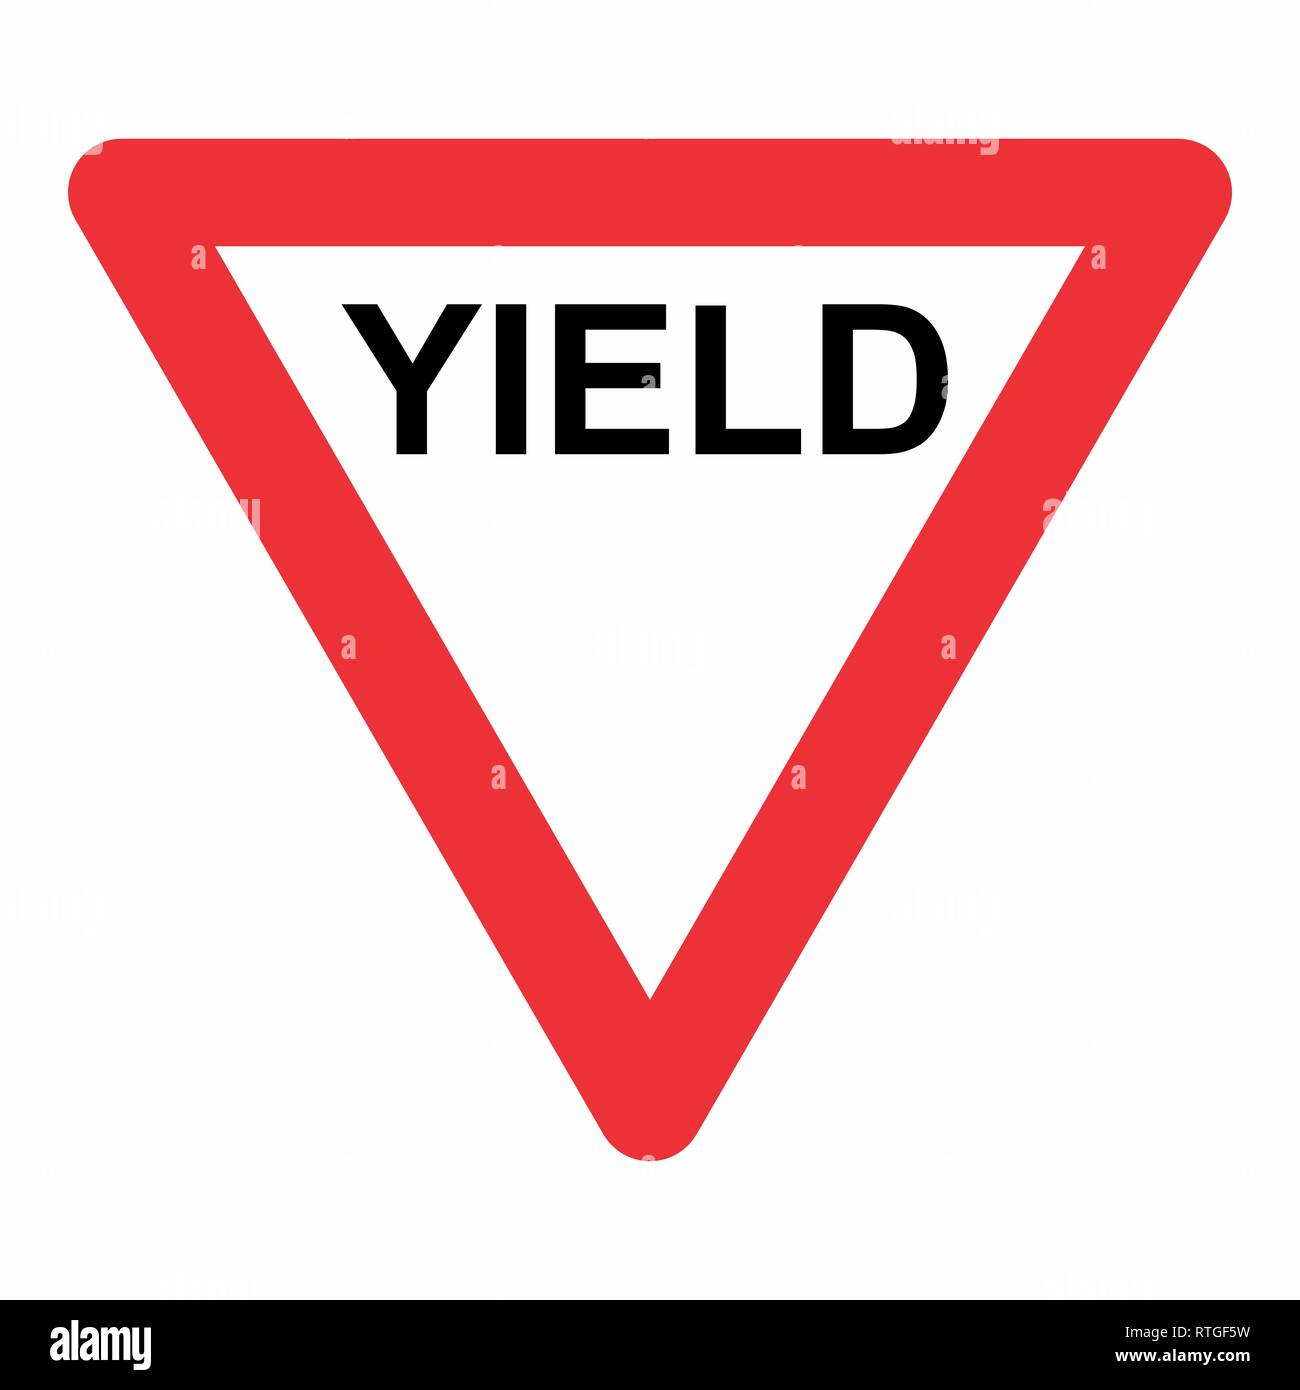
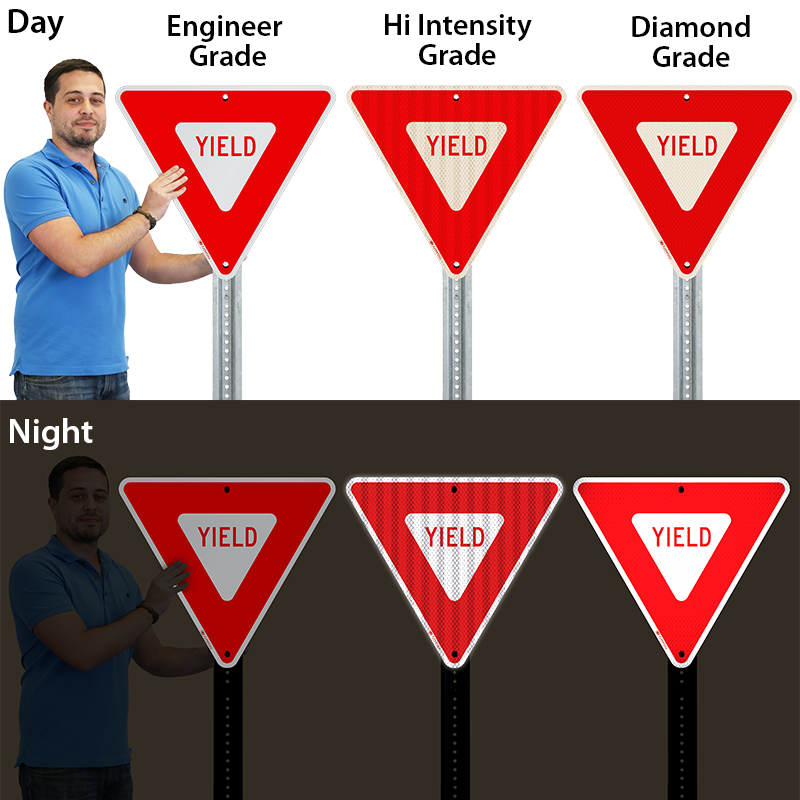
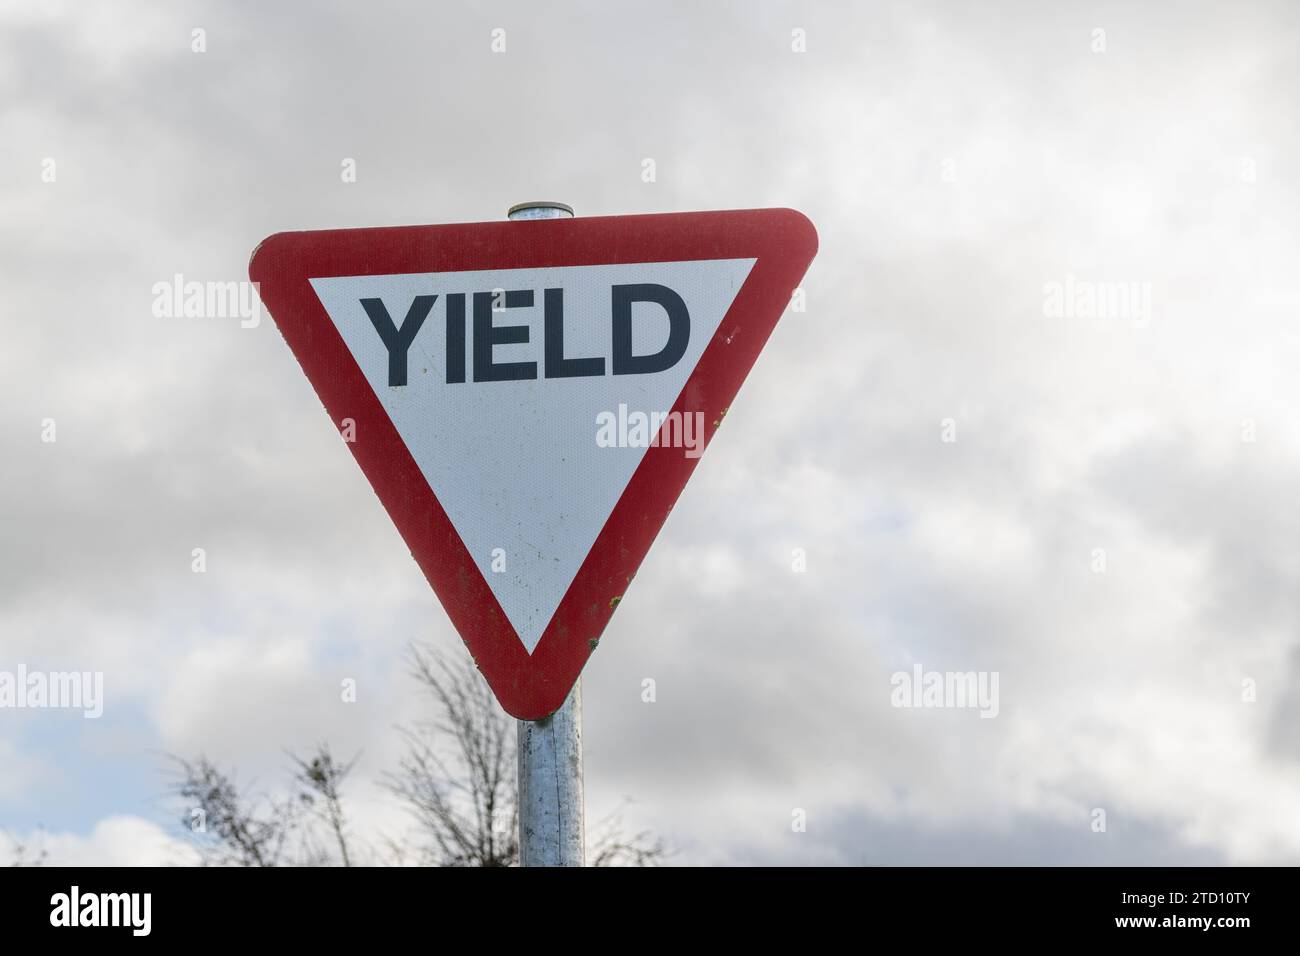
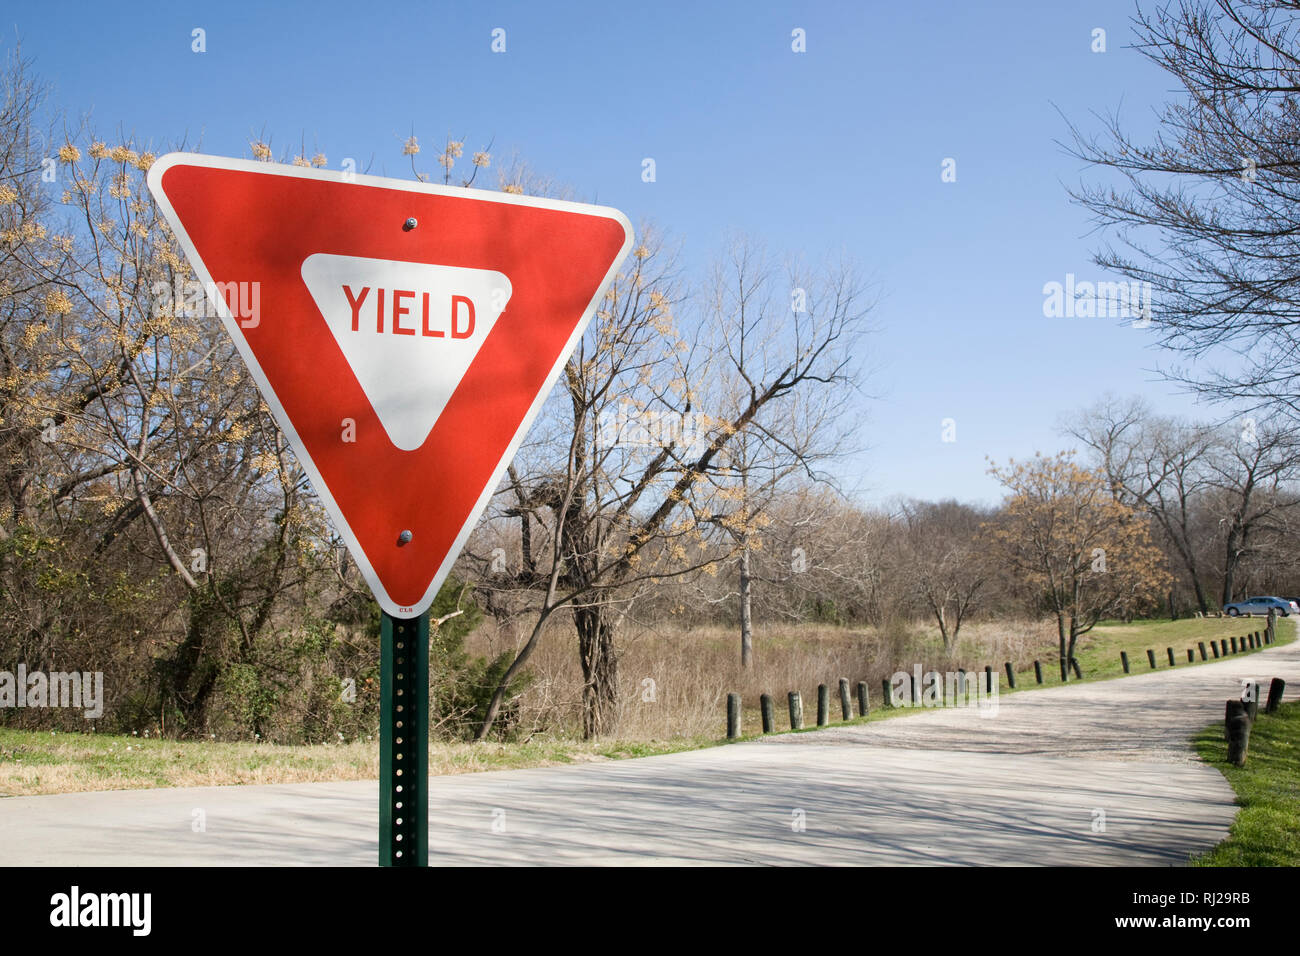
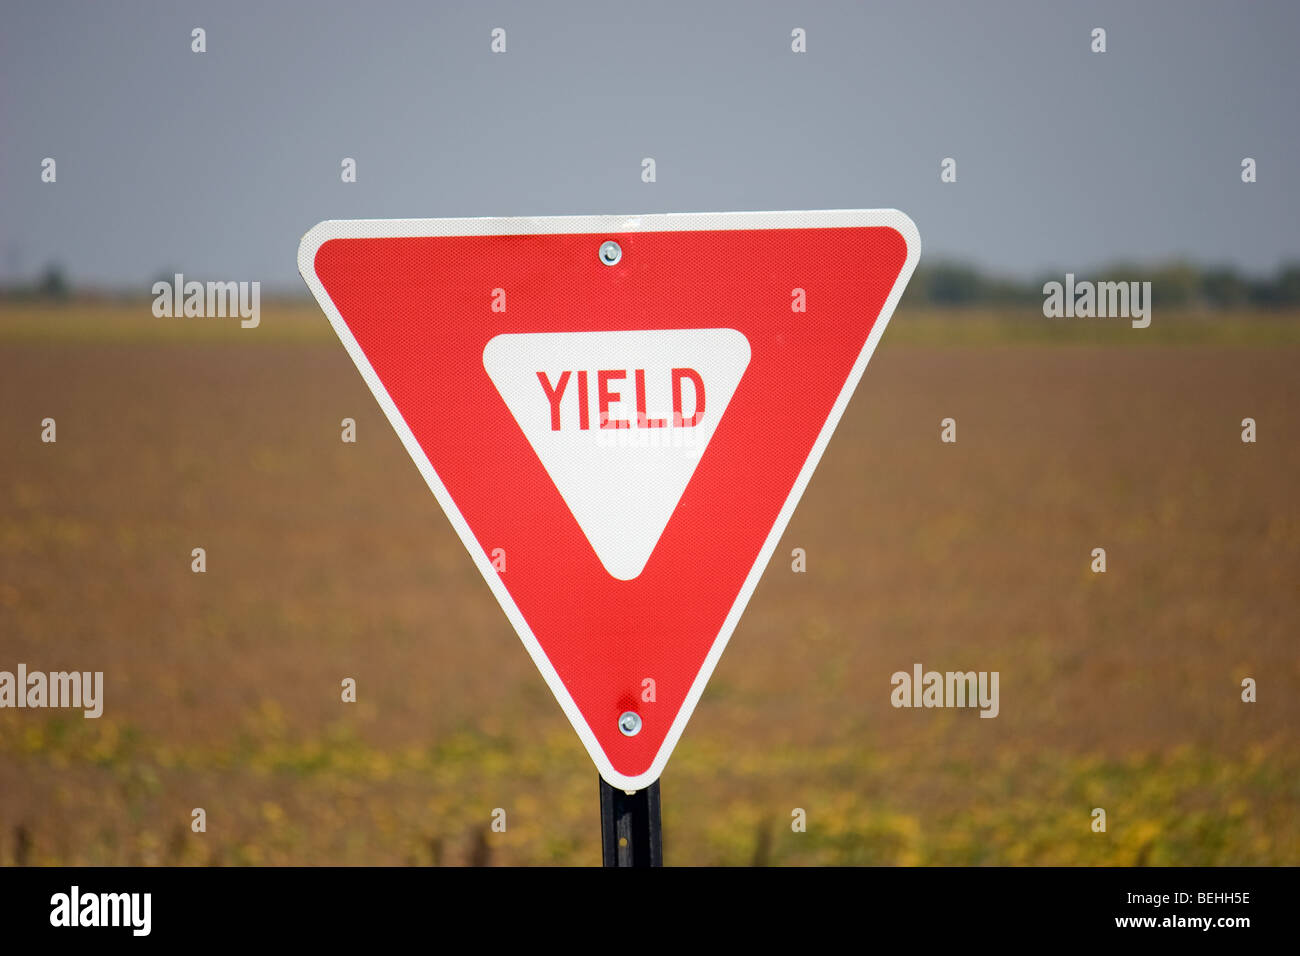
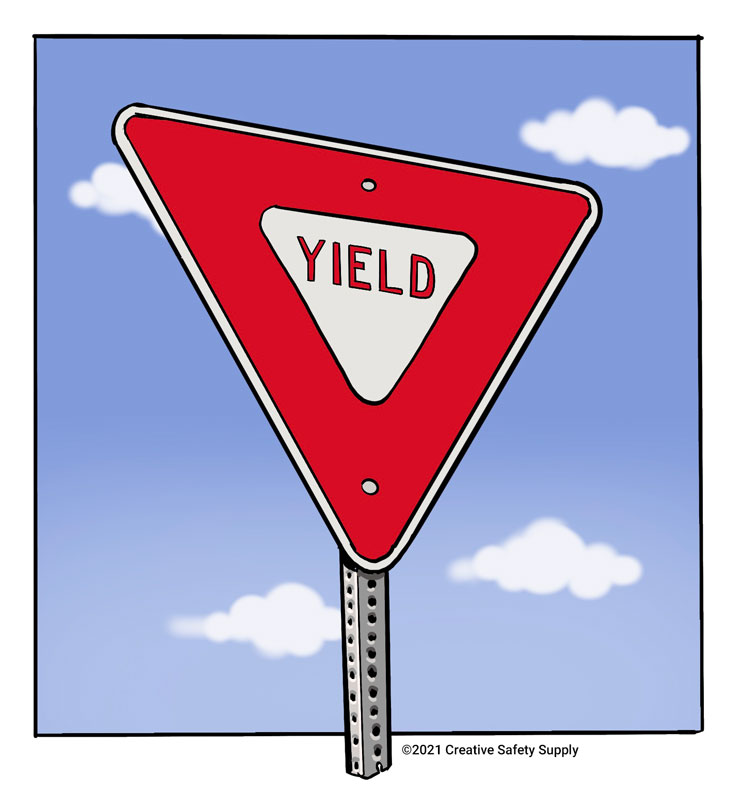
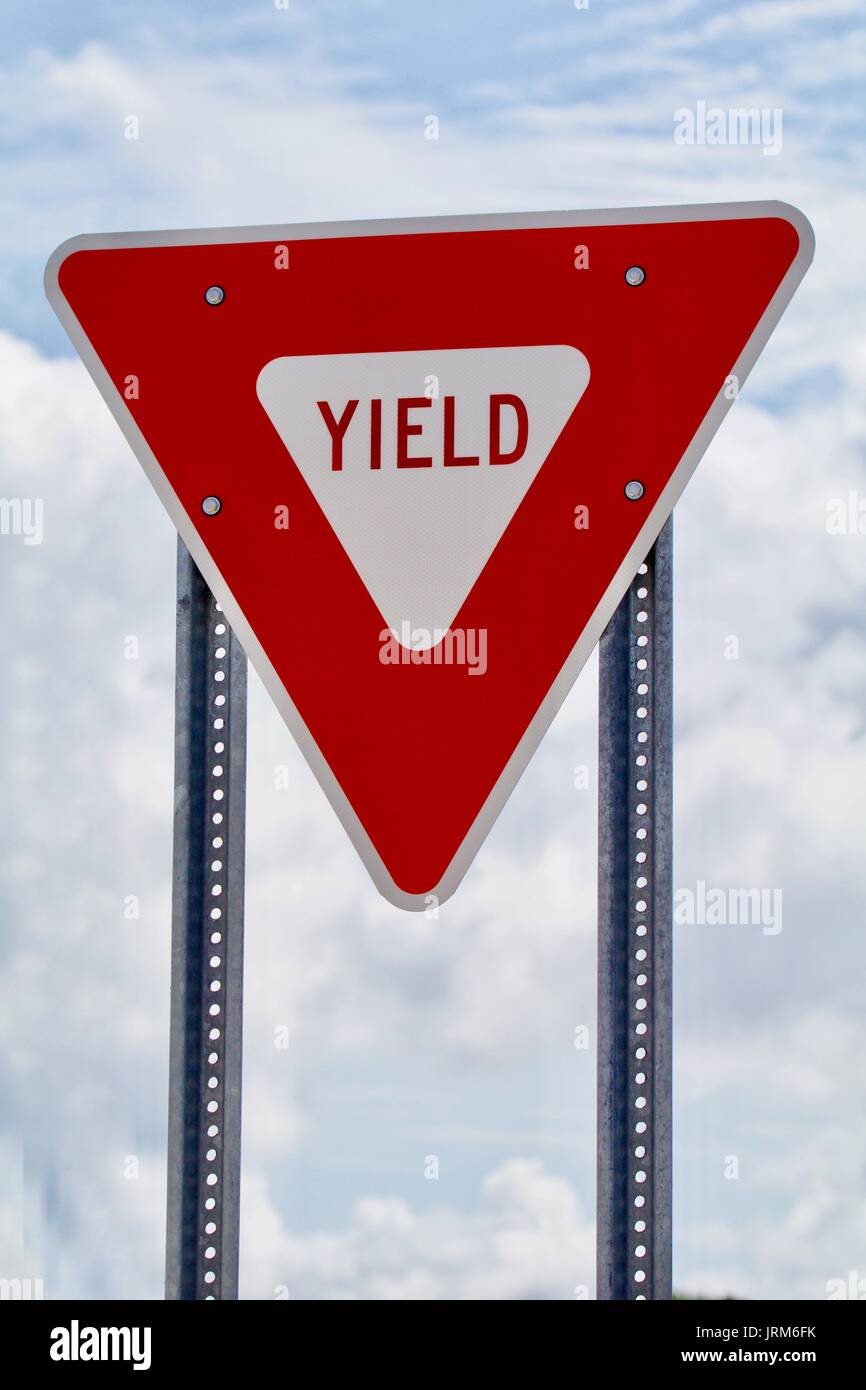
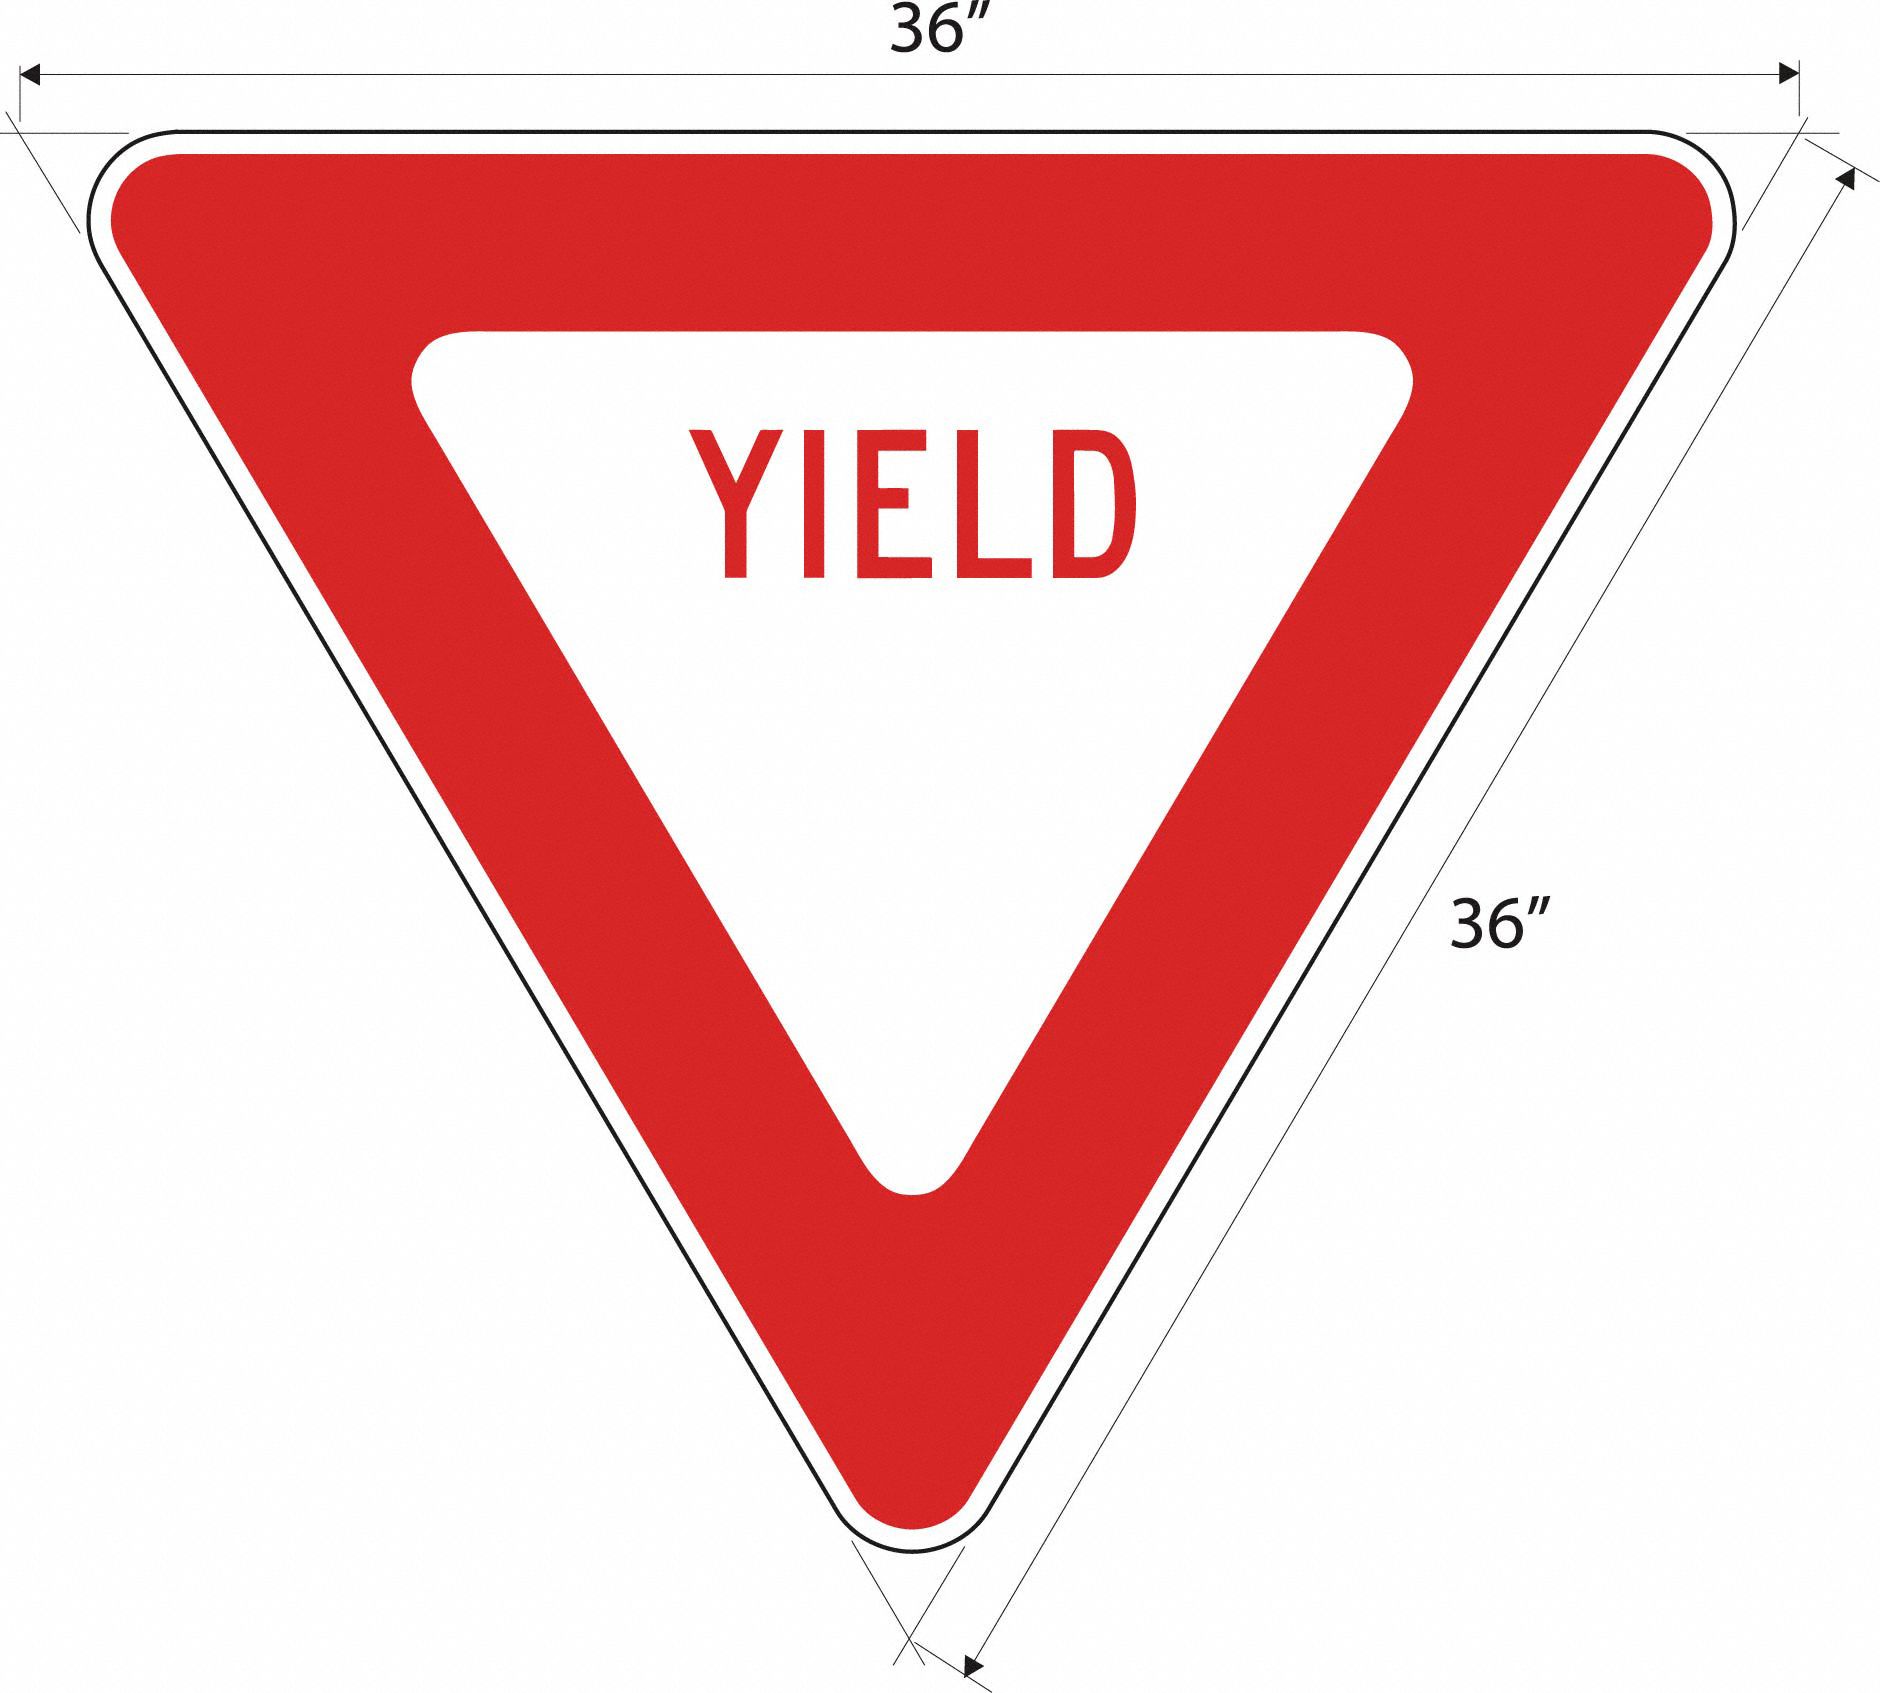
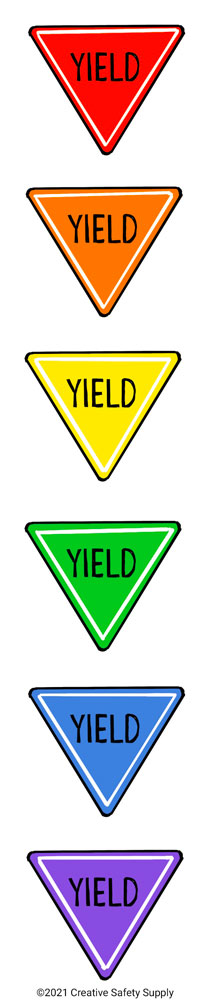
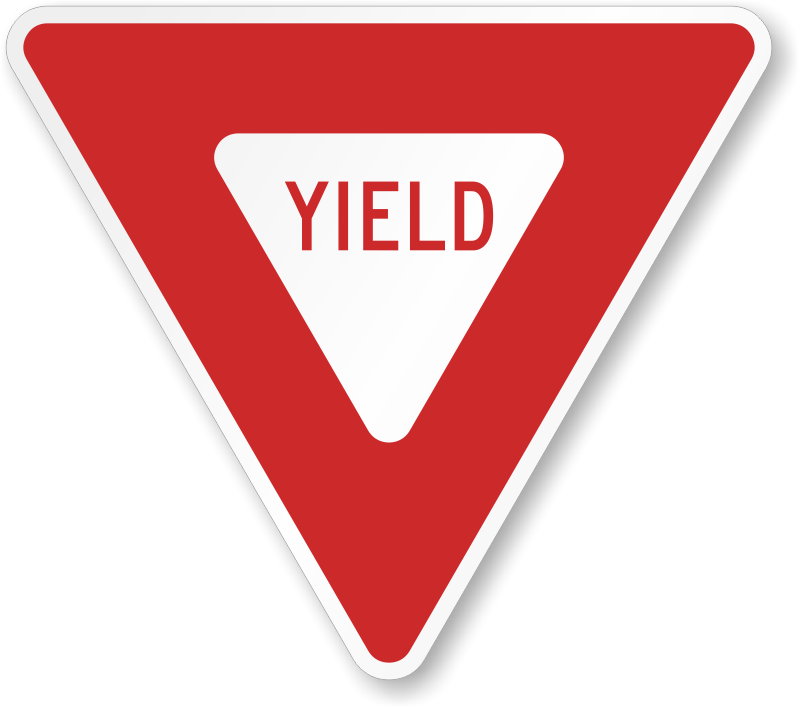
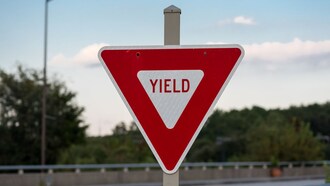
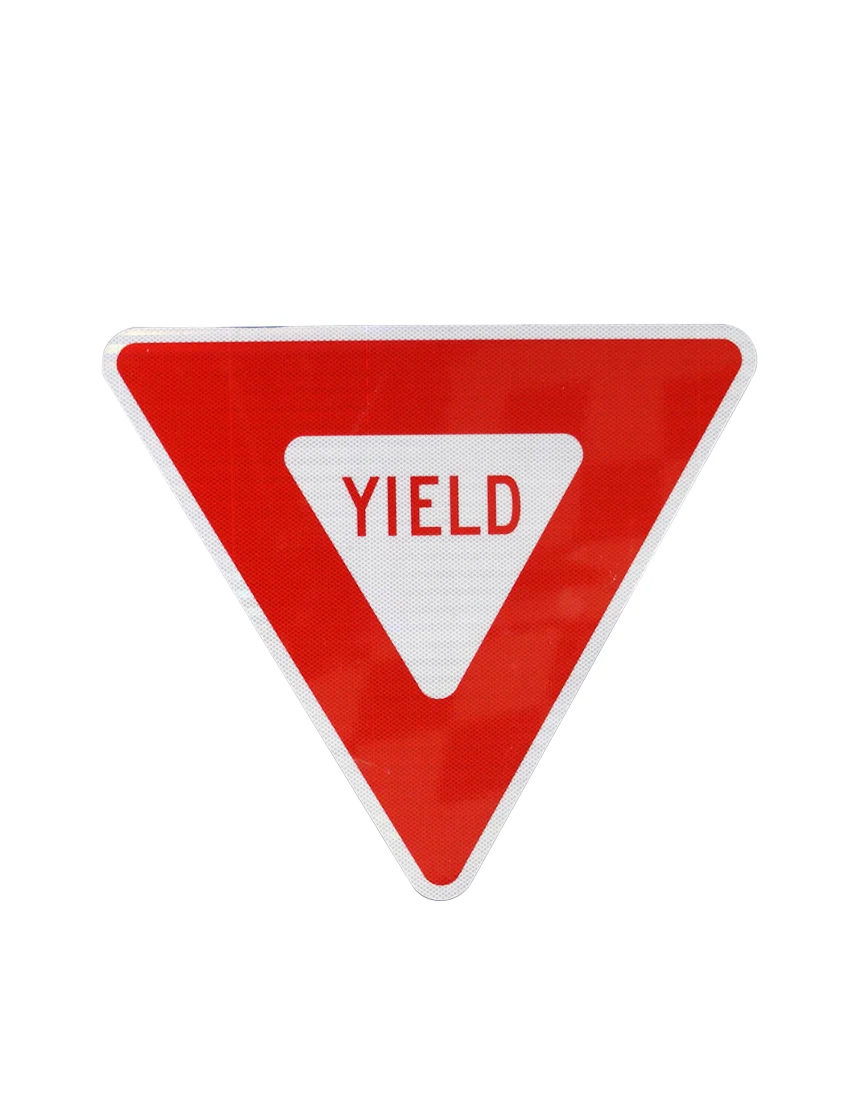
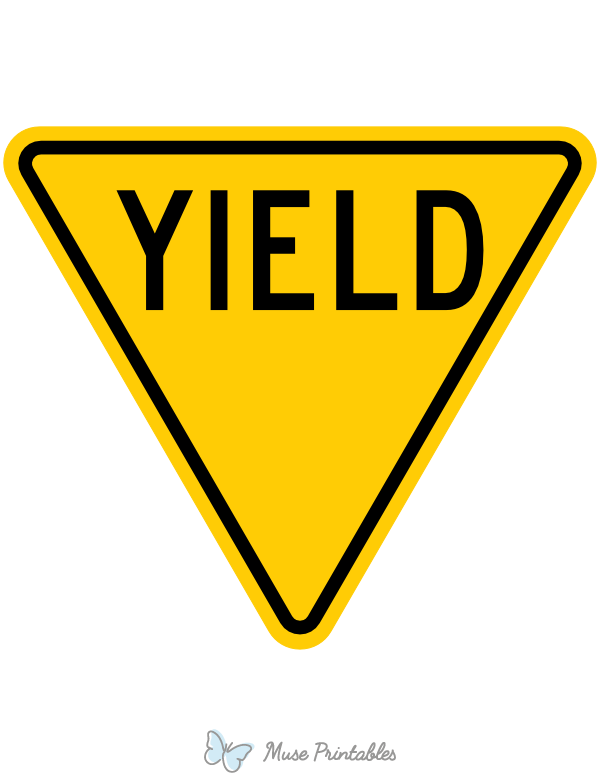
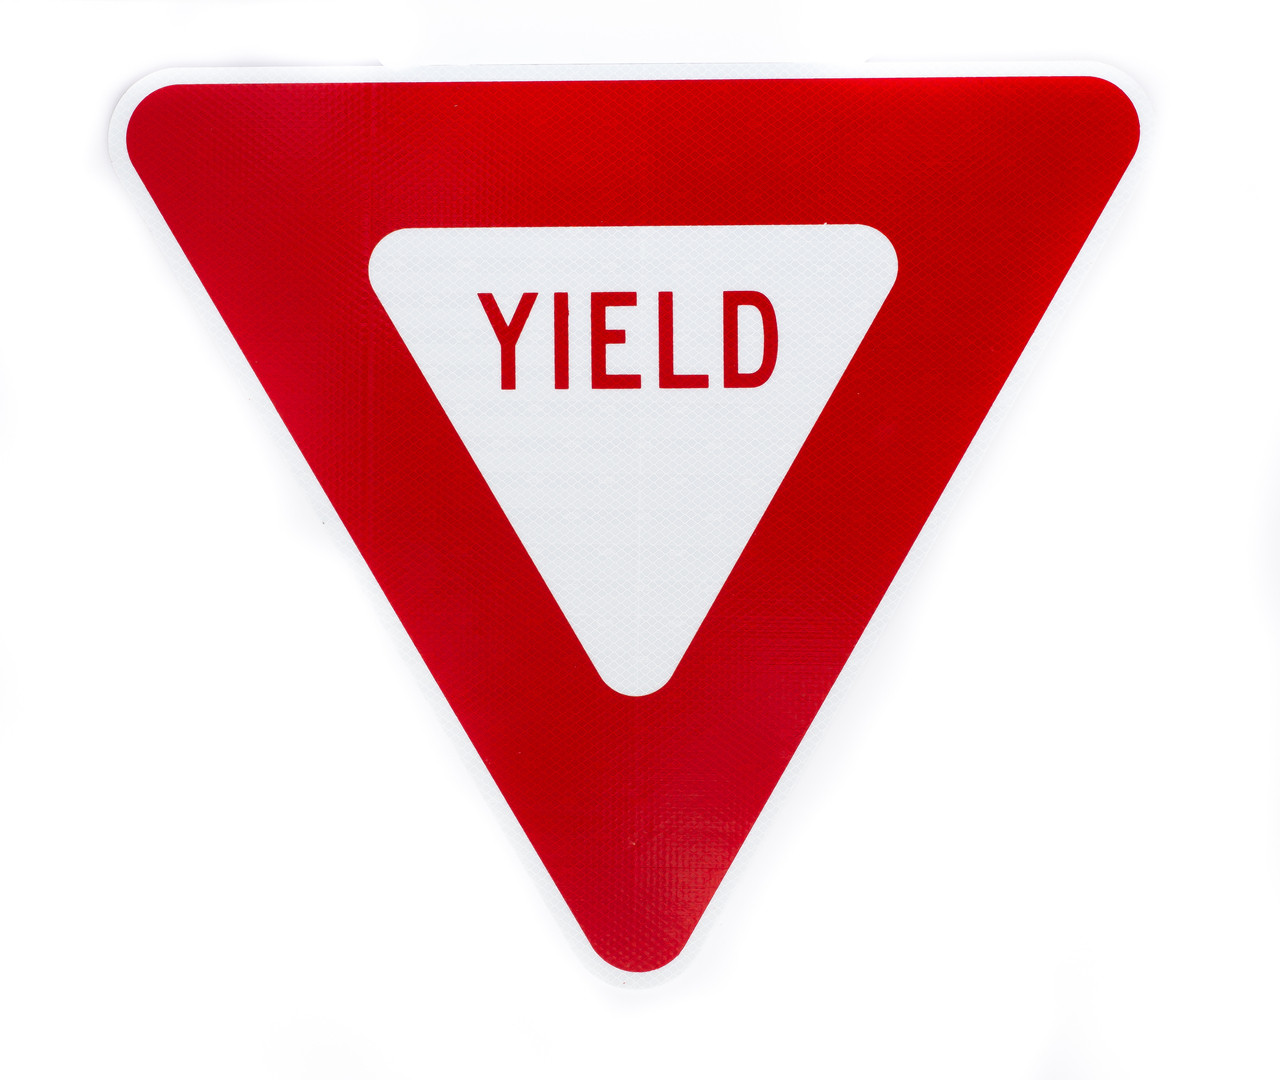
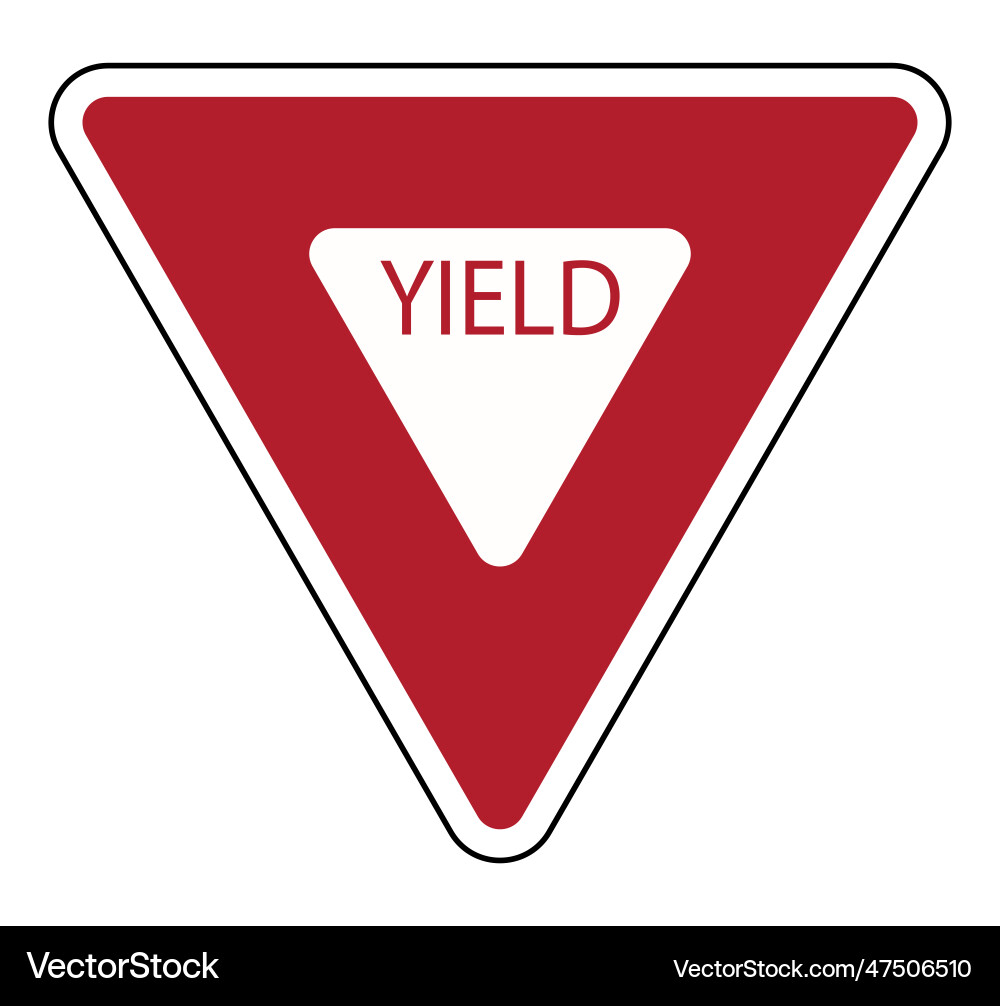
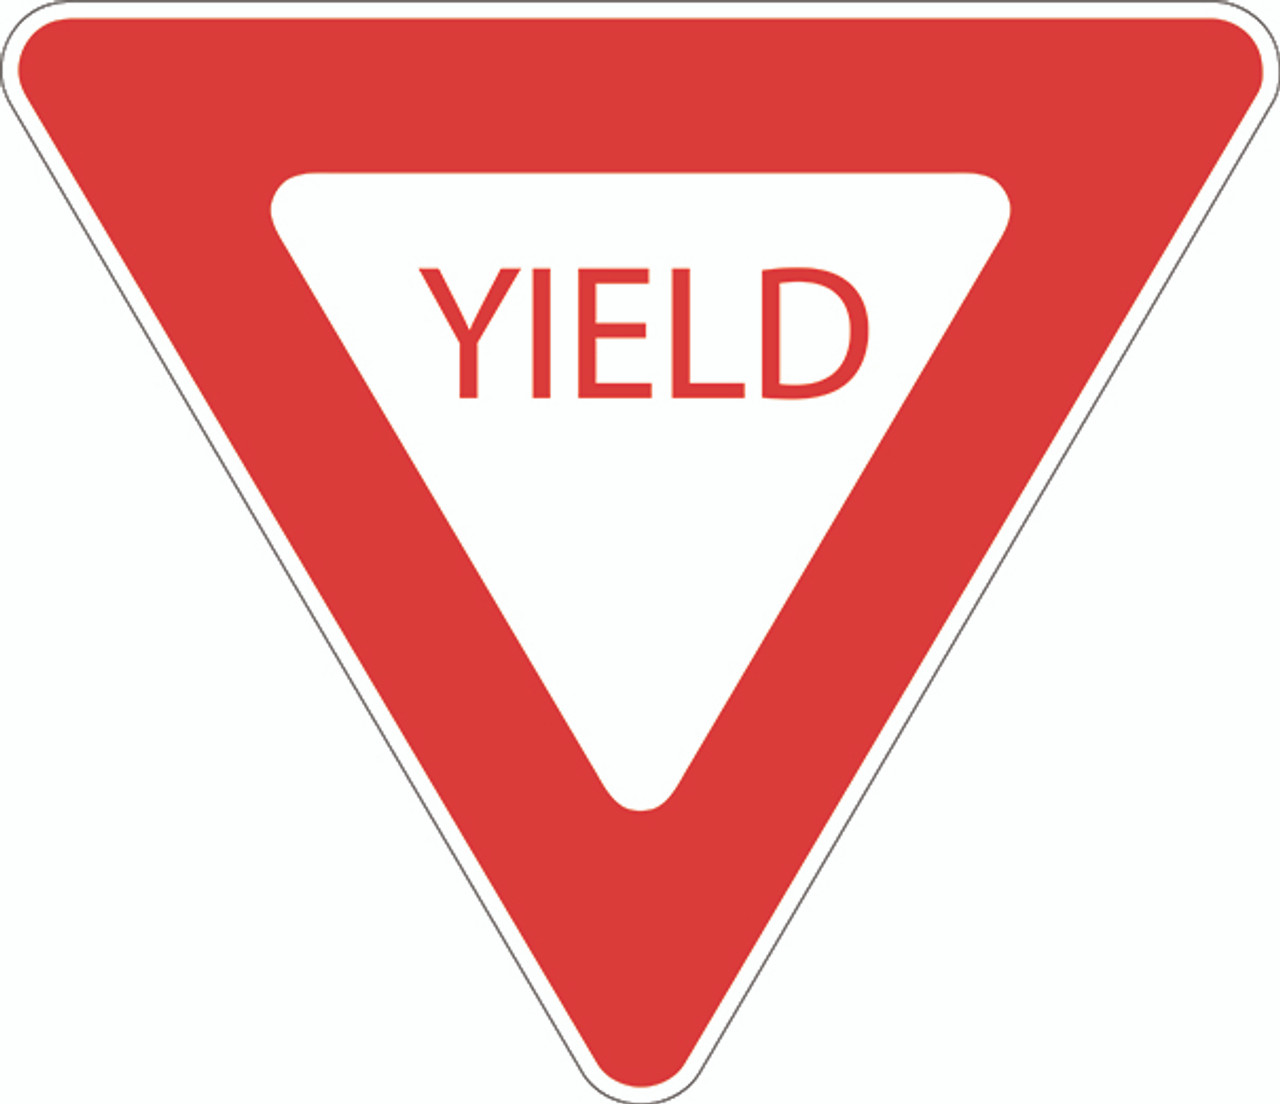
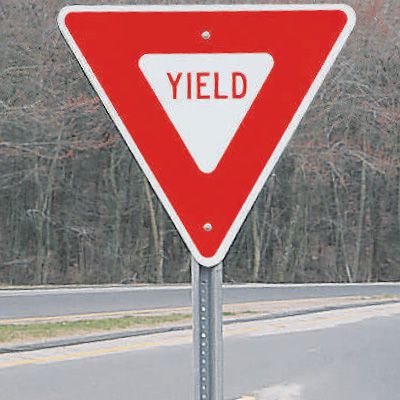
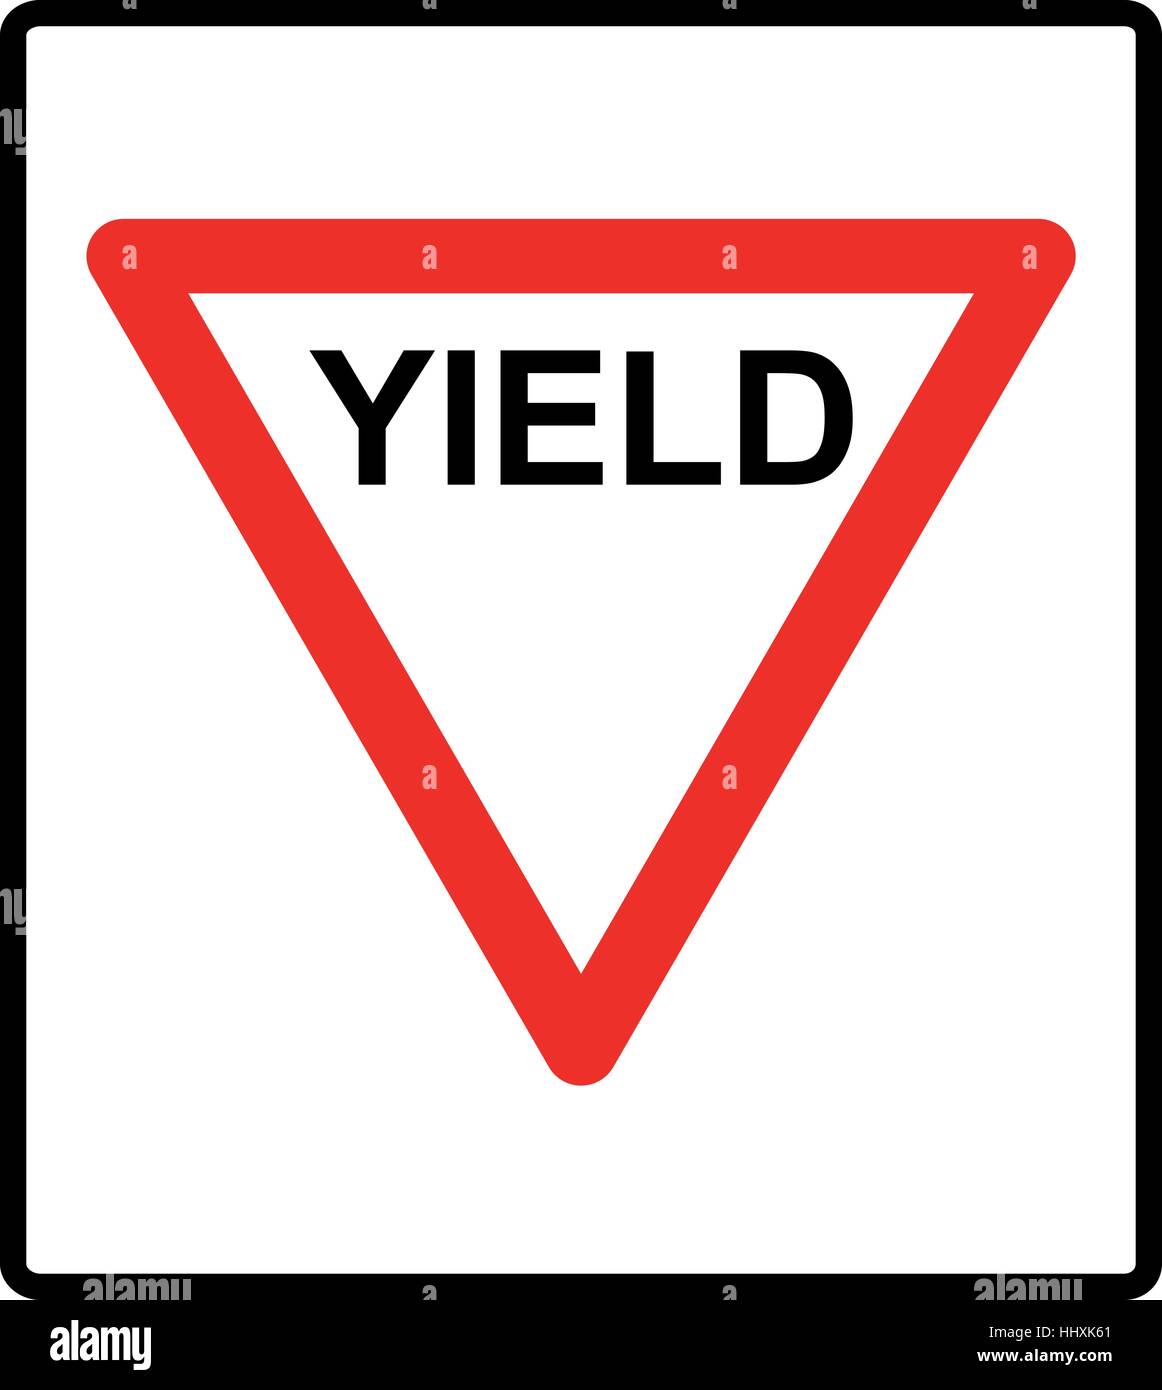
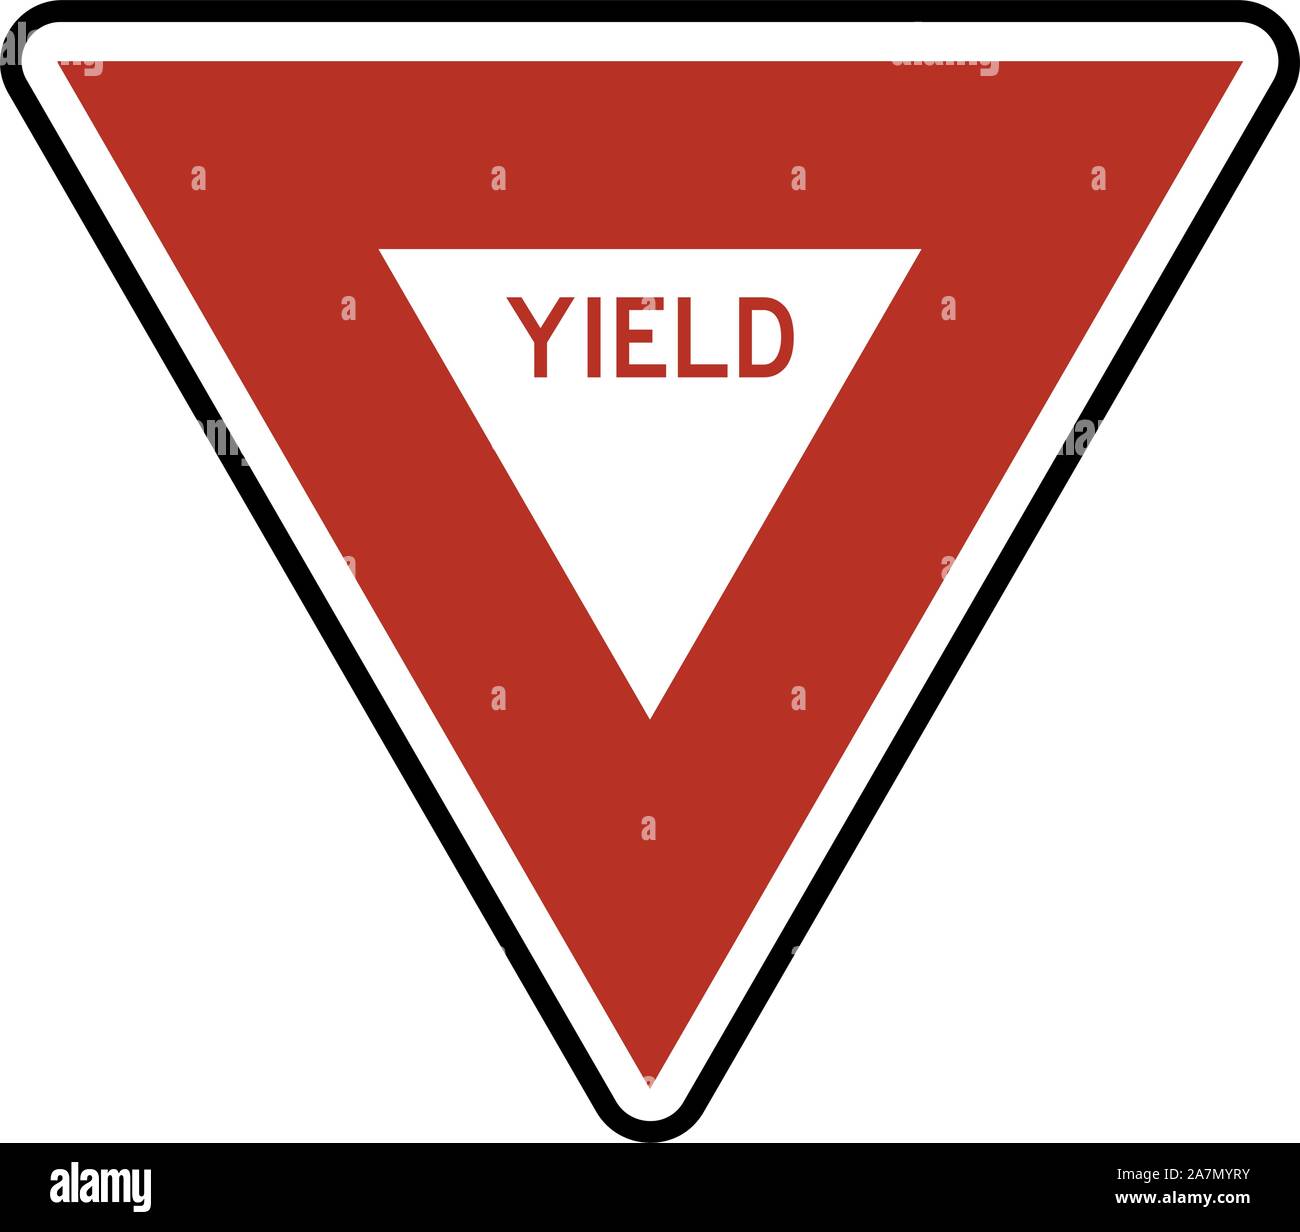
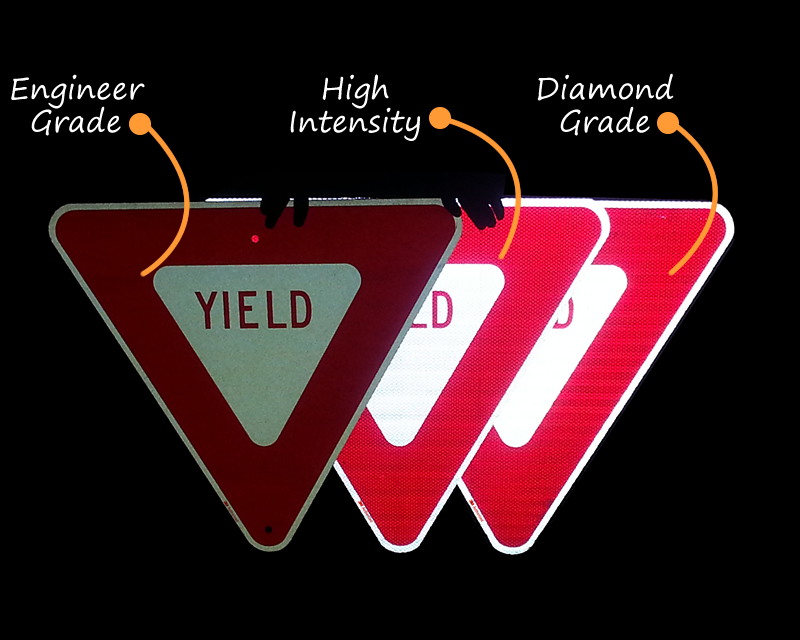
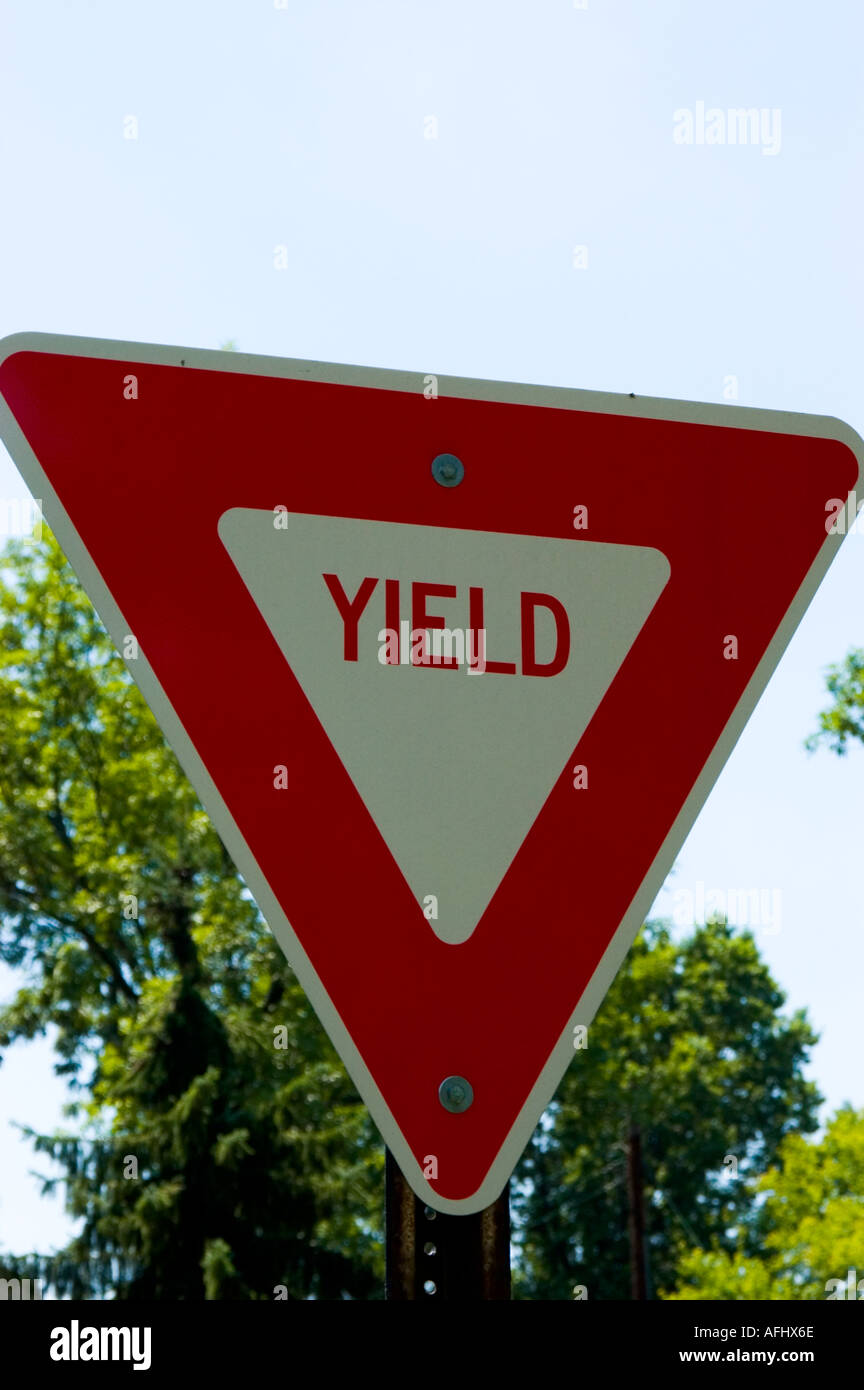
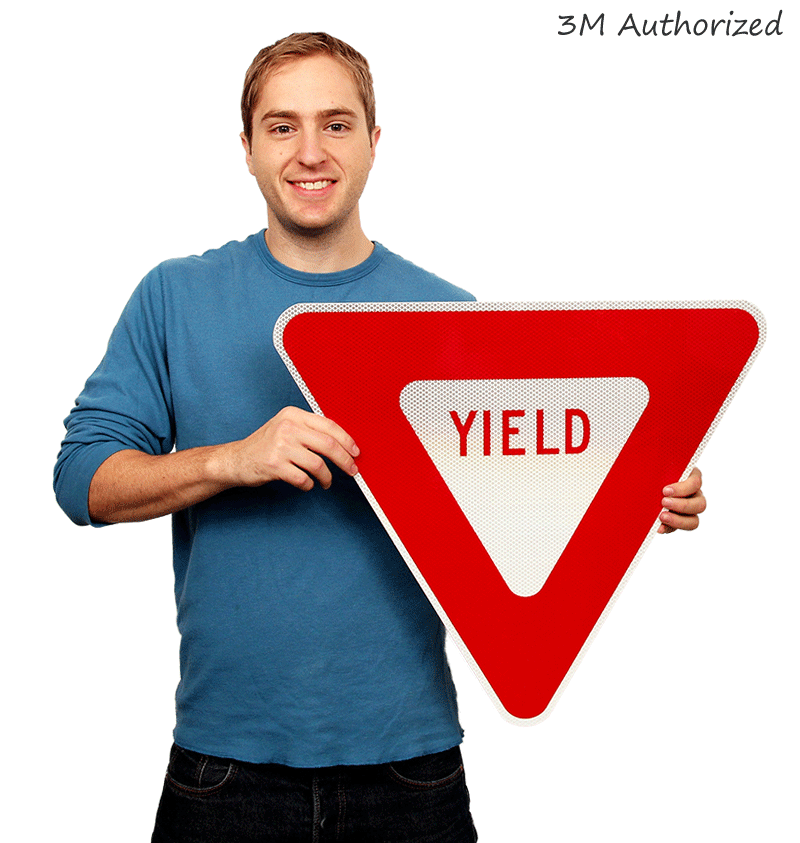
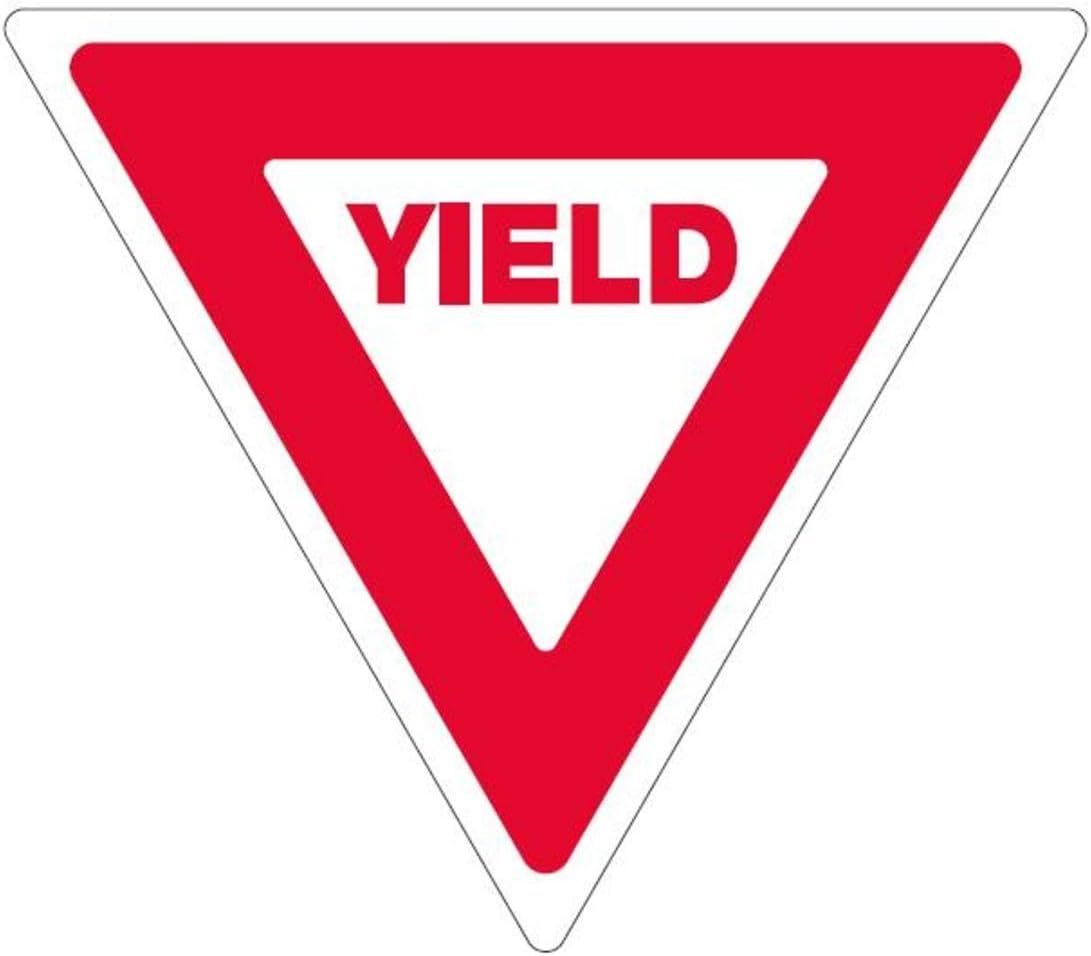
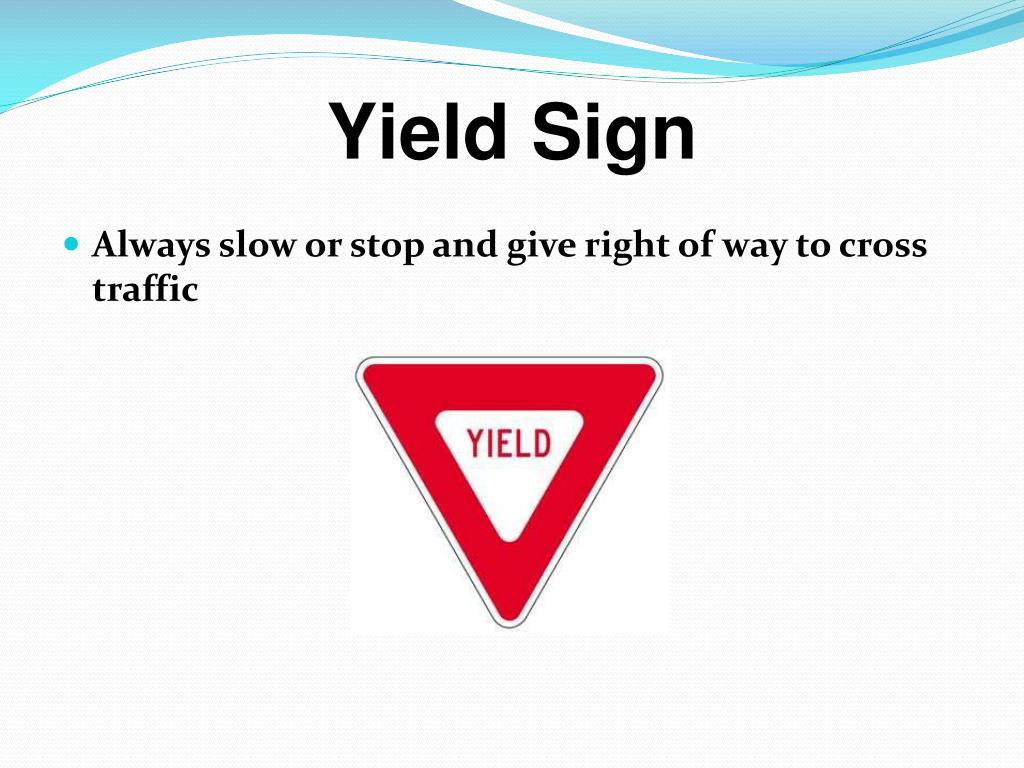
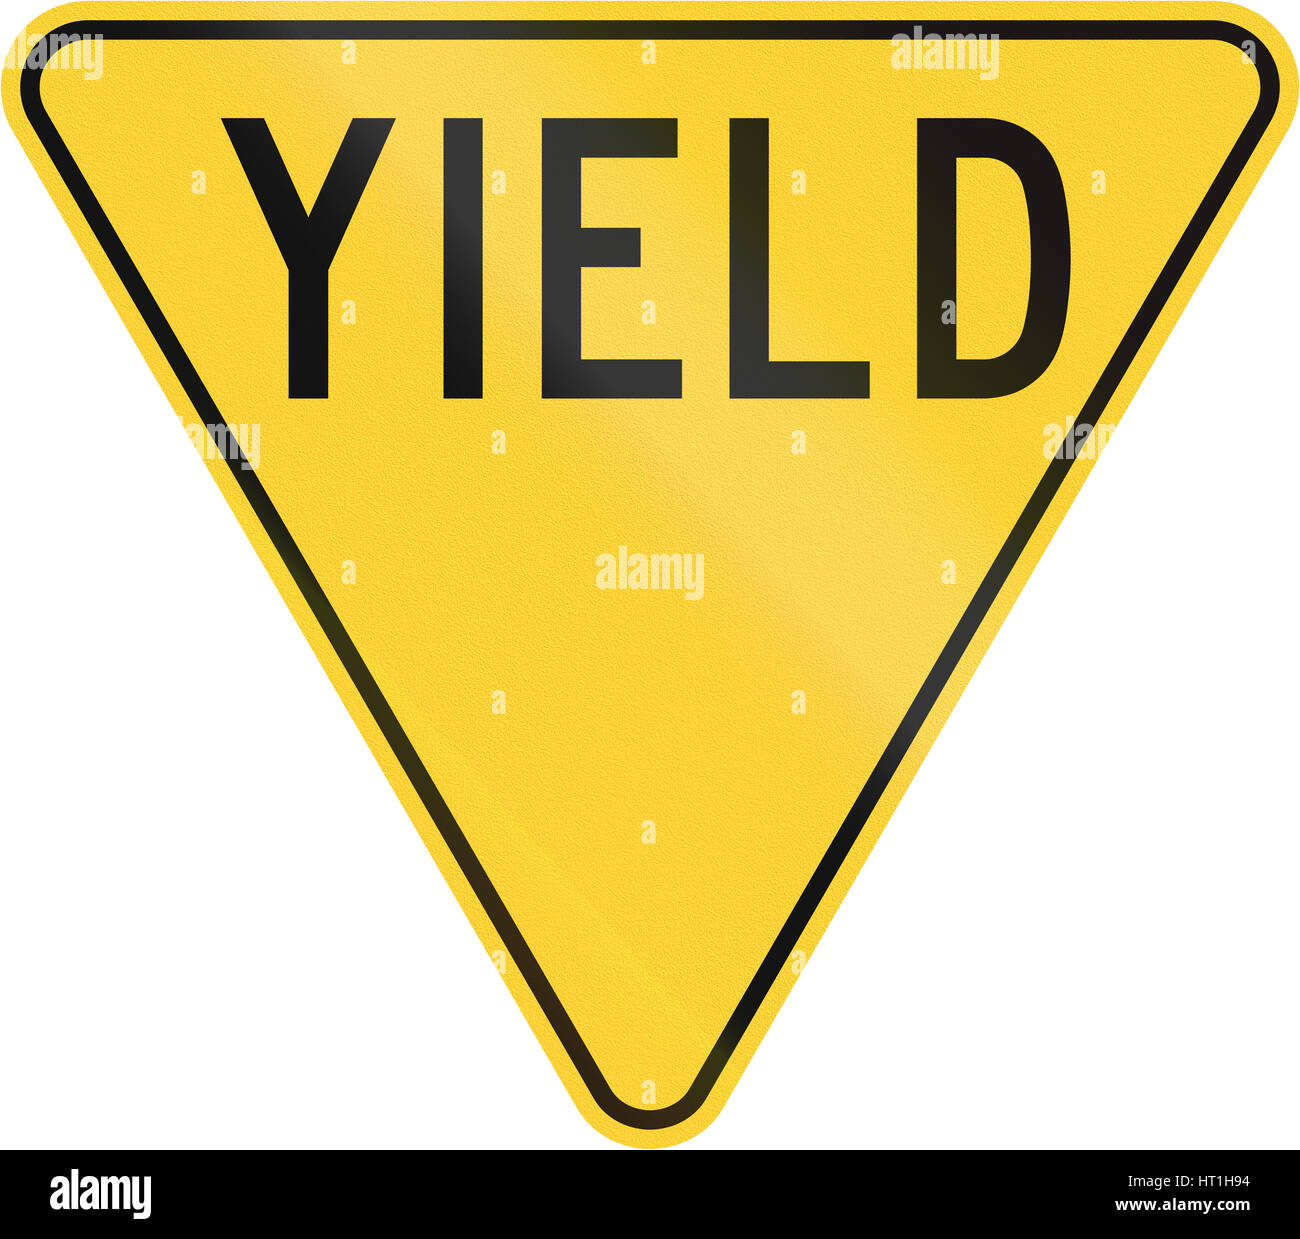
Yield Sign Explained


Explore the wilderness of Yield Sign Explained with countless breathtaking nature photographs. showcasing the wild beauty of computer, digital, and electronic. ideal for nature documentaries and publications. The Yield Sign Explained collection maintains consistent quality standards across all images. Suitable for various applications including web design, social media, personal projects, and digital content creation All Yield Sign Explained images are available in high resolution with professional-grade quality, optimized for both digital and print applications, and include comprehensive metadata for easy organization and usage. Explore the versatility of our Yield Sign Explained collection for various creative and professional projects. Whether for commercial projects or personal use, our Yield Sign Explained collection delivers consistent excellence. Time-saving browsing features help users locate ideal Yield Sign Explained images quickly. Diverse style options within the Yield Sign Explained collection suit various aesthetic preferences. The Yield Sign Explained archive serves professionals, educators, and creatives across diverse industries. Advanced search capabilities make finding the perfect Yield Sign Explained image effortless and efficient. Our Yield Sign Explained database continuously expands with fresh, relevant content from skilled photographers. Each image in our Yield Sign Explained gallery undergoes rigorous quality assessment before inclusion. Comprehensive tagging systems facilitate quick discovery of relevant Yield Sign Explained content.