Wizard Howl Sad


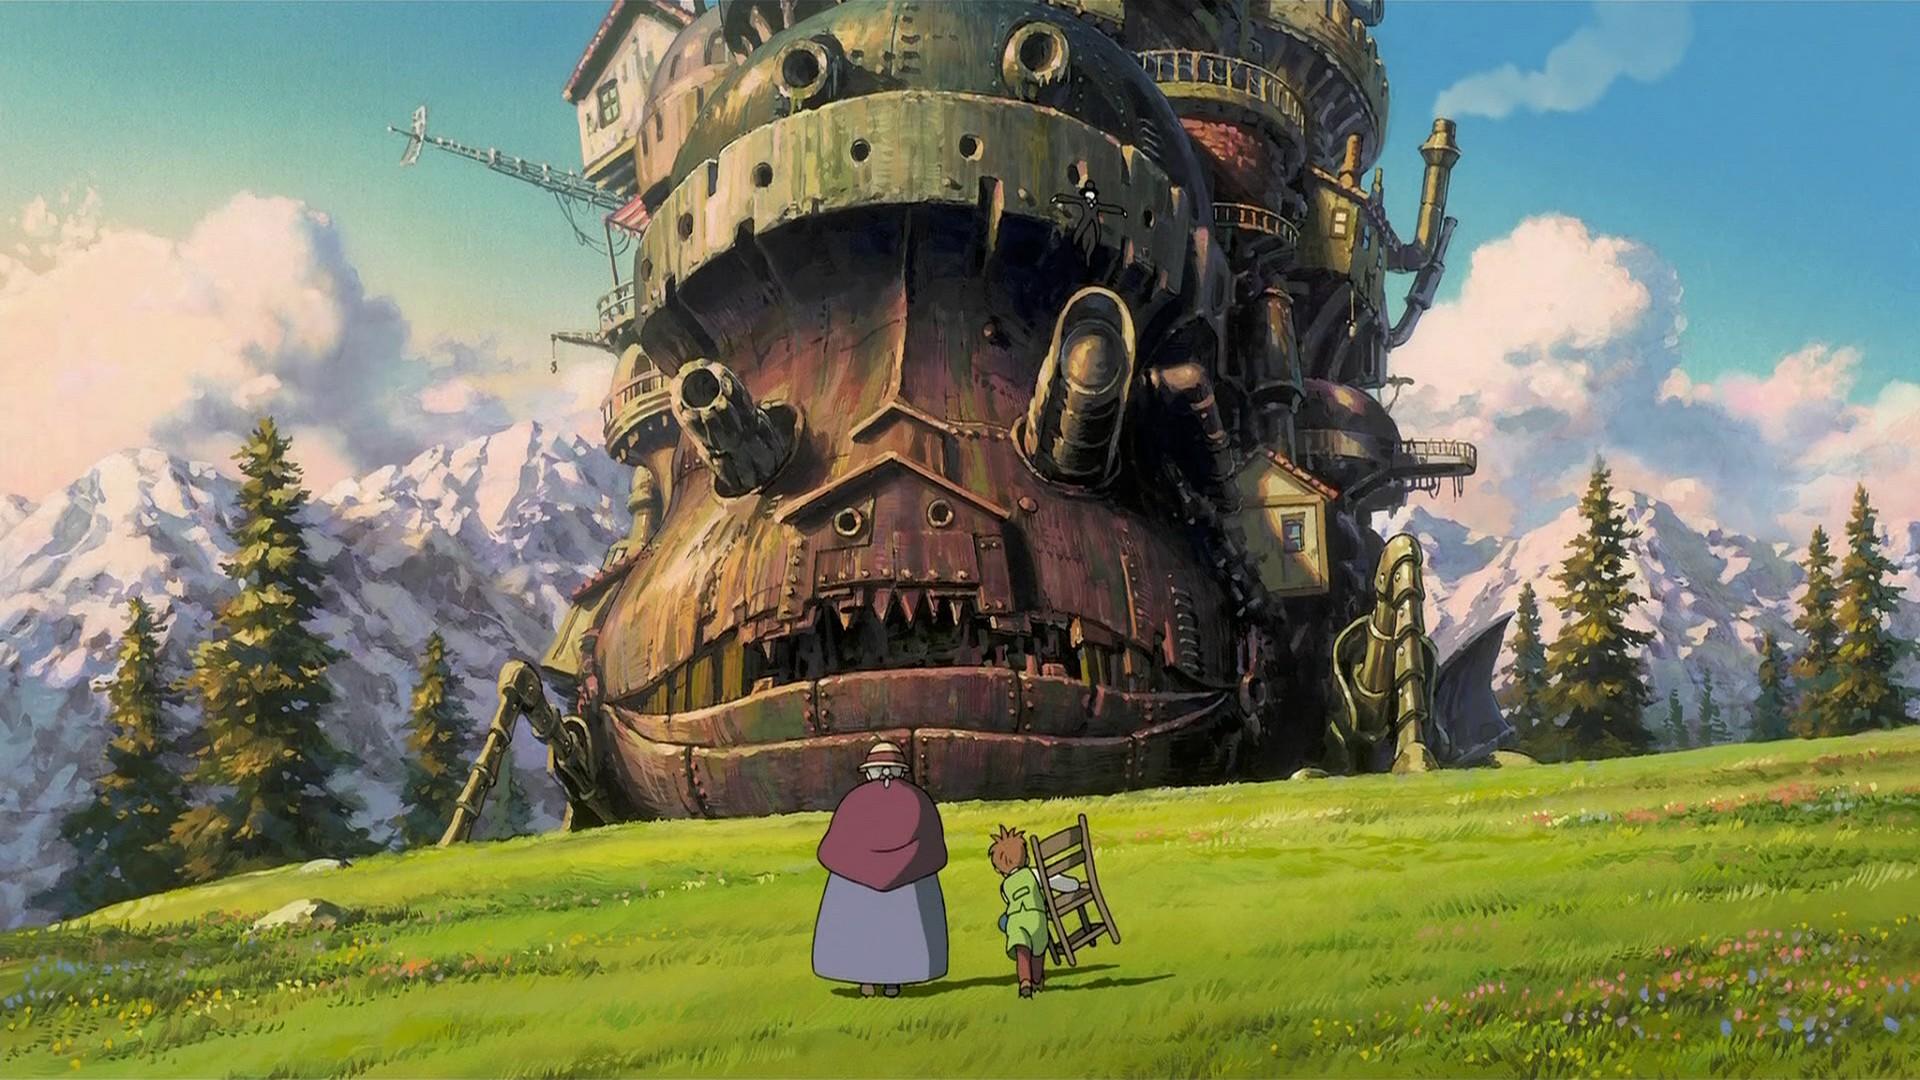
![🔥 [40+] Wizard Howl Wallpapers | WallpaperSafari](https://cdn.wallpapersafari.com/18/79/3DRTGr.jpg)

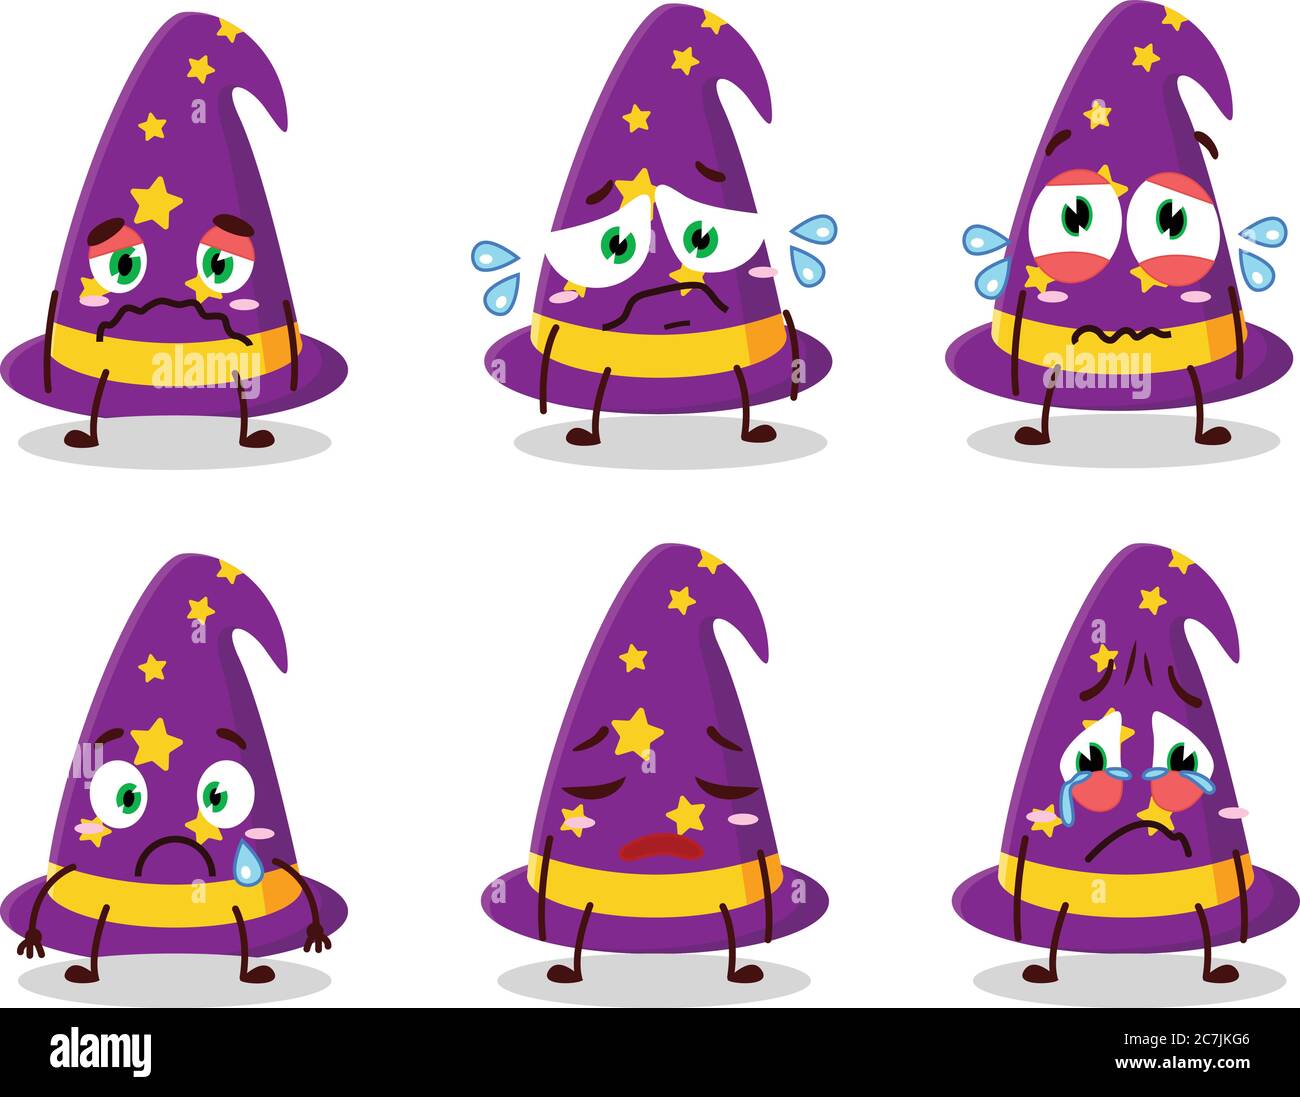
![🔥 [40+] Wizard Howl Wallpapers | WallpaperSafari](https://cdn.wallpapersafari.com/24/73/FMmoN2.jpg)


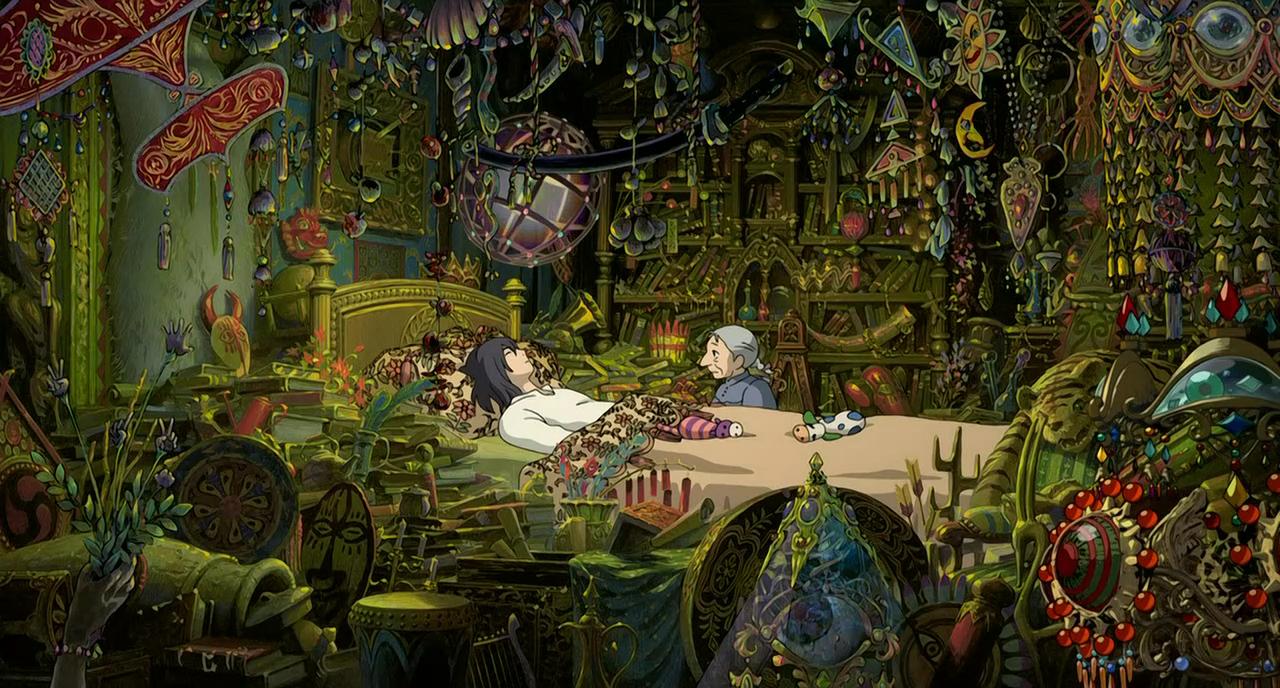


![🔥 [40+] Wizard Howl Wallpapers | WallpaperSafari](https://cdn.wallpapersafari.com/5/17/GzXJHb.jpg)


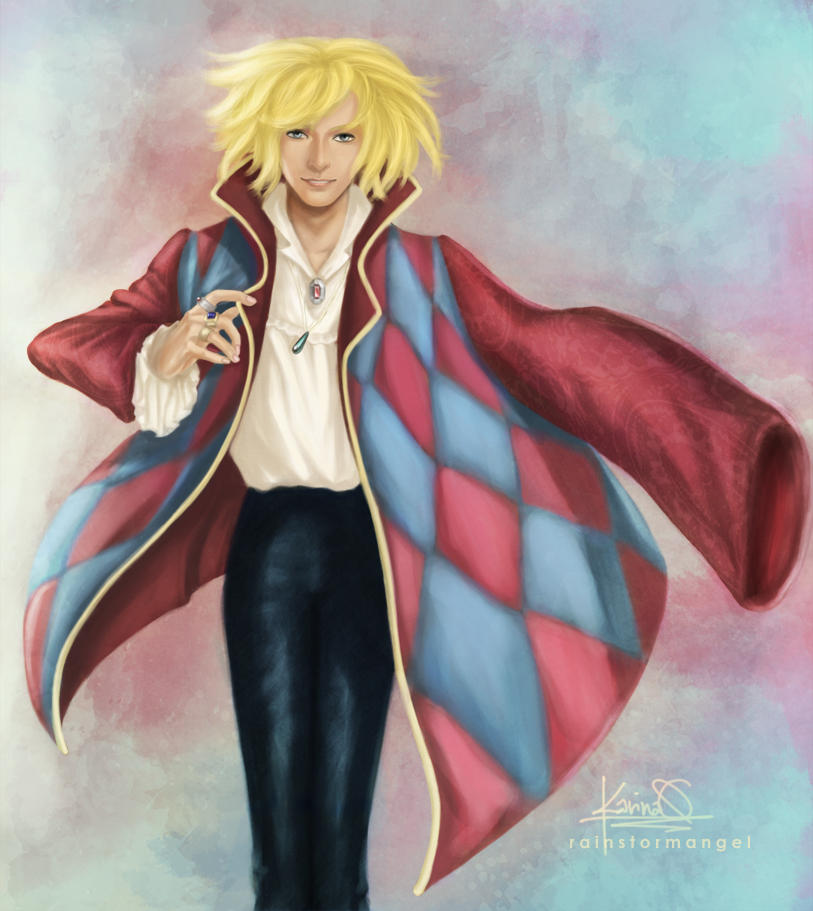
![🔥 [40+] Wizard Howl Wallpapers | WallpaperSafari](https://cdn.wallpapersafari.com/46/72/Cym3tF.jpg)


Experience the creative potential of Wizard Howl Sad with our collection of hundreds of artistic photographs. where technical excellence meets creative vision and artistic expression. transforming ordinary subjects into extraordinary visual experiences. The Wizard Howl Sad collection maintains consistent quality standards across all images. Ideal for artistic projects, creative designs, digital art, and innovative visual expressions All Wizard Howl Sad images are available in high resolution with professional-grade quality, optimized for both digital and print applications, and include comprehensive metadata for easy organization and usage. Artists and designers find inspiration in our diverse Wizard Howl Sad gallery, featuring innovative visual approaches. Reliable customer support ensures smooth experience throughout the Wizard Howl Sad selection process. Comprehensive tagging systems facilitate quick discovery of relevant Wizard Howl Sad content. Regular updates keep the Wizard Howl Sad collection current with contemporary trends and styles. Each image in our Wizard Howl Sad gallery undergoes rigorous quality assessment before inclusion. Our Wizard Howl Sad database continuously expands with fresh, relevant content from skilled photographers. Professional licensing options accommodate both commercial and educational usage requirements. Multiple resolution options ensure optimal performance across different platforms and applications. Diverse style options within the Wizard Howl Sad collection suit various aesthetic preferences.