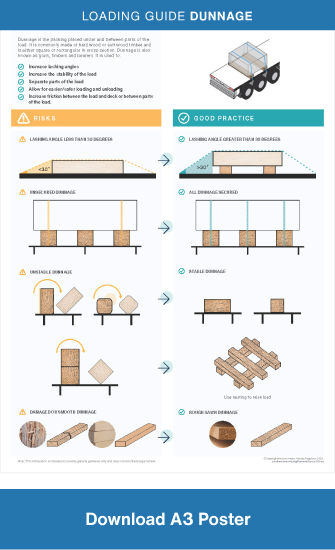
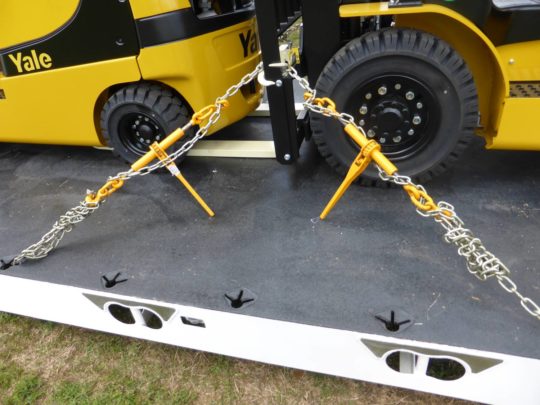
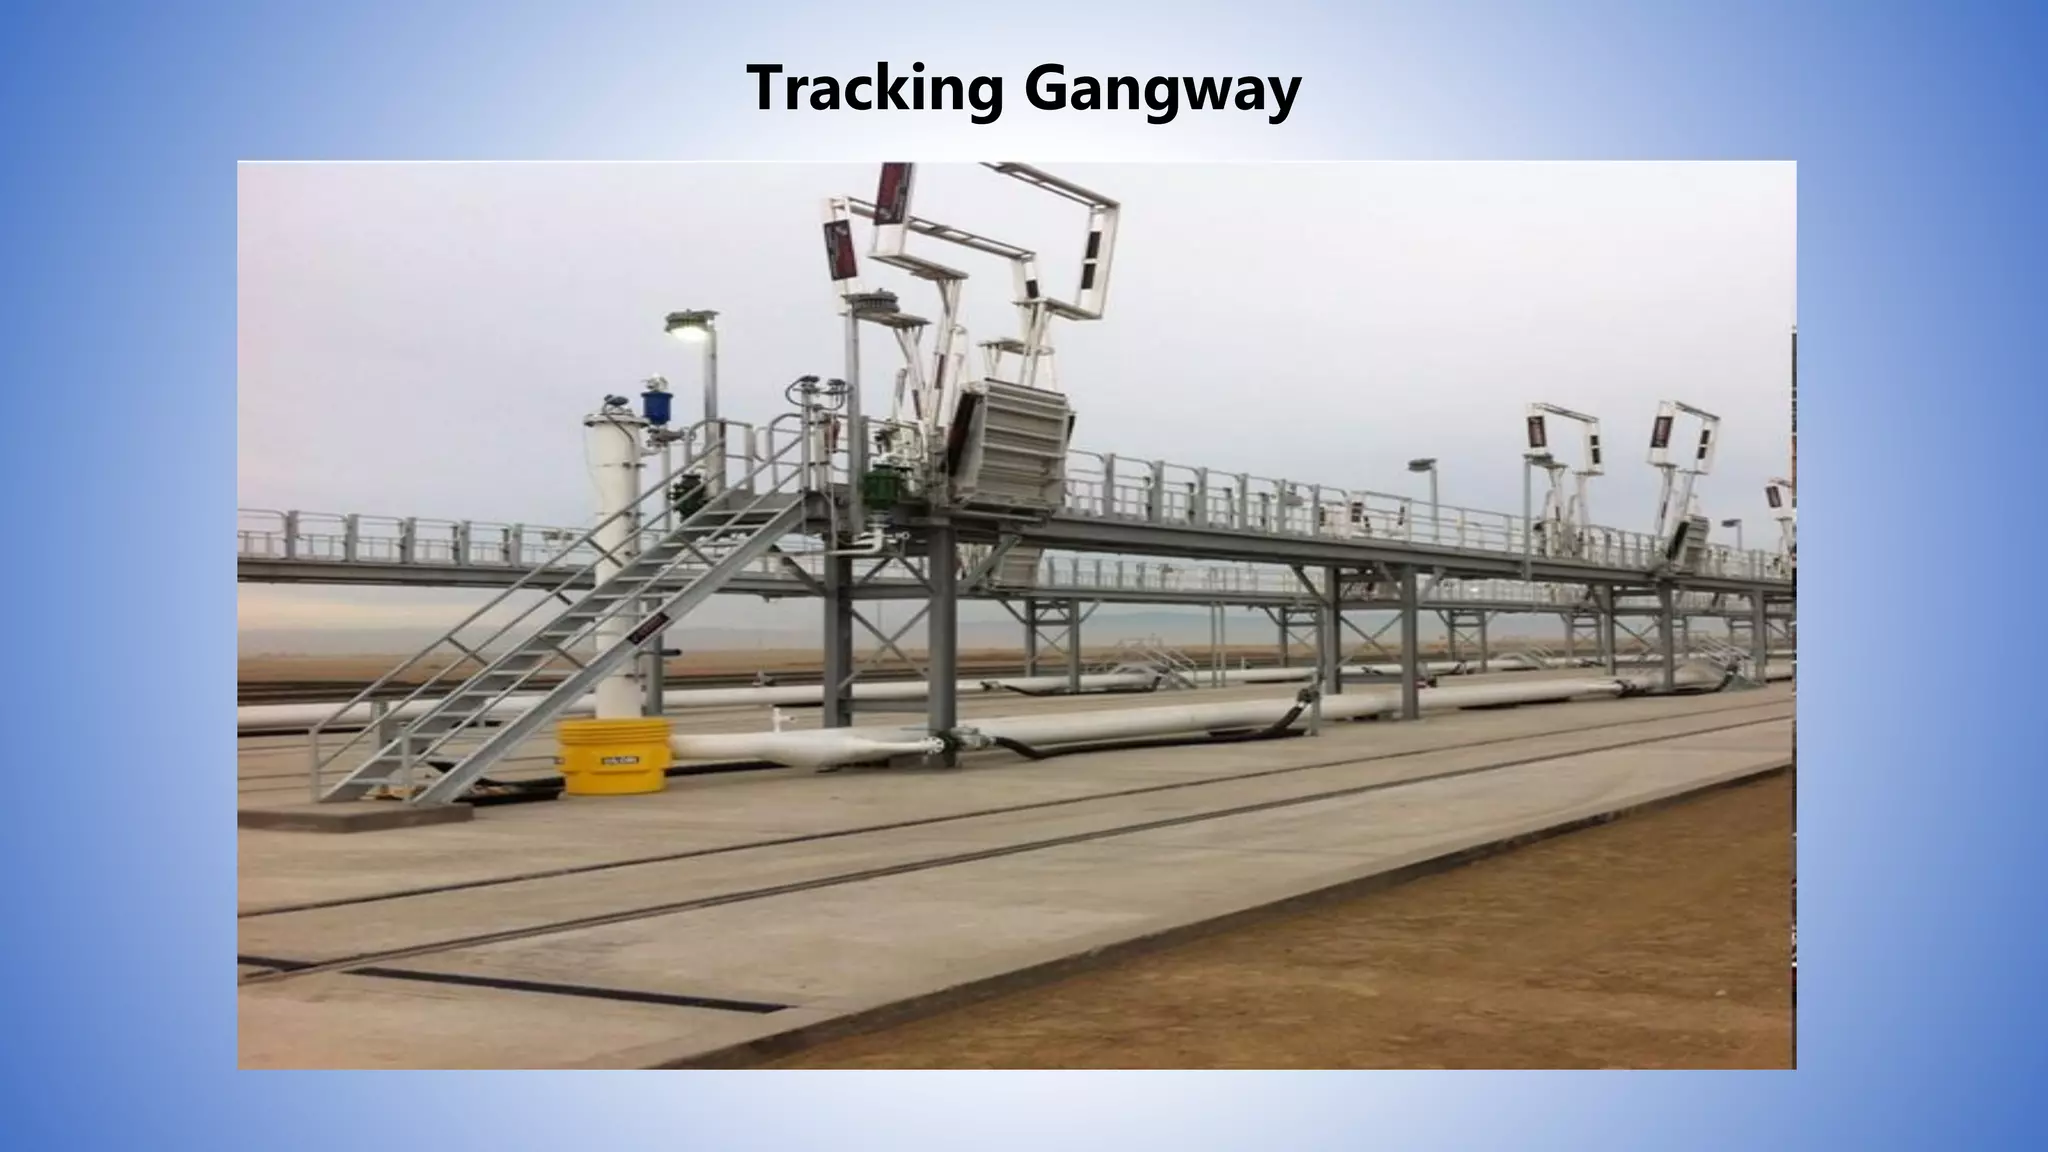
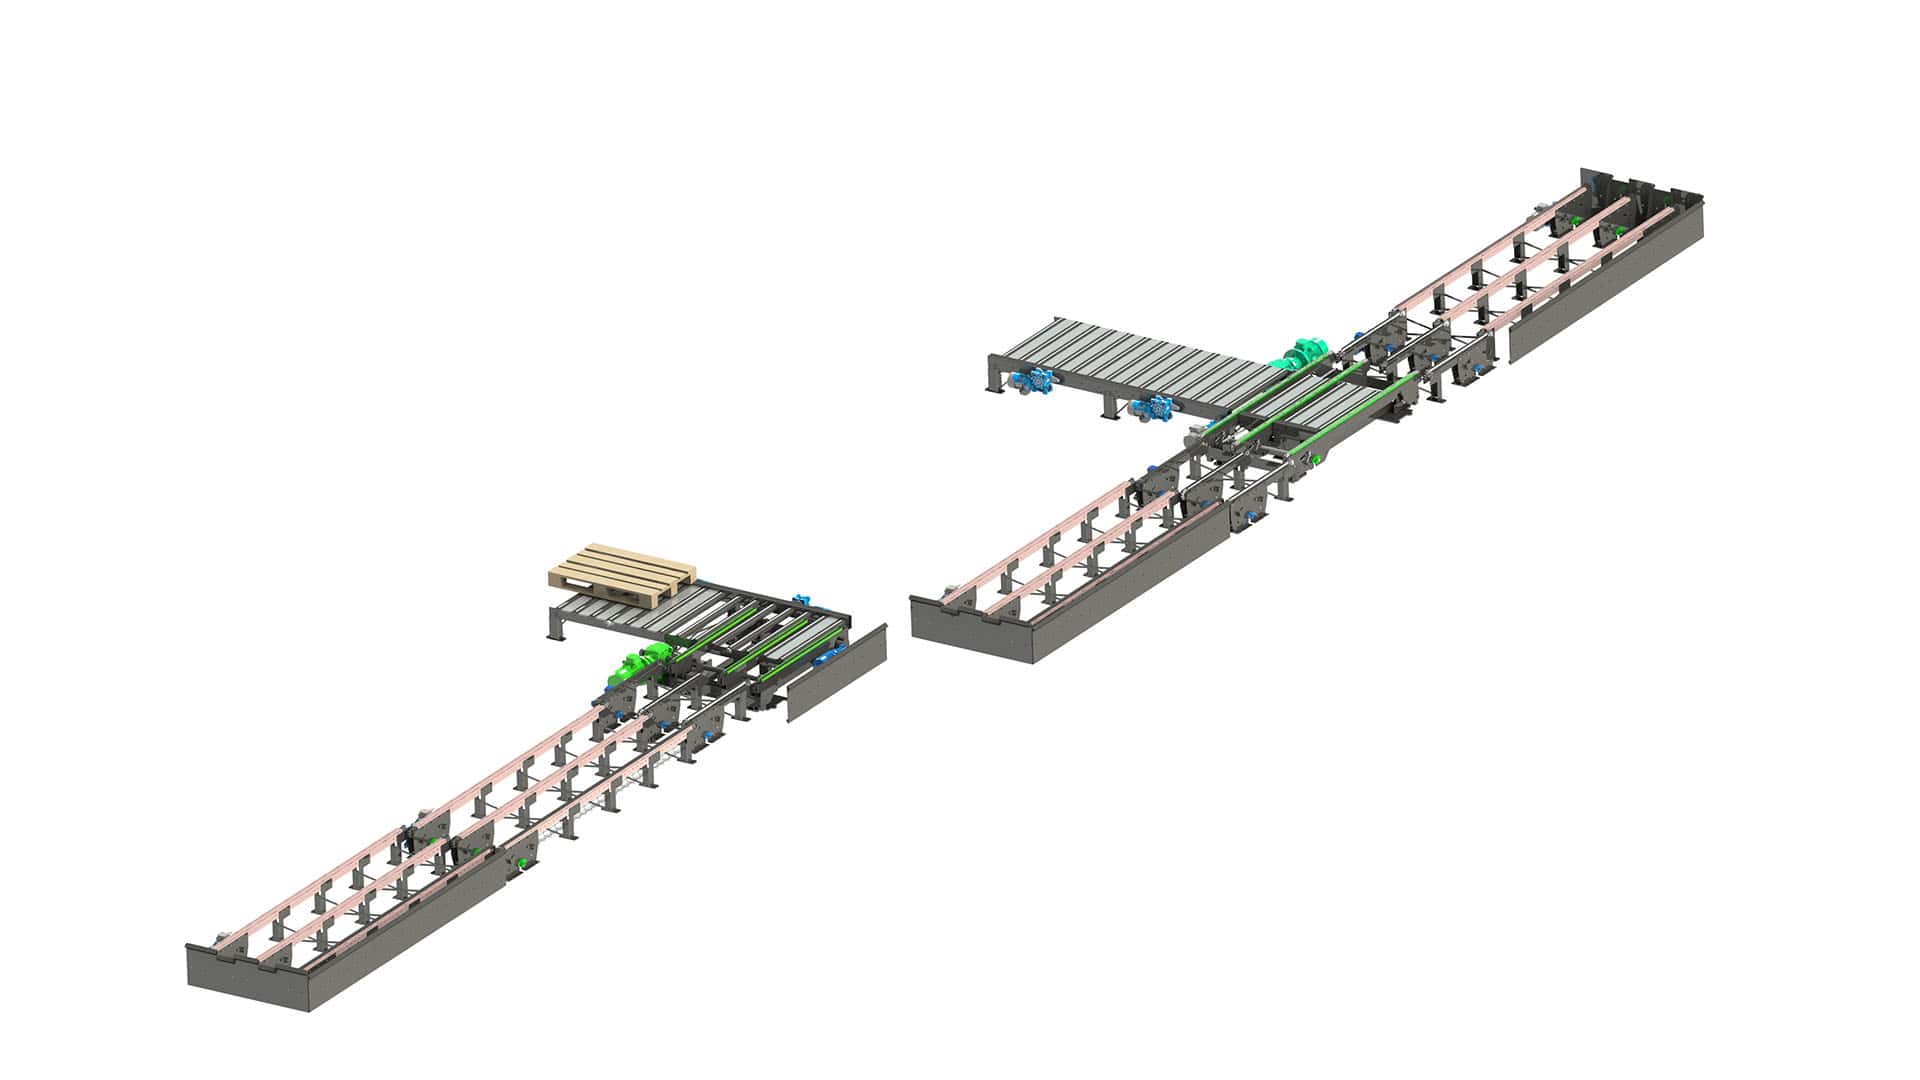
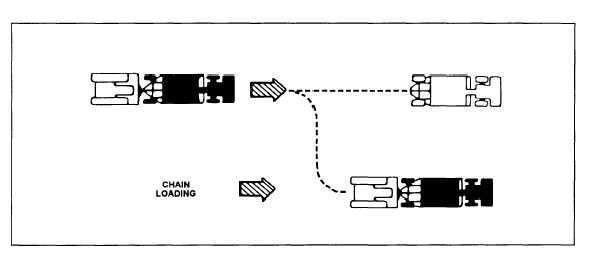
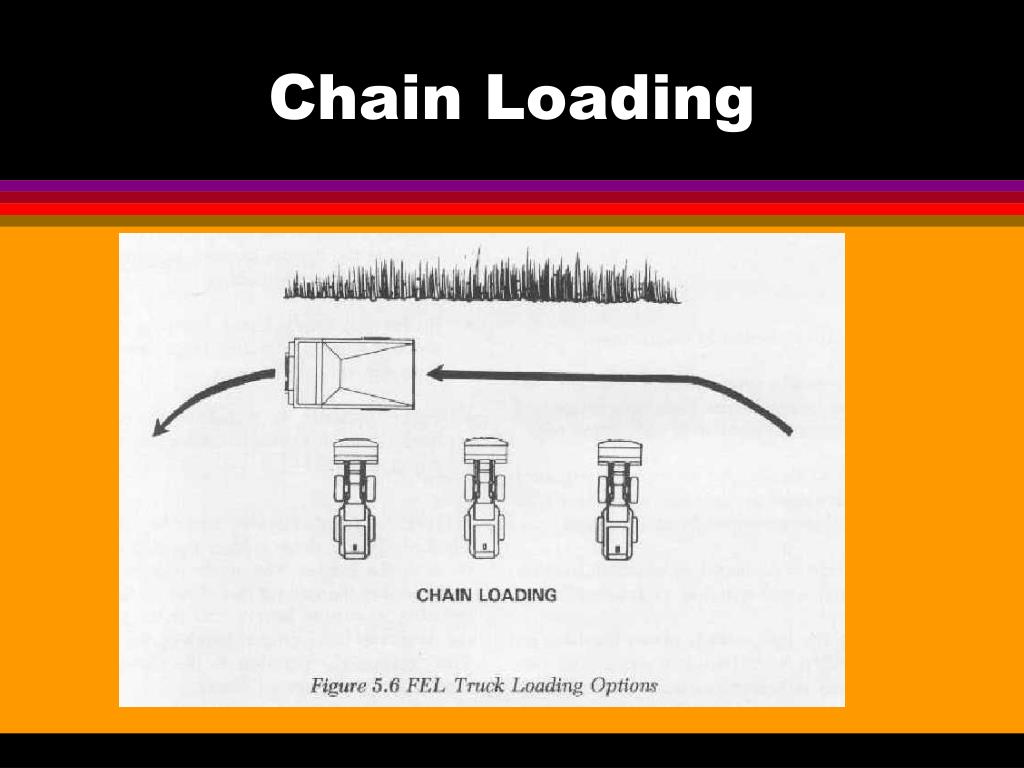
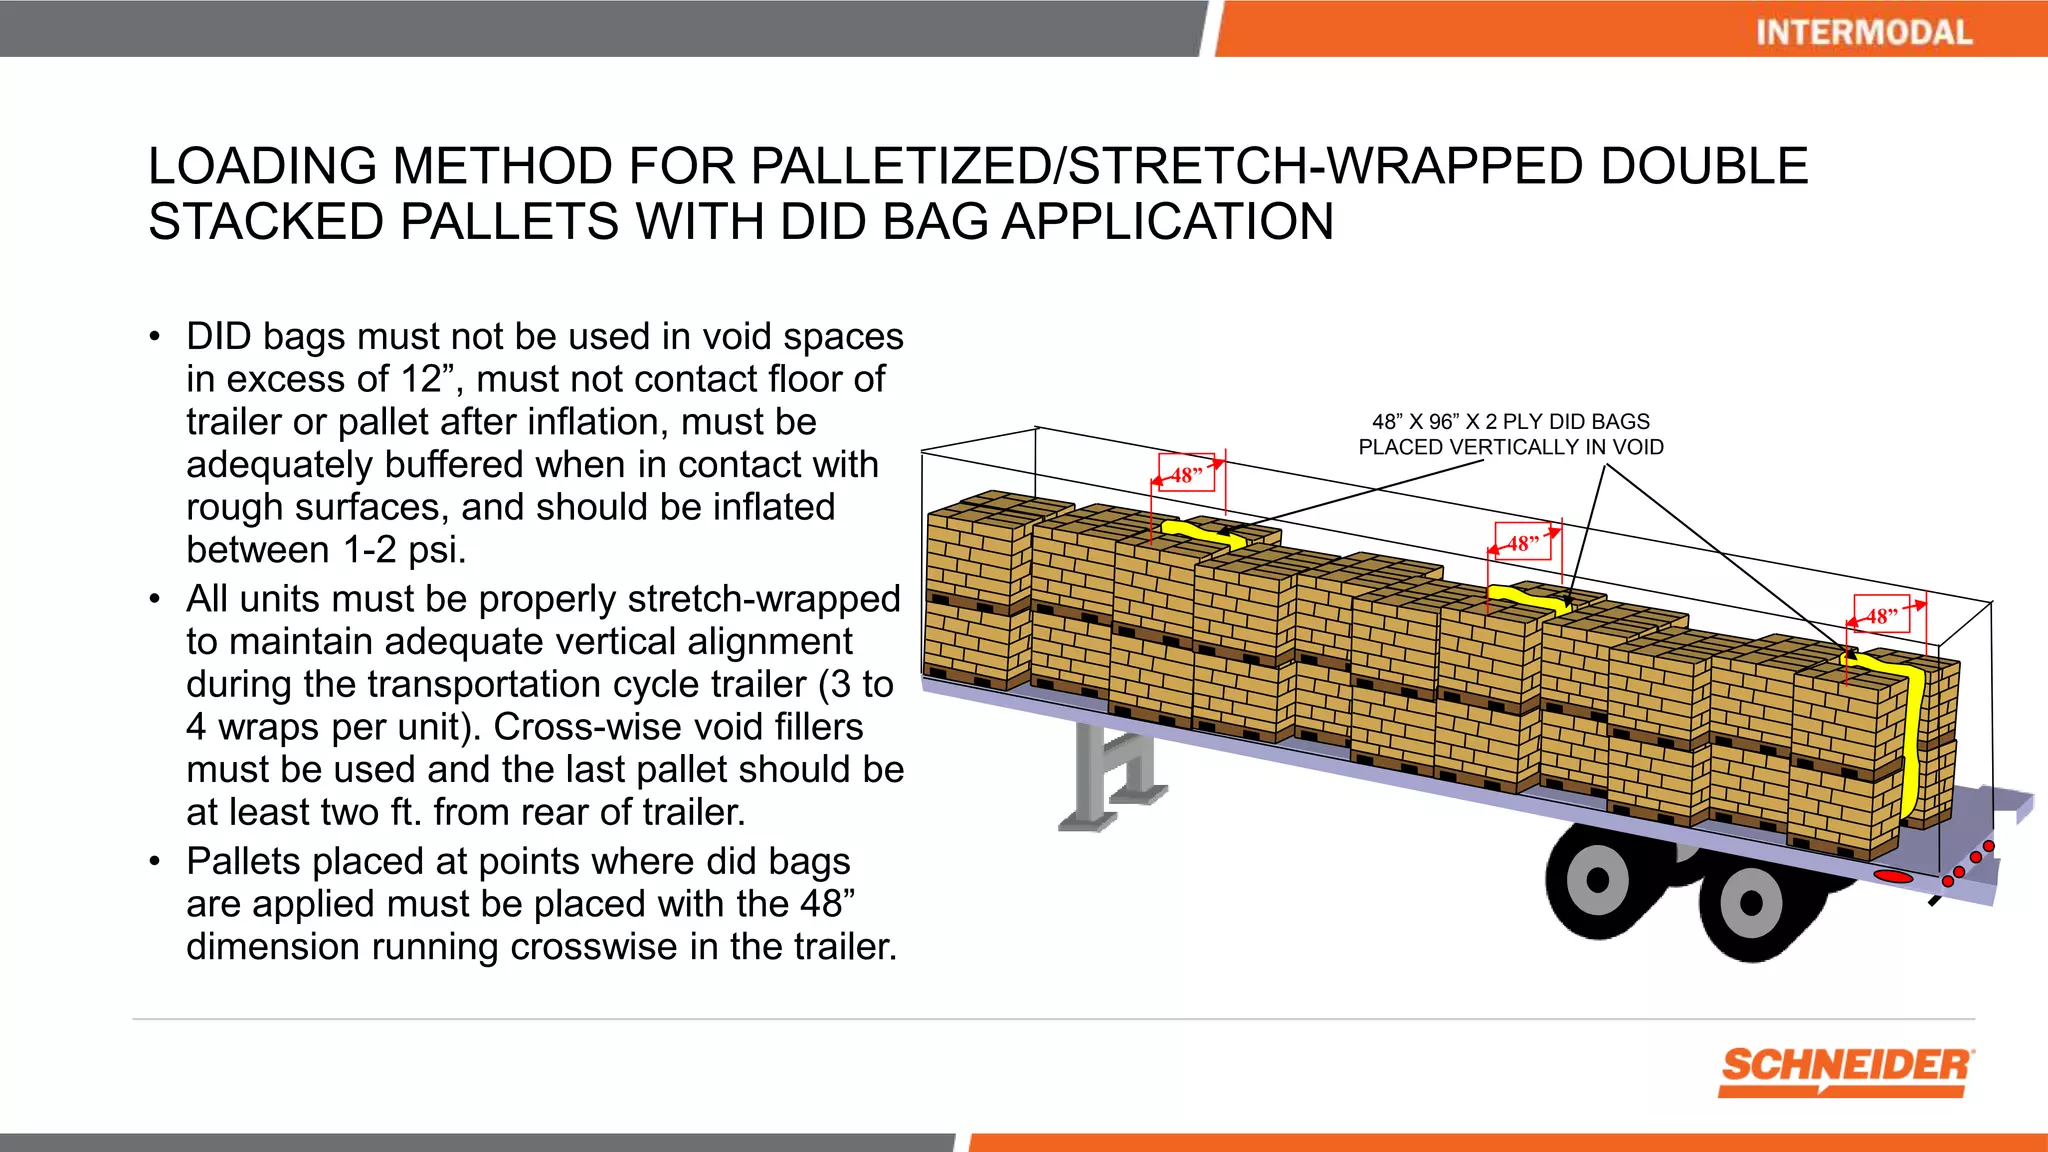
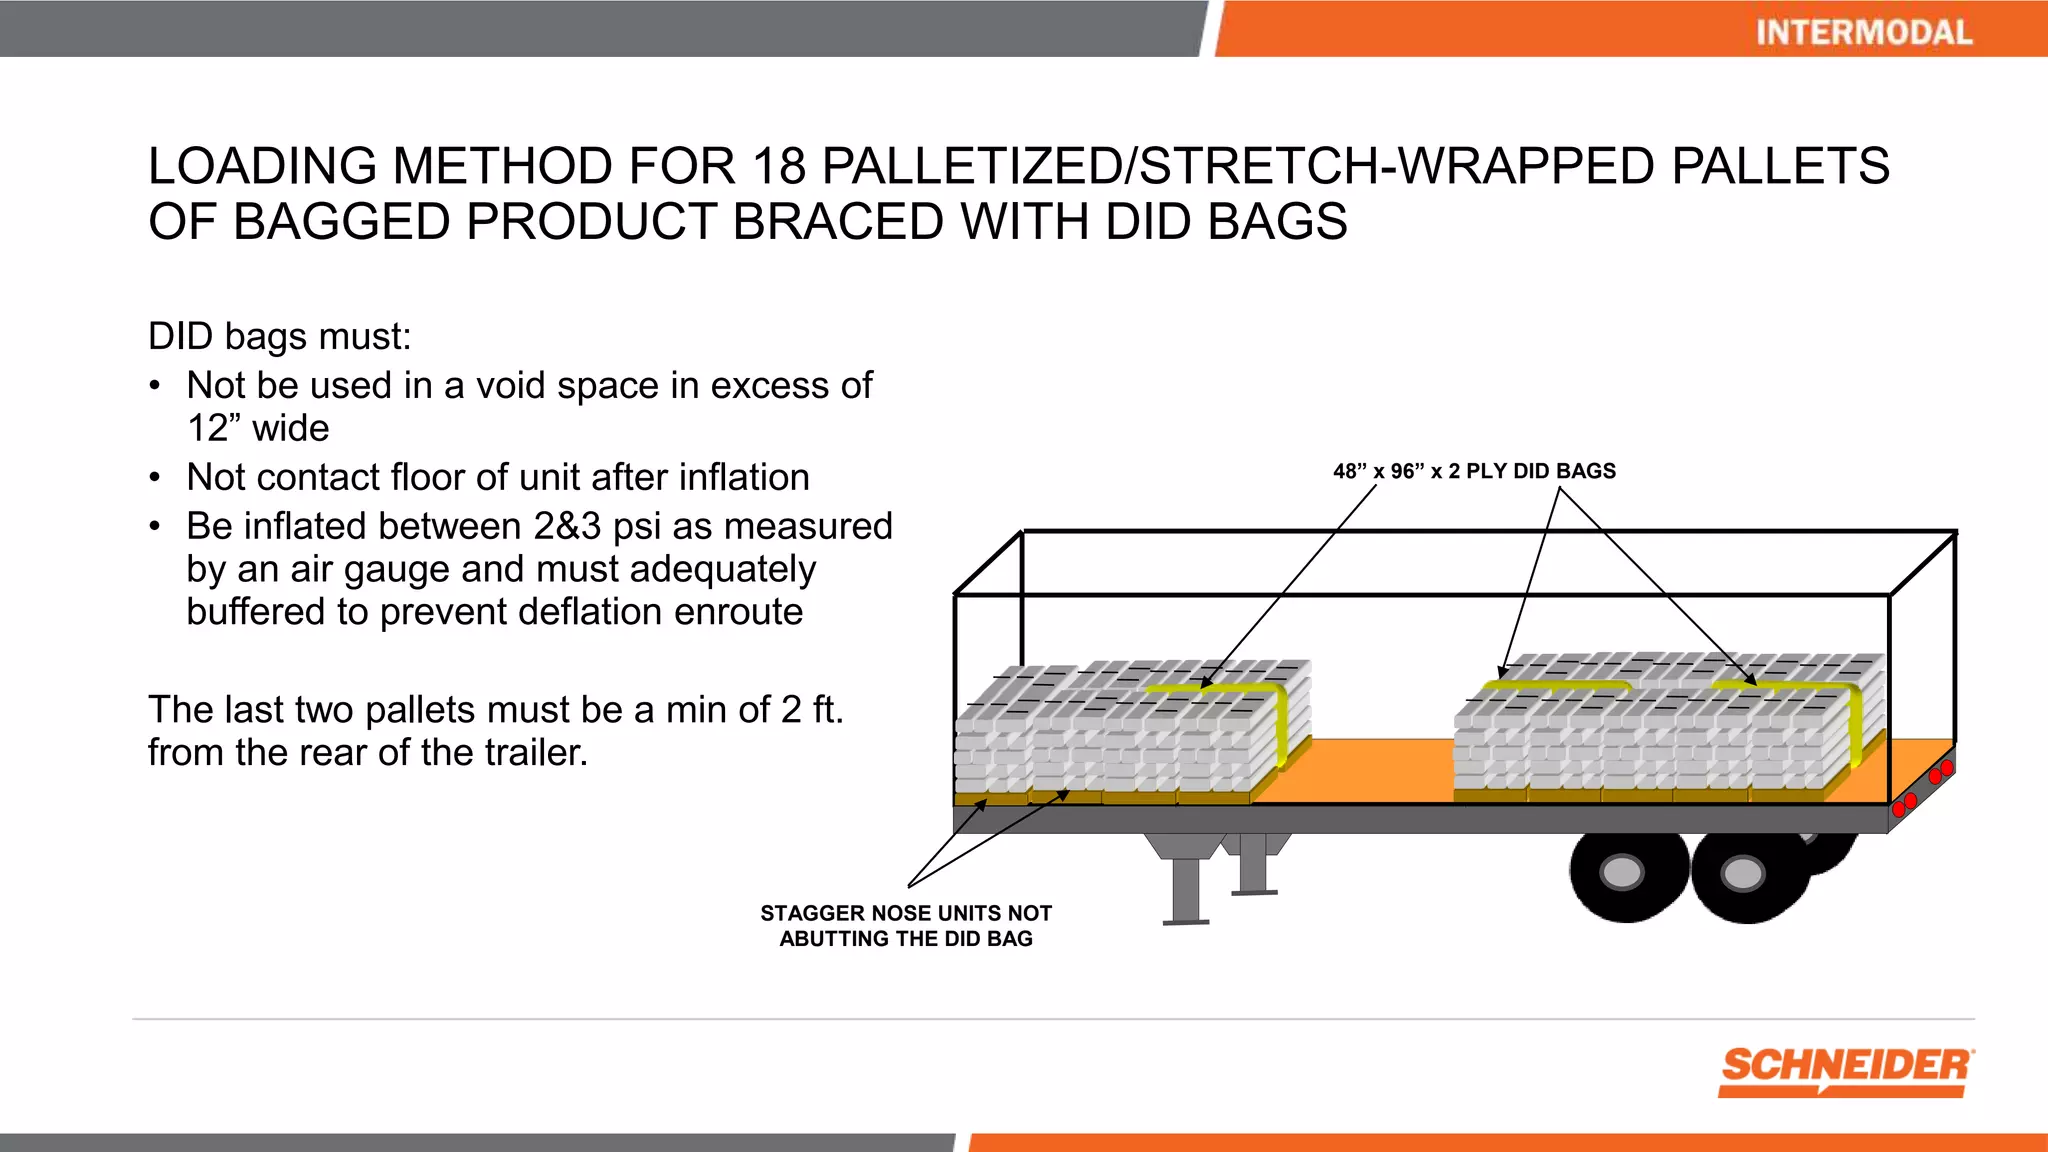
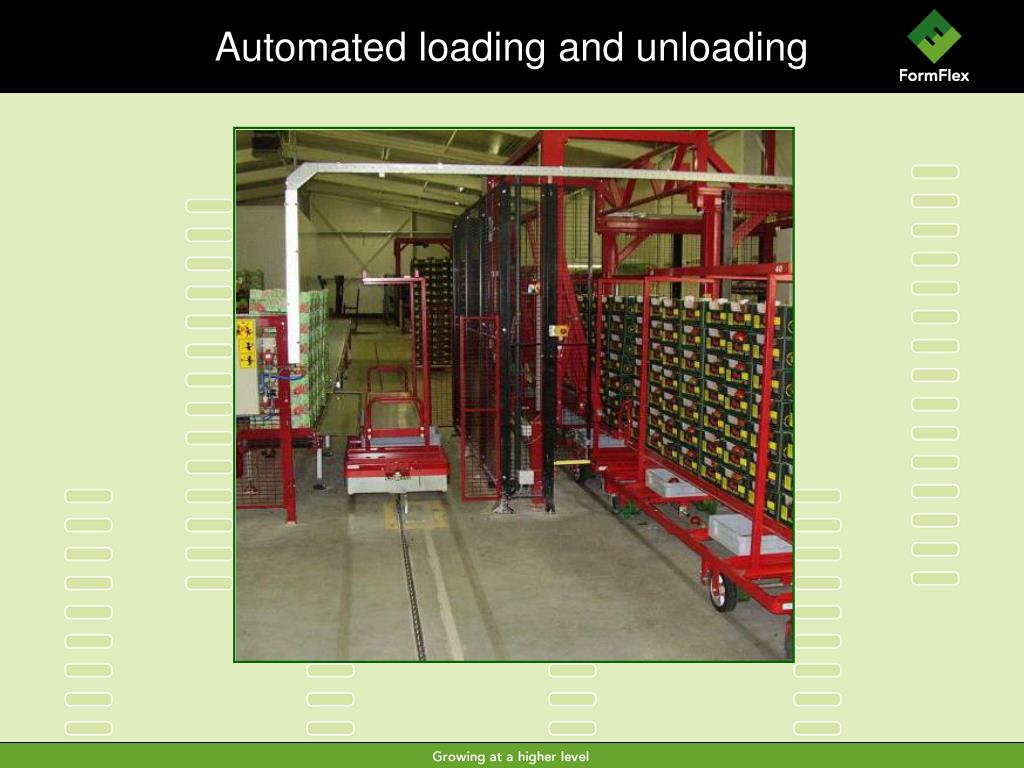
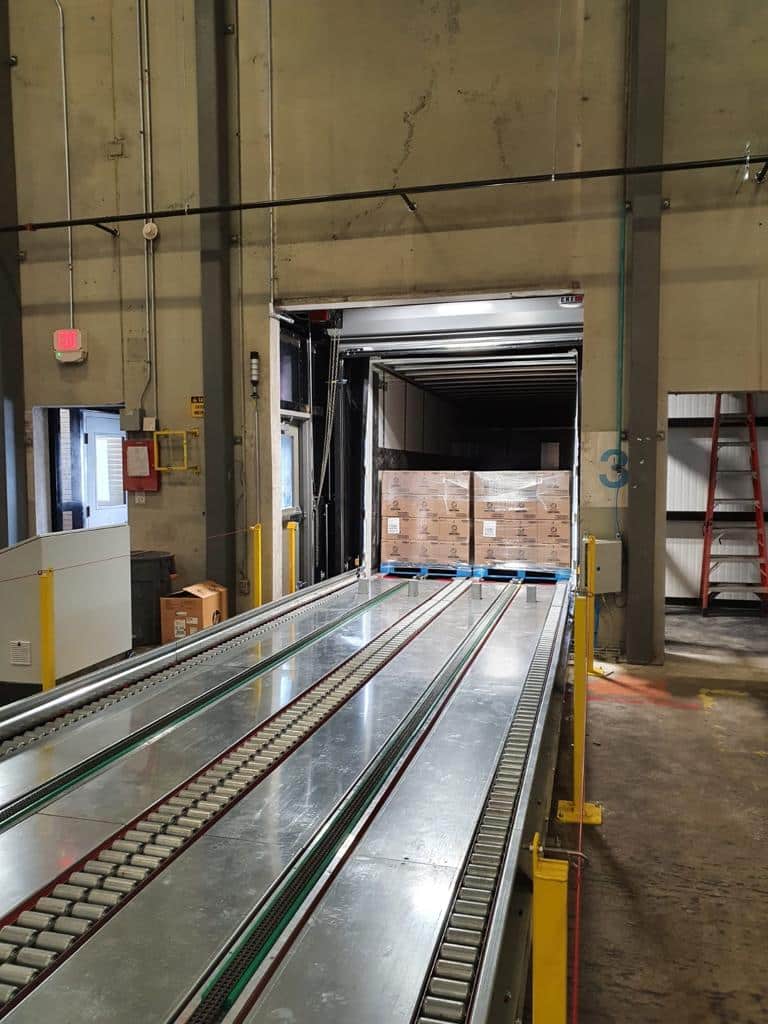
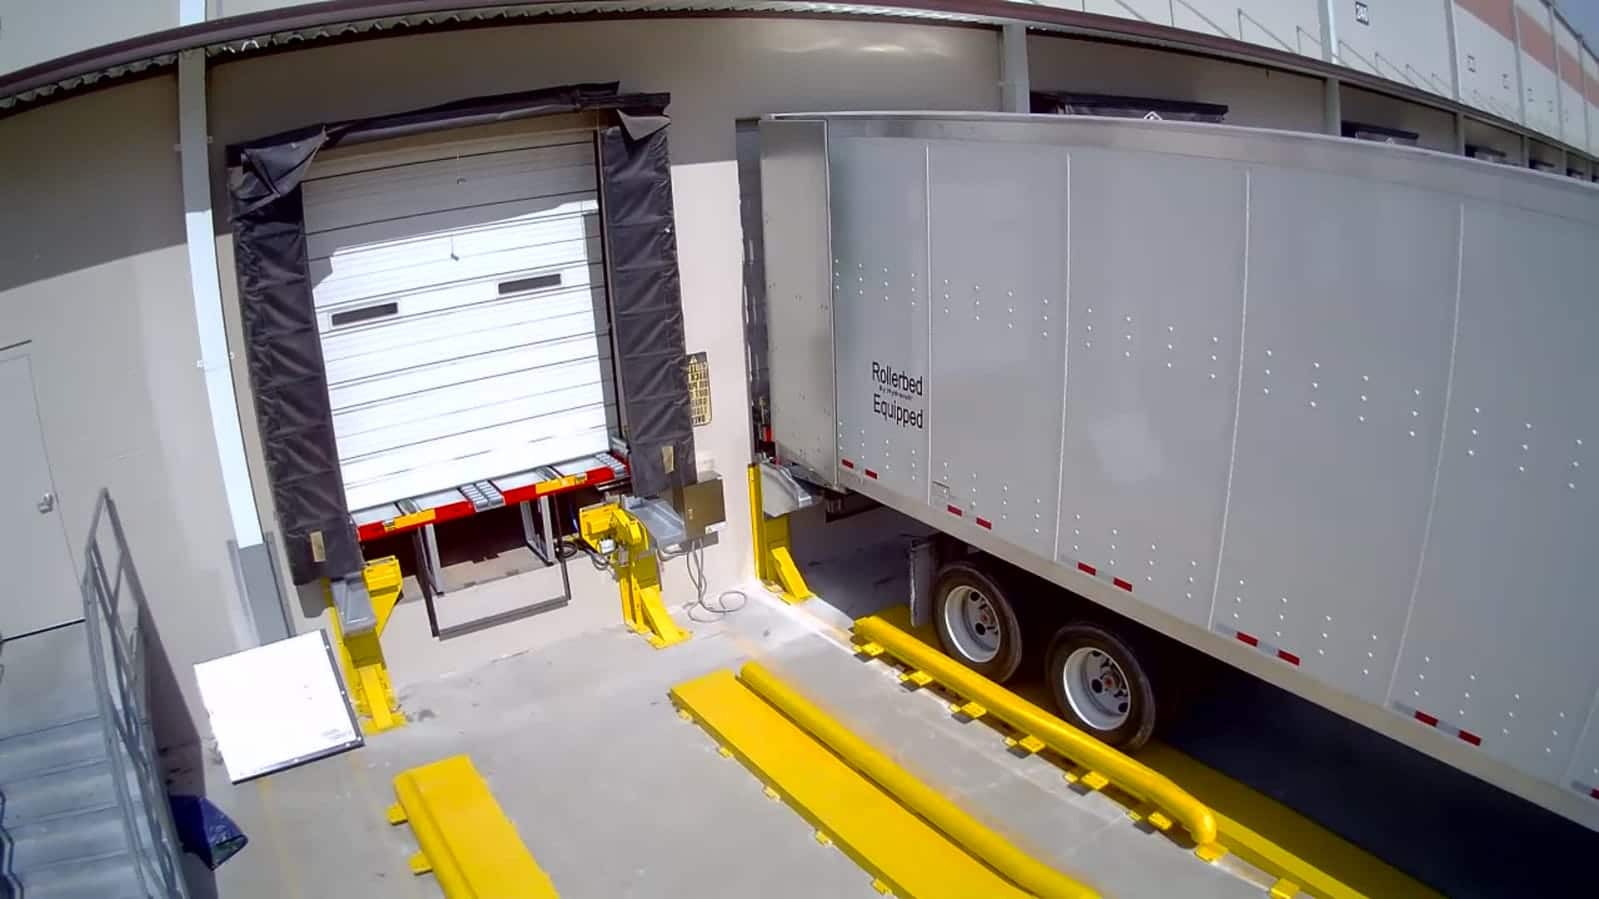
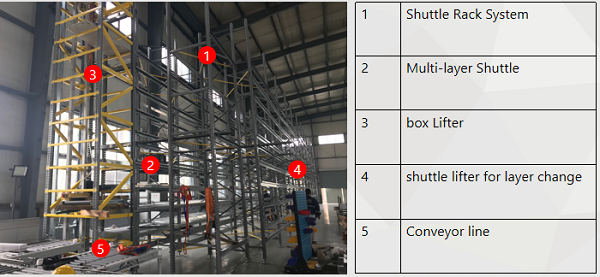
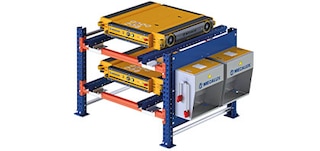
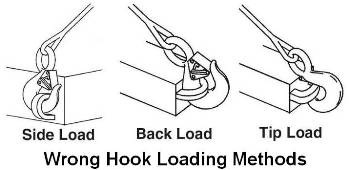
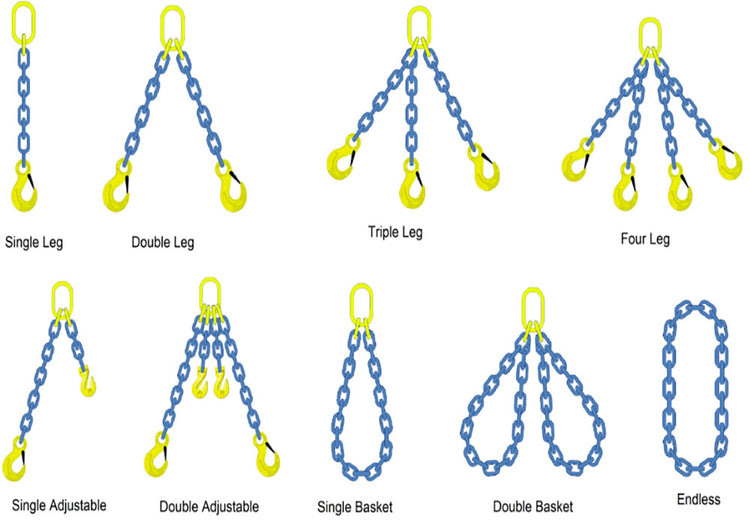
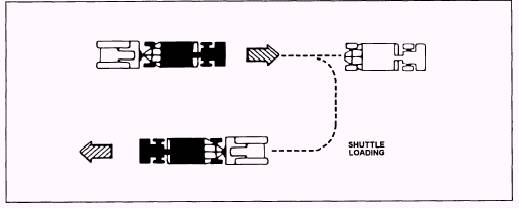
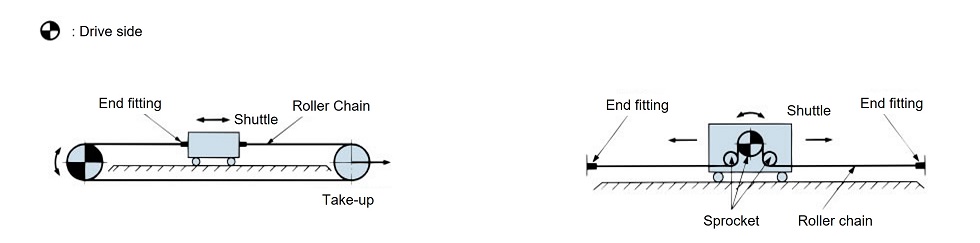
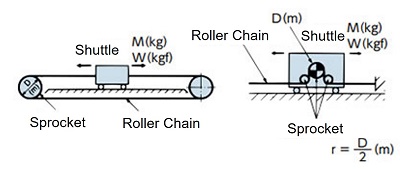
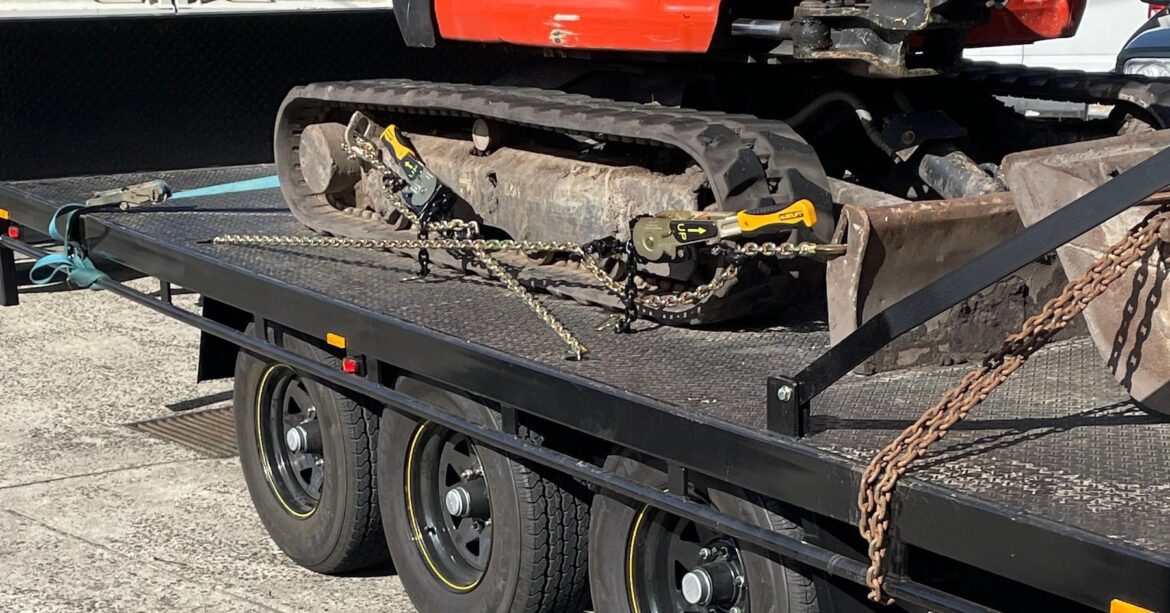
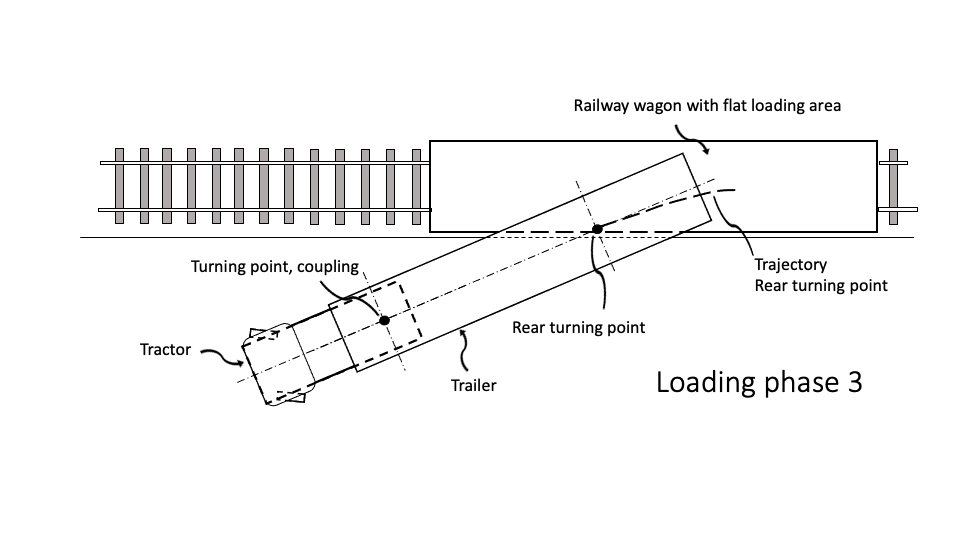
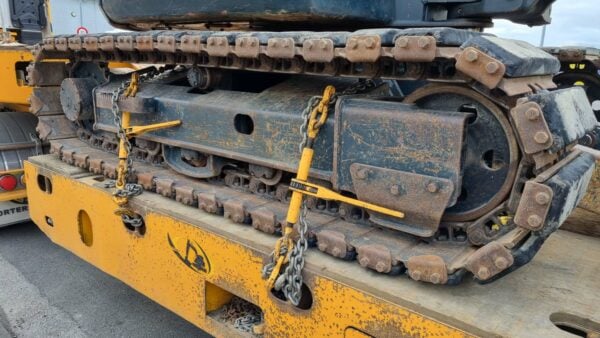
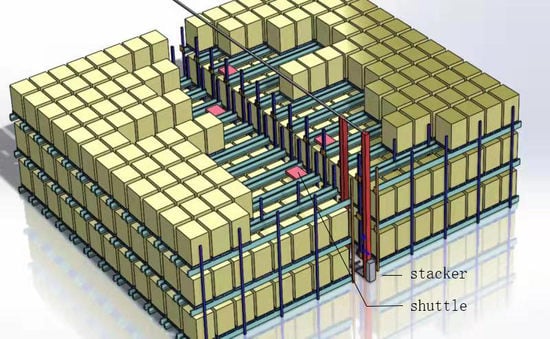
Shuttle Loading Back Track Loading And Chain Loading Methods Explained


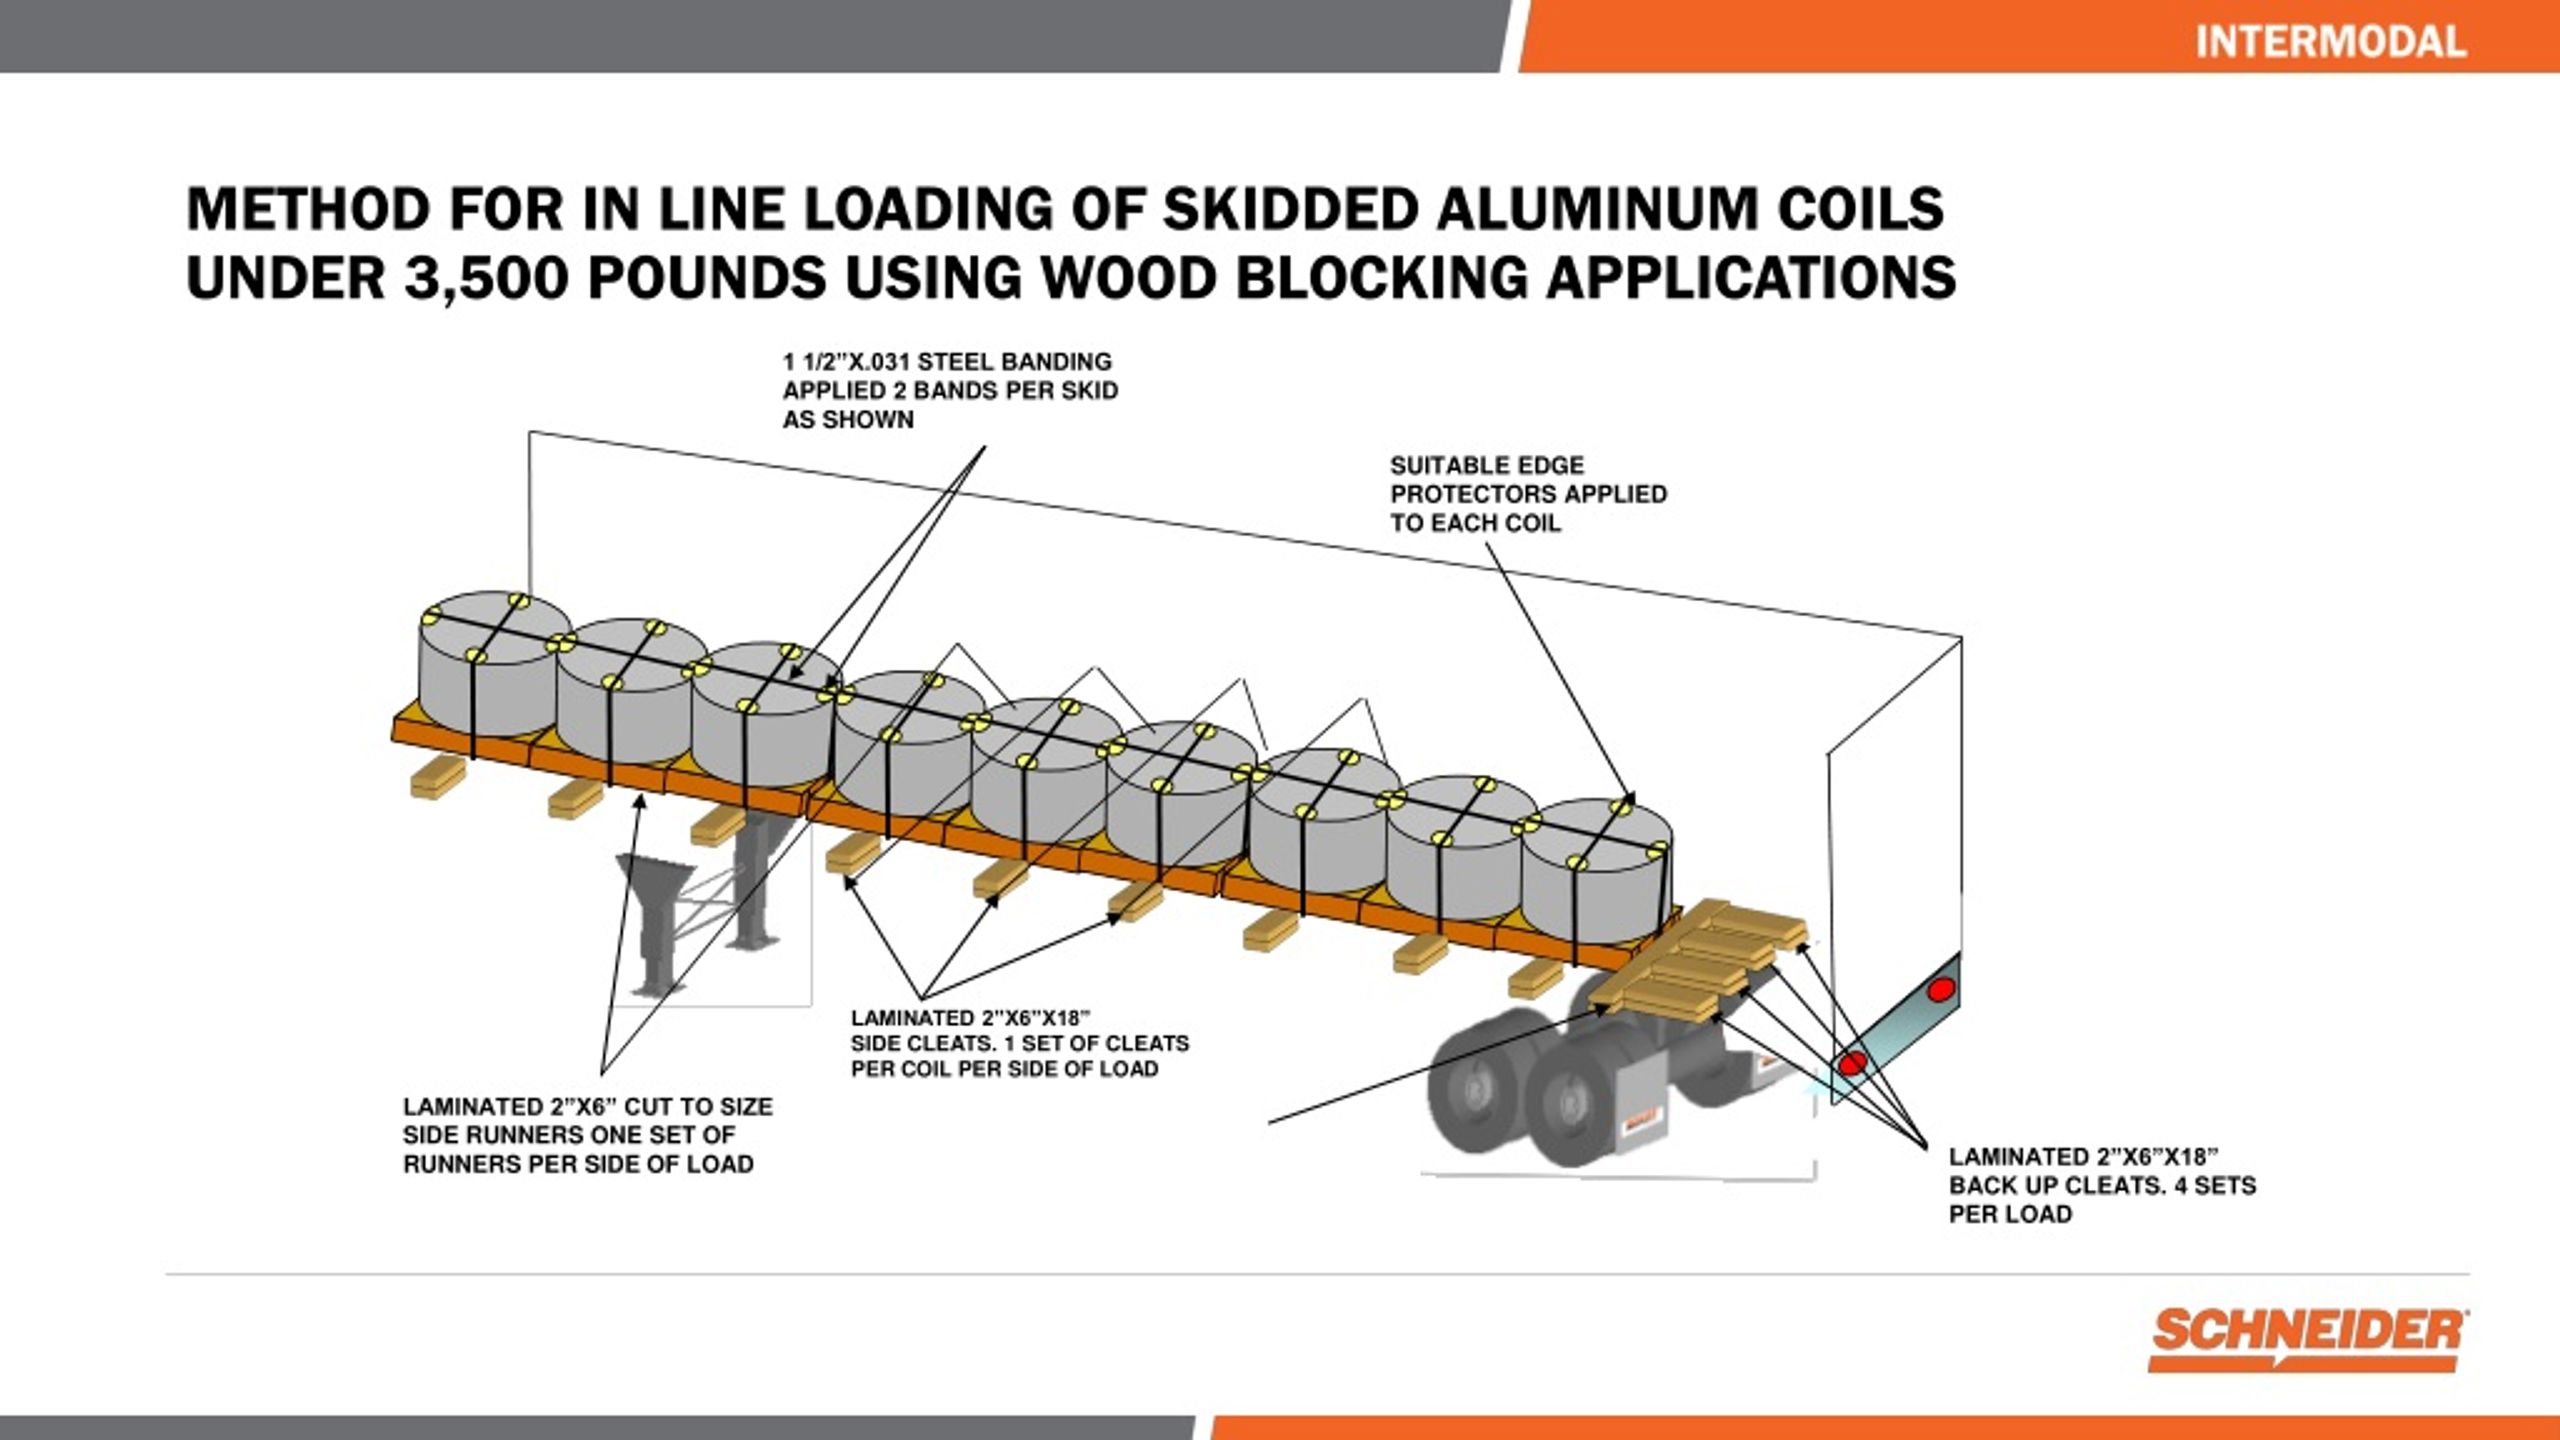


![Cargo Securement Tips [Do’s, Don’ts and Tips for Securing Common Freight]](https://blog.drive4ats.com/hs-fs/hubfs/Images/Blog/Cargo%20Securement%20Tips/CoilAngleView.png?width=2000&height=1000&name=CoilAngleView.png)


Document reality with our stunning Shuttle Loading Back Track Loading And Chain Loading Methods Explained collection of comprehensive galleries of authentic images. truthfully capturing computer, digital, and electronic. ideal for historical documentation and archives. Each Shuttle Loading Back Track Loading And Chain Loading Methods Explained image is carefully selected for superior visual impact and professional quality. Suitable for various applications including web design, social media, personal projects, and digital content creation All Shuttle Loading Back Track Loading And Chain Loading Methods Explained images are available in high resolution with professional-grade quality, optimized for both digital and print applications, and include comprehensive metadata for easy organization and usage. Our Shuttle Loading Back Track Loading And Chain Loading Methods Explained gallery offers diverse visual resources to bring your ideas to life. Comprehensive tagging systems facilitate quick discovery of relevant Shuttle Loading Back Track Loading And Chain Loading Methods Explained content. The Shuttle Loading Back Track Loading And Chain Loading Methods Explained archive serves professionals, educators, and creatives across diverse industries. Advanced search capabilities make finding the perfect Shuttle Loading Back Track Loading And Chain Loading Methods Explained image effortless and efficient. Whether for commercial projects or personal use, our Shuttle Loading Back Track Loading And Chain Loading Methods Explained collection delivers consistent excellence.