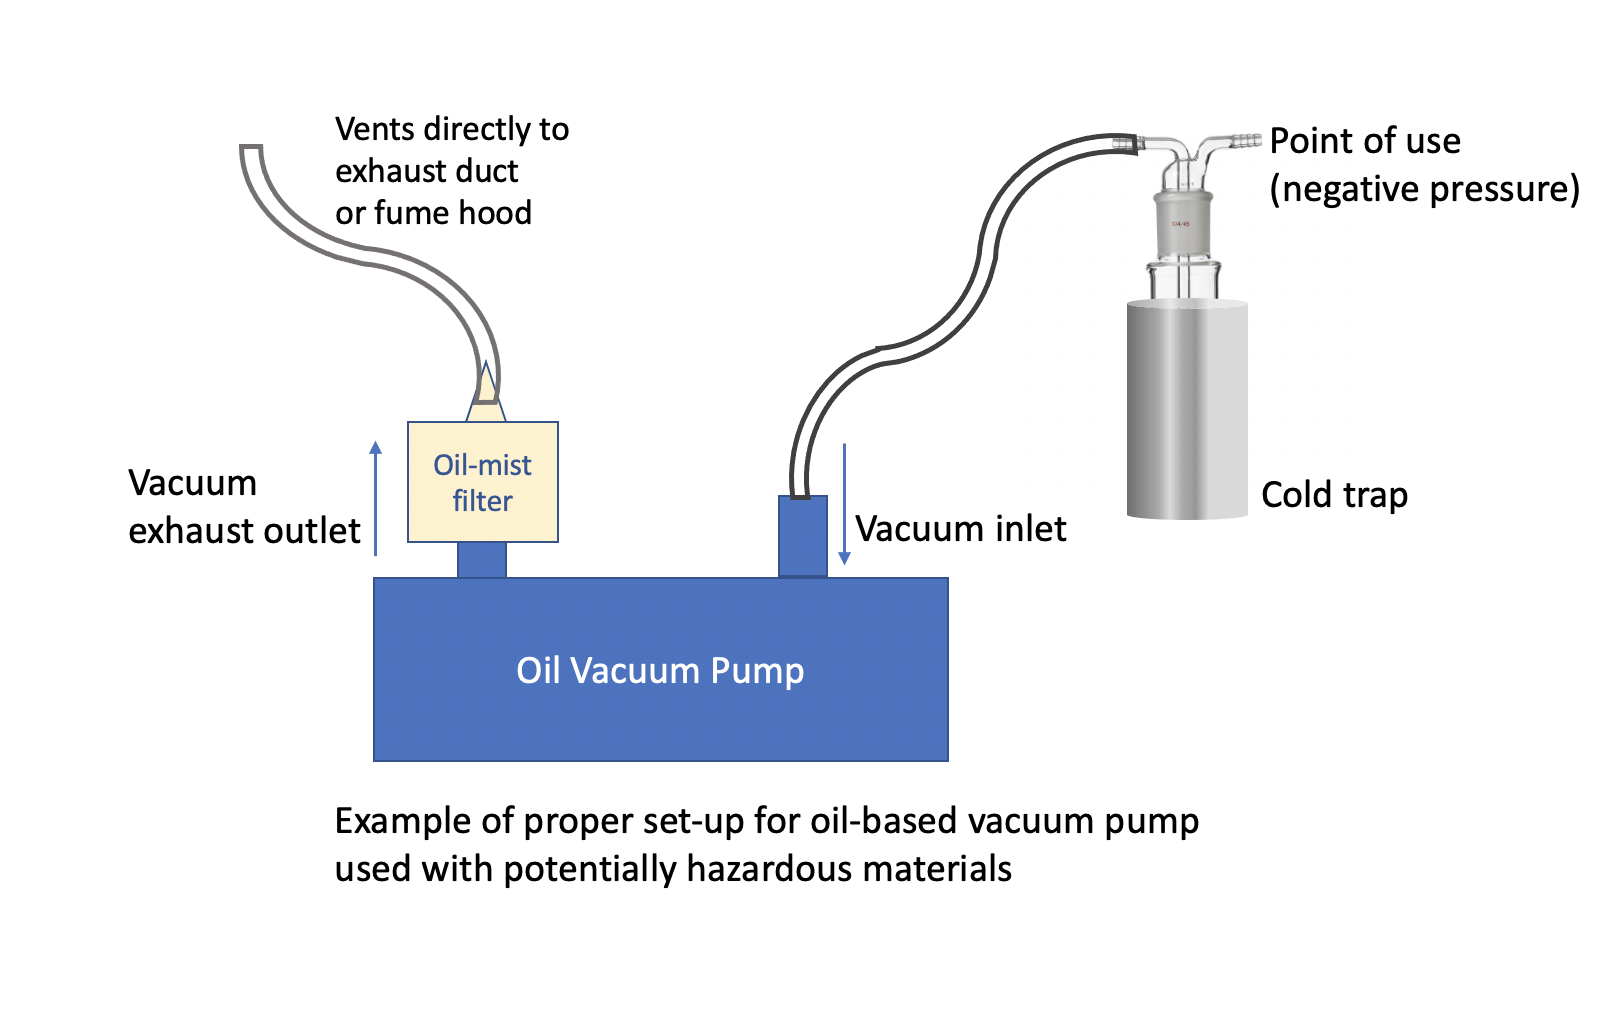
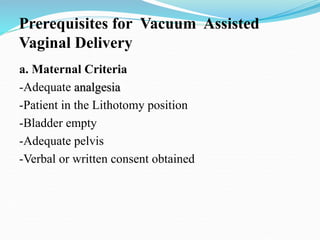
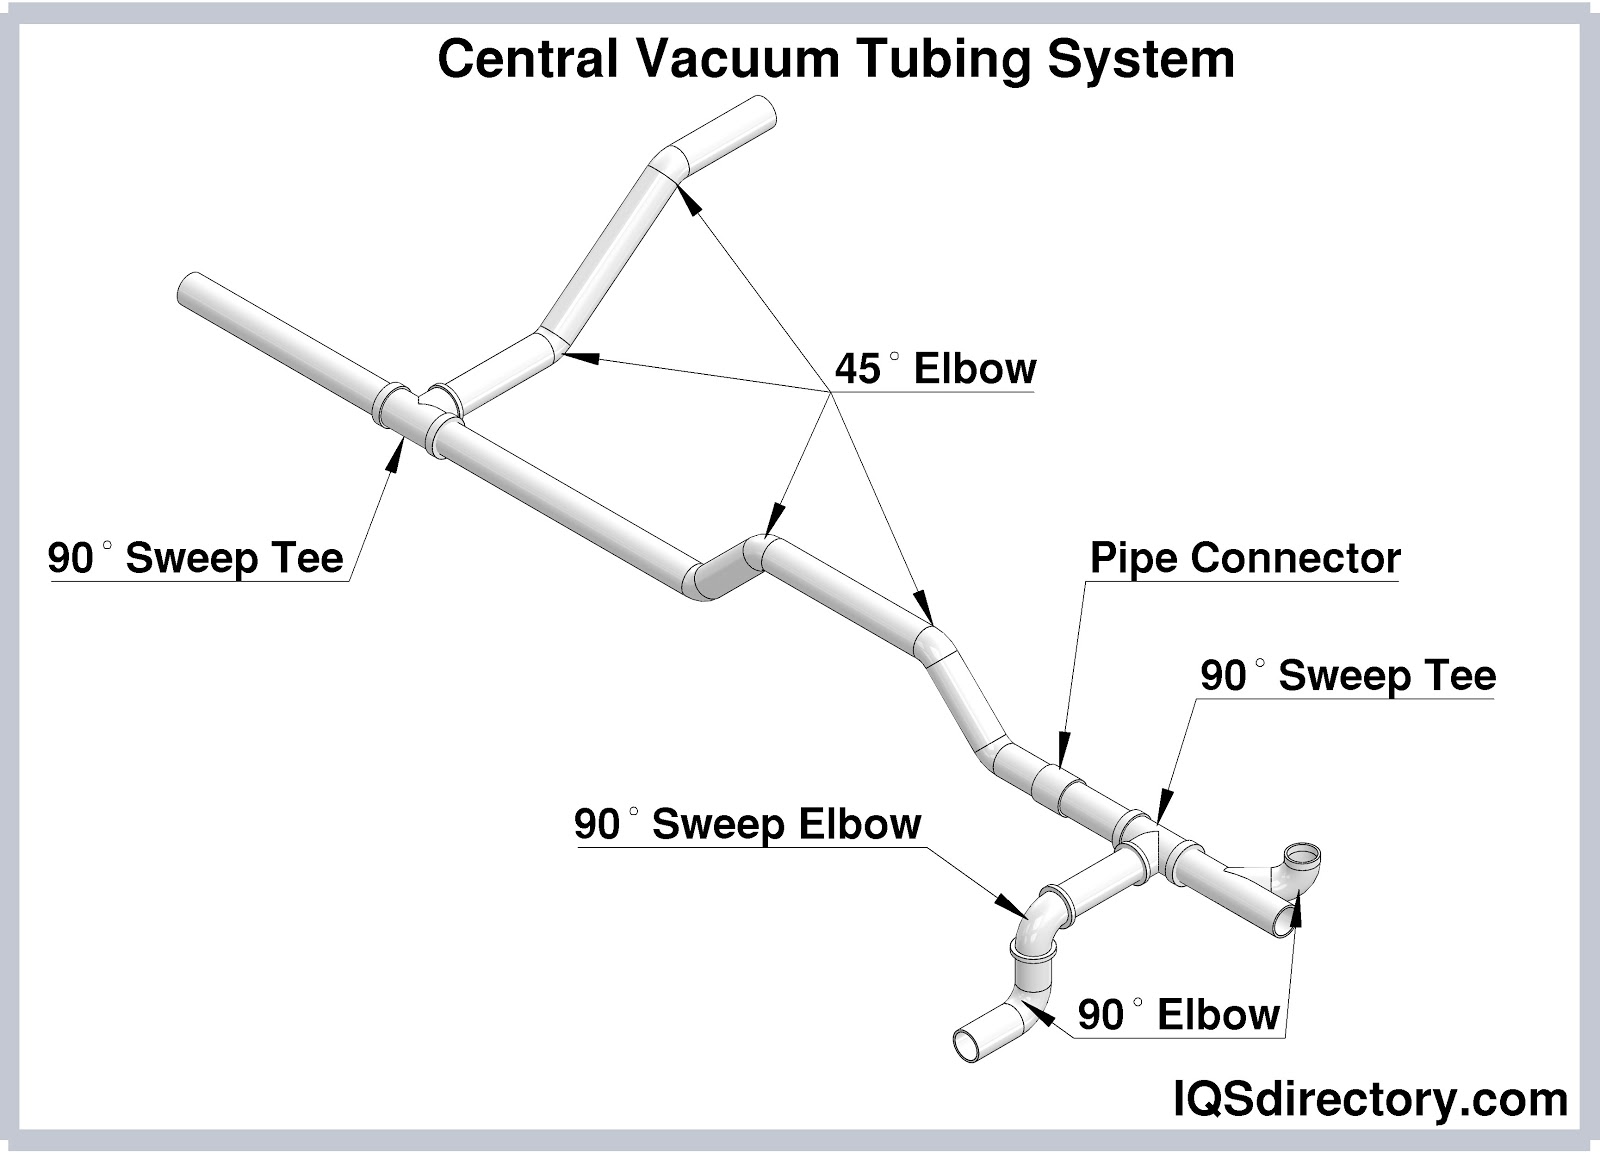
Operative Delivery Vacuum Inlet/outlet Diagram


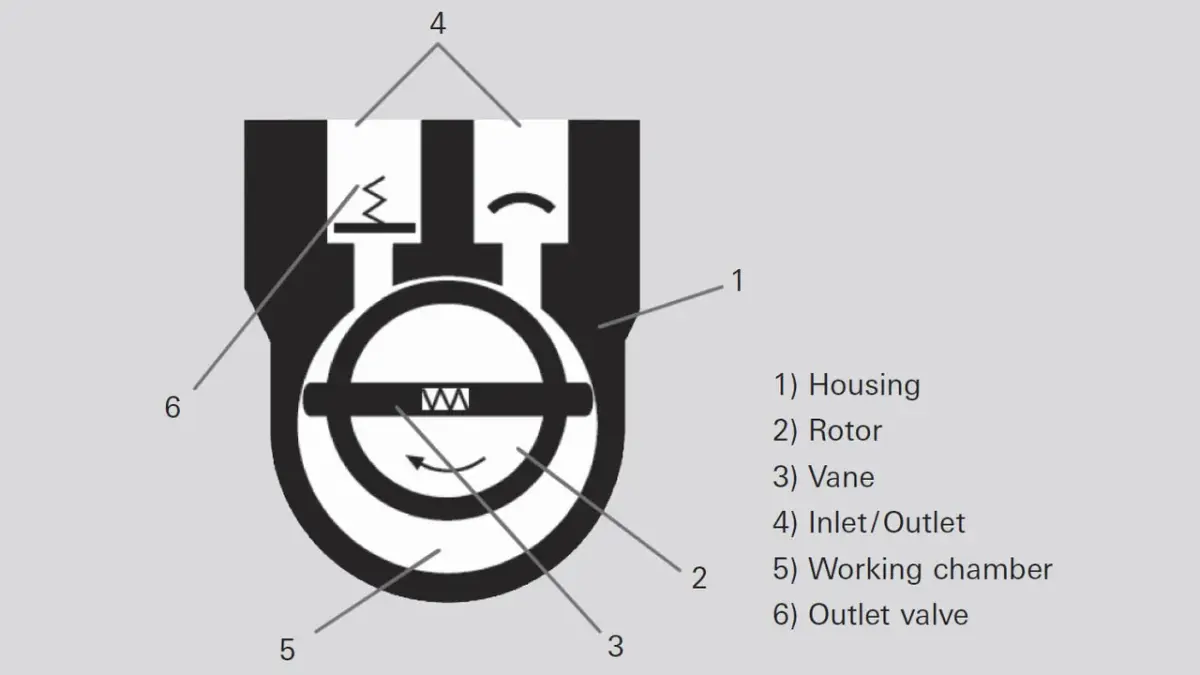


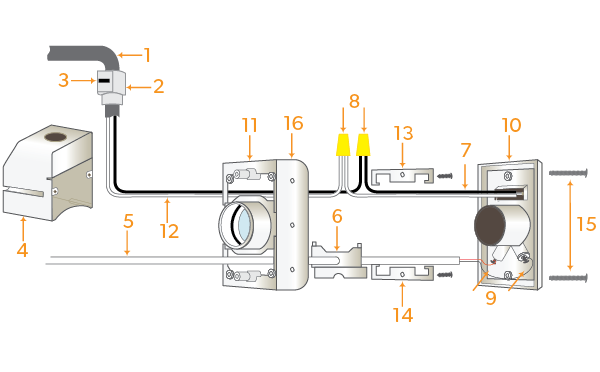


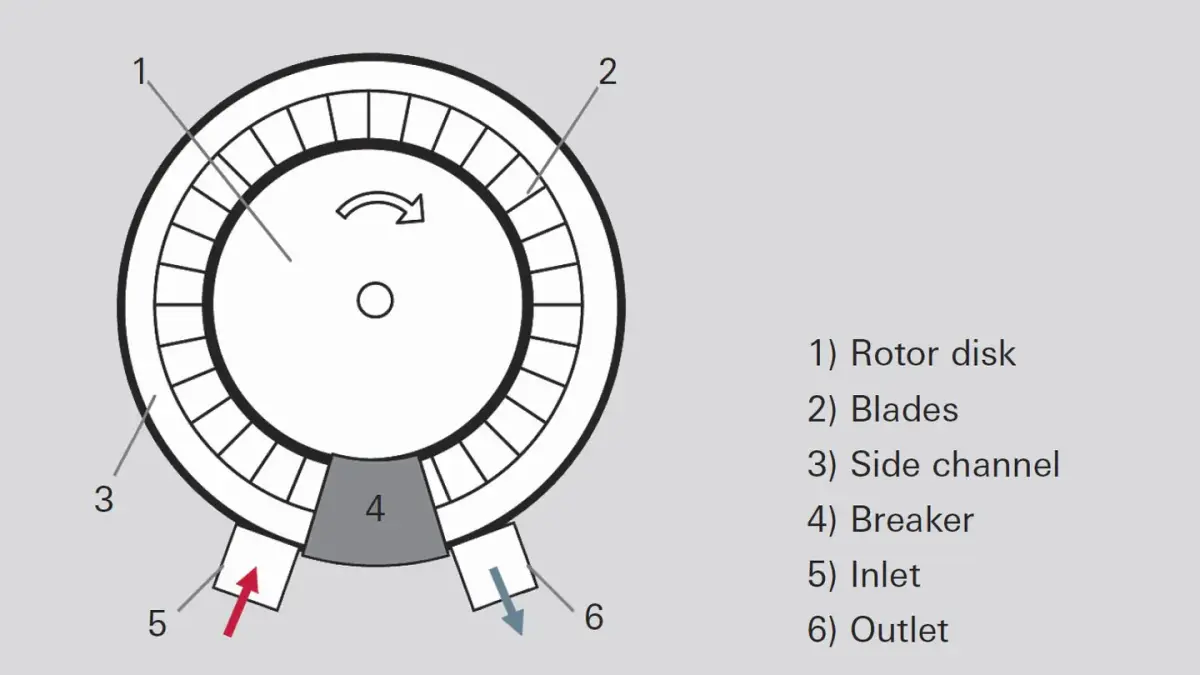


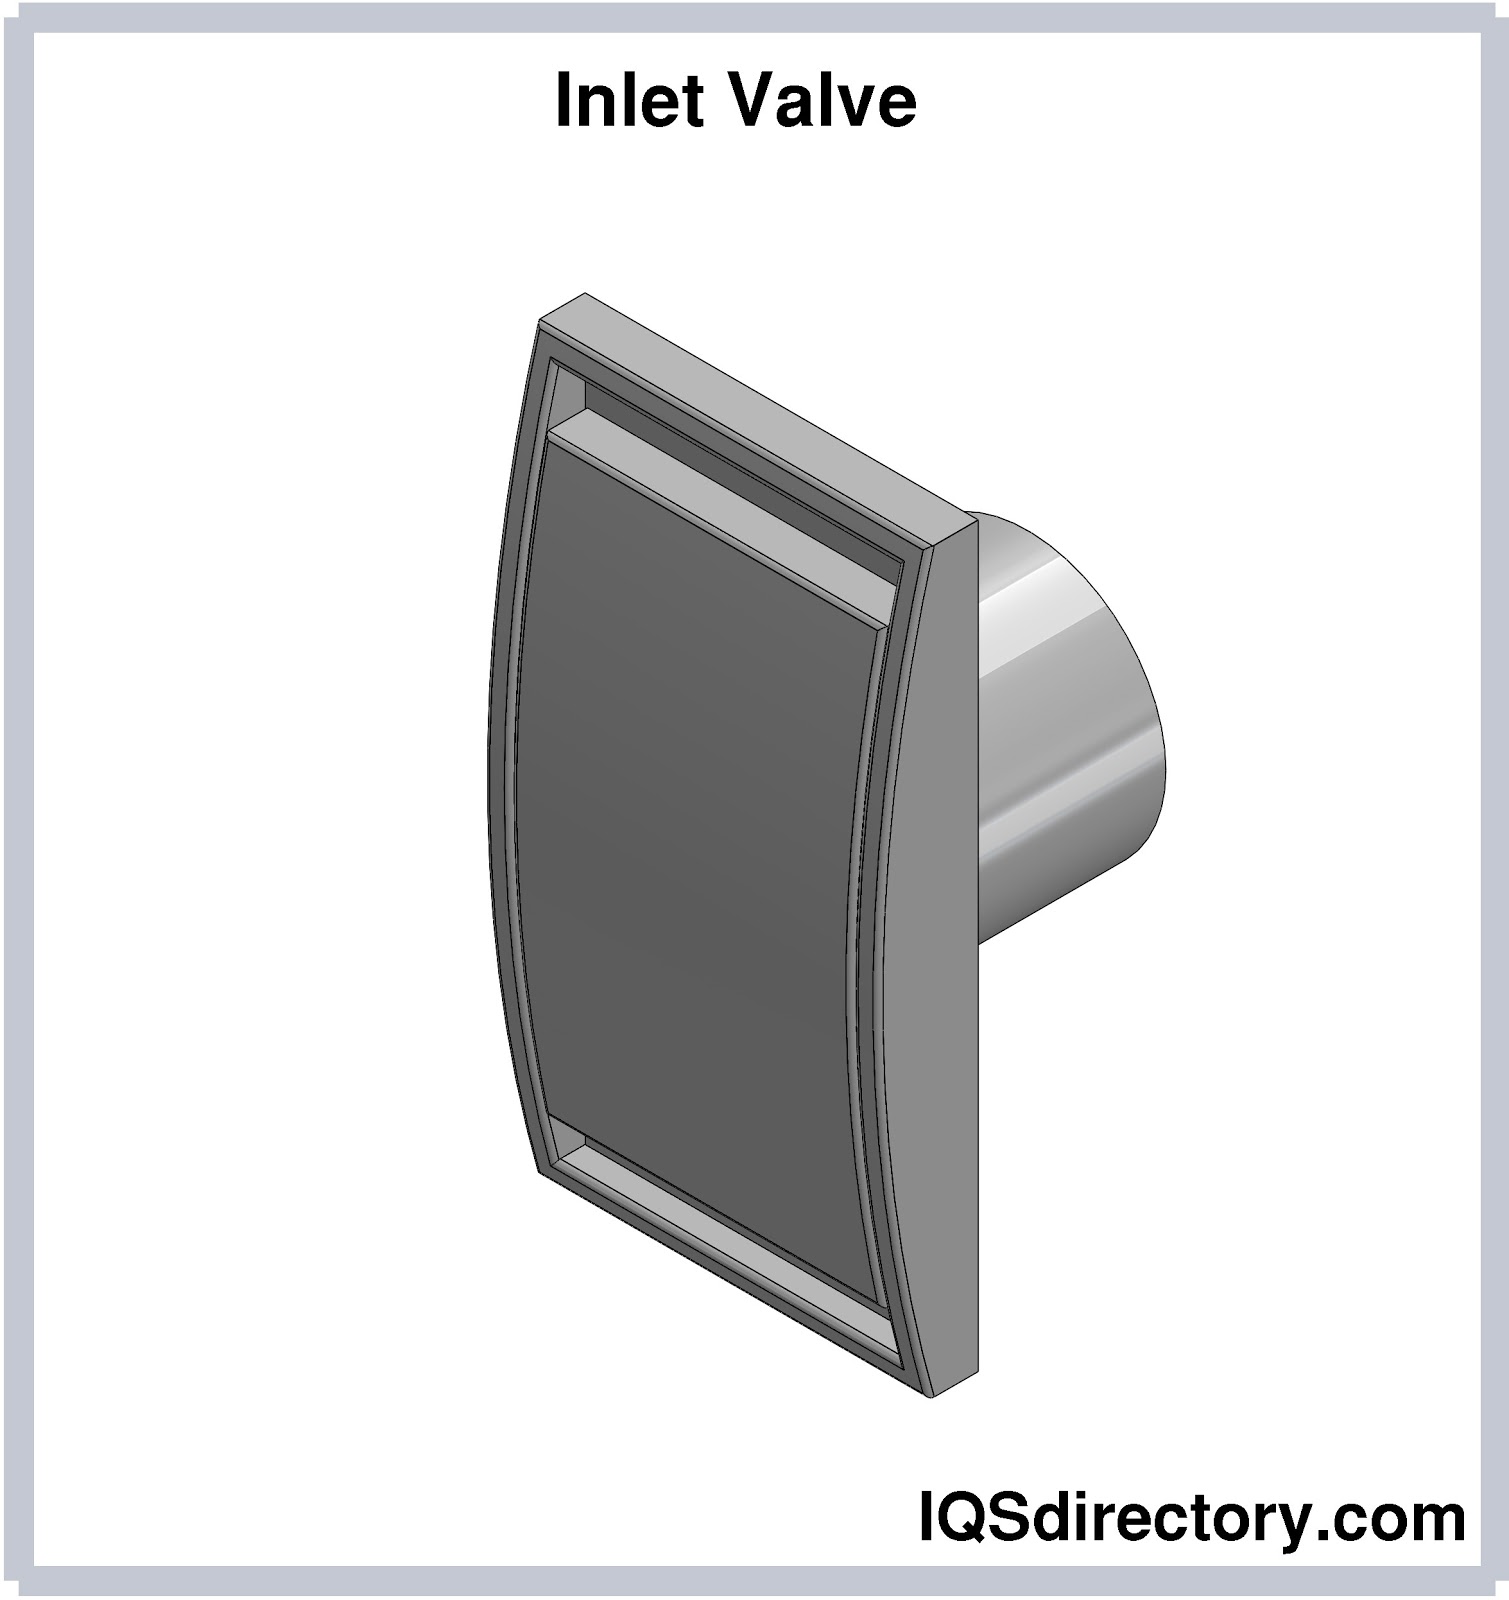


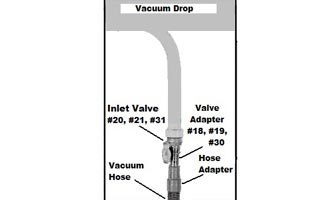
![Inlet and outlet valve assembly [3]. Figure 3. Outlet valve assembly [3 ...](https://www.researchgate.net/publication/335171904/figure/fig1/AS:791847857303553@1565802649879/Inlet-and-outlet-valve-assembly-3-Figure-3-Outlet-valve-assembly-3.jpg)


Experience the clarity of Operative Delivery Vacuum Inlet/outlet Diagram with our curated collection of vast arrays of images. featuring understated examples of photography, images, and pictures. ideal for clean and simple aesthetics. Discover high-resolution Operative Delivery Vacuum Inlet/outlet Diagram images optimized for various applications. Suitable for various applications including web design, social media, personal projects, and digital content creation All Operative Delivery Vacuum Inlet/outlet Diagram images are available in high resolution with professional-grade quality, optimized for both digital and print applications, and include comprehensive metadata for easy organization and usage. Discover the perfect Operative Delivery Vacuum Inlet/outlet Diagram images to enhance your visual communication needs. Comprehensive tagging systems facilitate quick discovery of relevant Operative Delivery Vacuum Inlet/outlet Diagram content. Each image in our Operative Delivery Vacuum Inlet/outlet Diagram gallery undergoes rigorous quality assessment before inclusion. The Operative Delivery Vacuum Inlet/outlet Diagram collection represents years of careful curation and professional standards. Whether for commercial projects or personal use, our Operative Delivery Vacuum Inlet/outlet Diagram collection delivers consistent excellence. Instant download capabilities enable immediate access to chosen Operative Delivery Vacuum Inlet/outlet Diagram images. Regular updates keep the Operative Delivery Vacuum Inlet/outlet Diagram collection current with contemporary trends and styles.