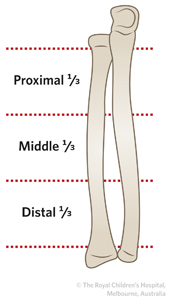
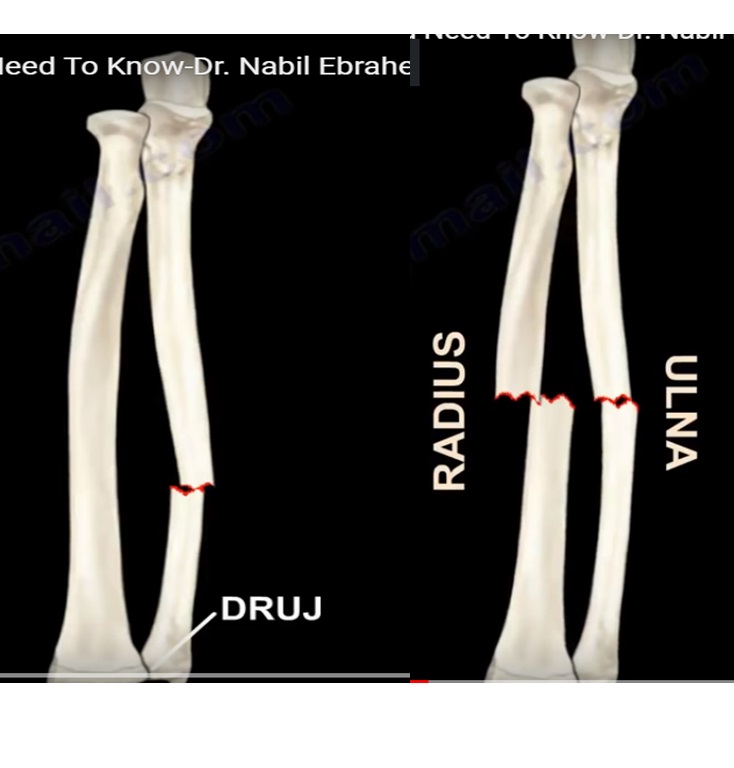
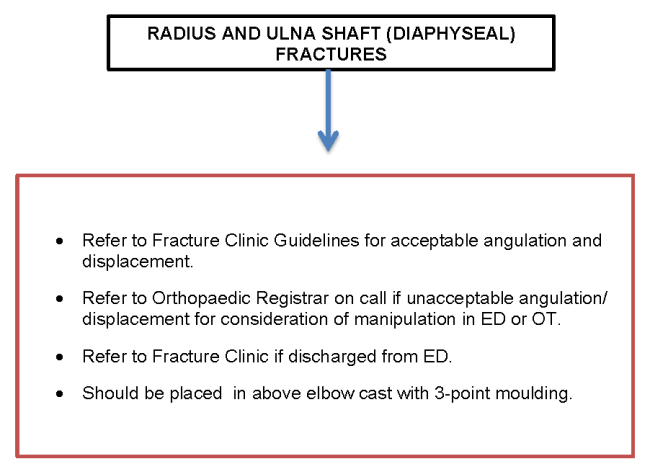
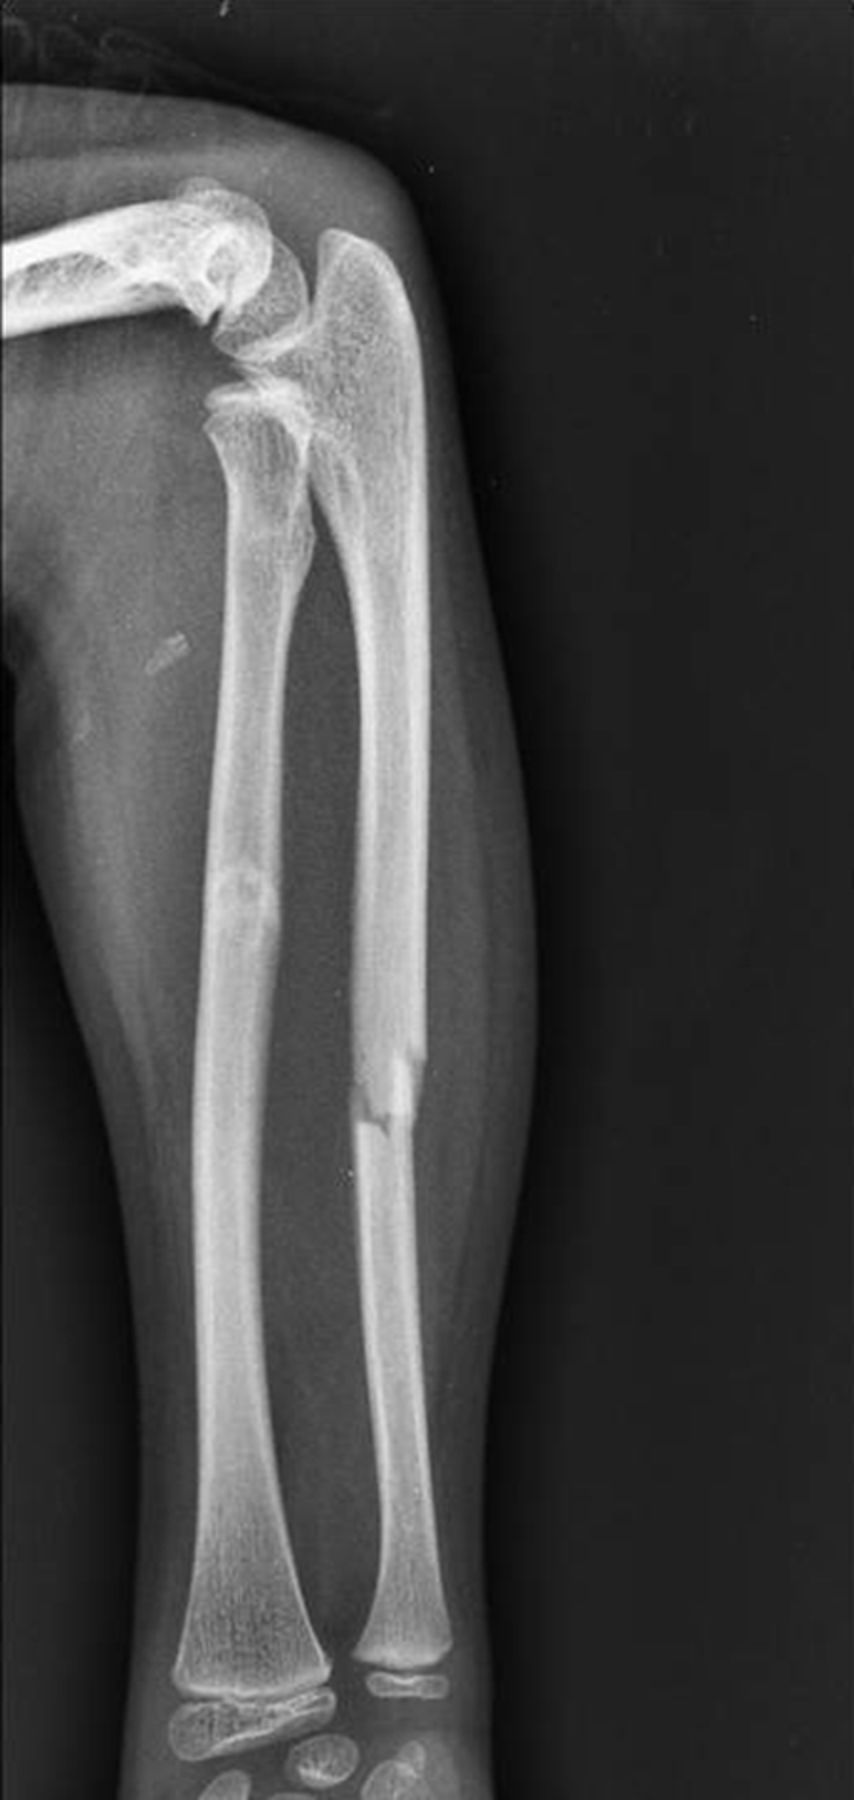
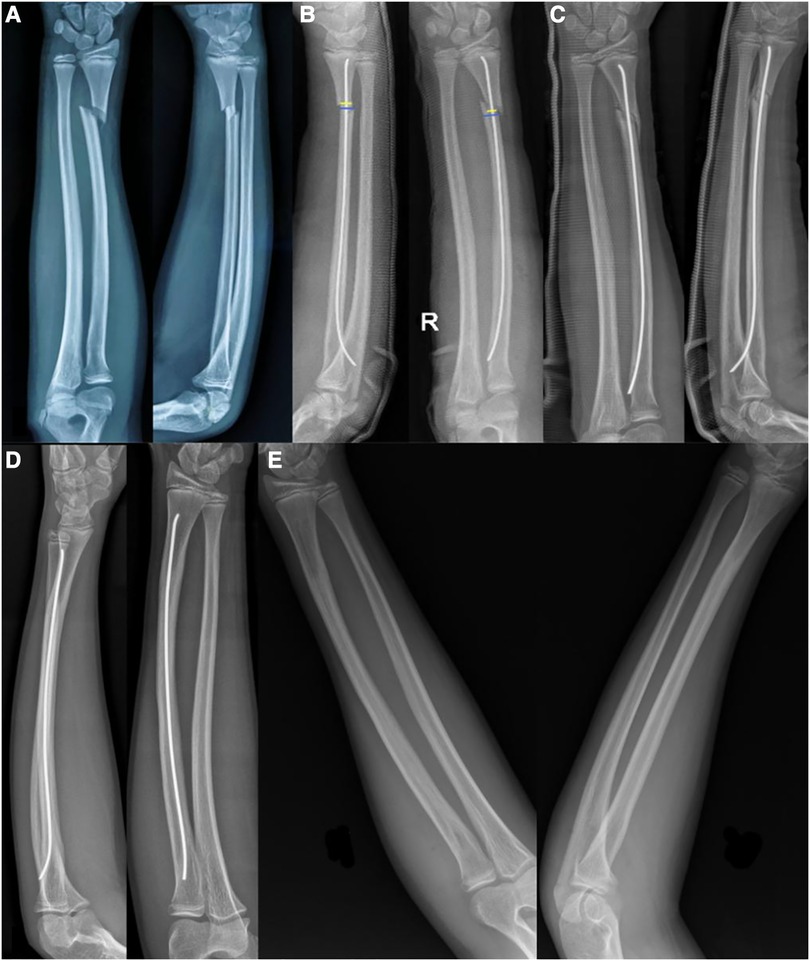
Mid Diaphyses Radius/ulna


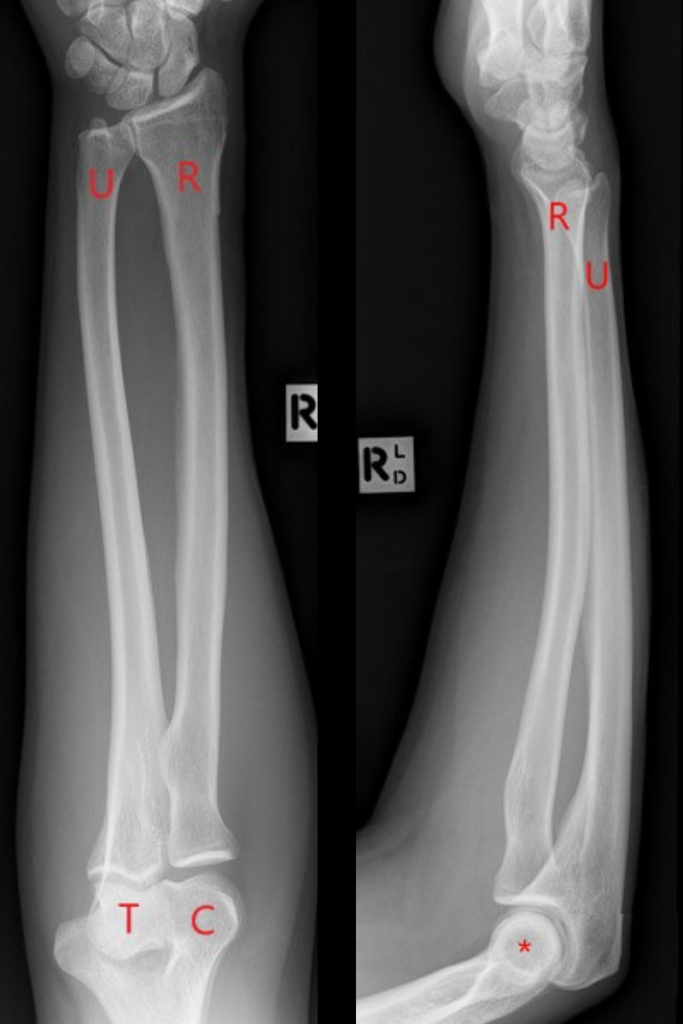
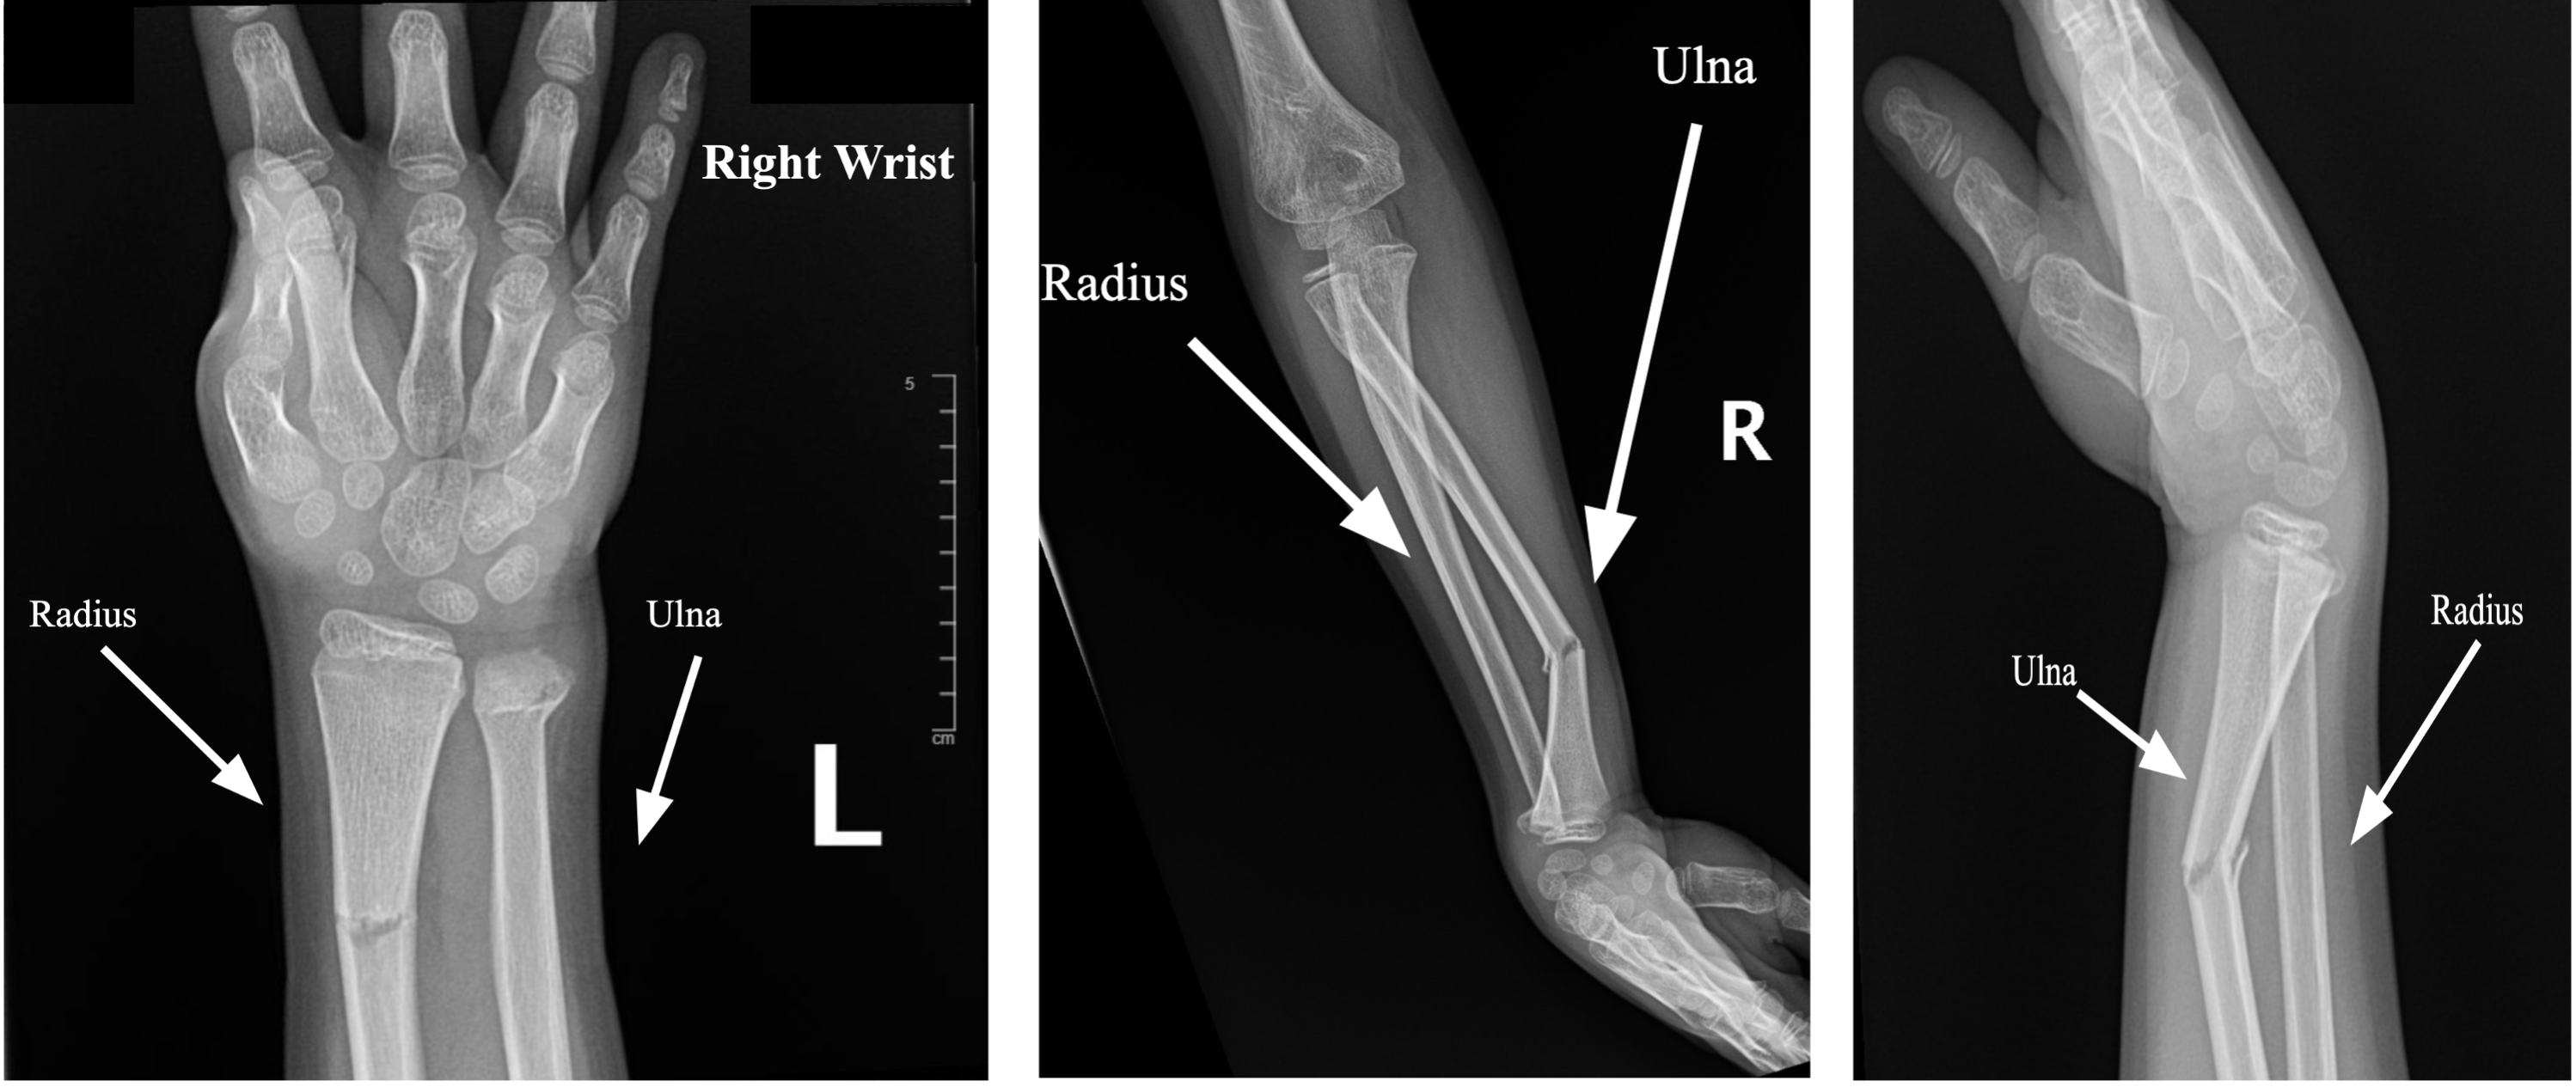
_and_supinated_(right)_views_of_the_forearm_demonstrate_greenstick_fracture.jpg)


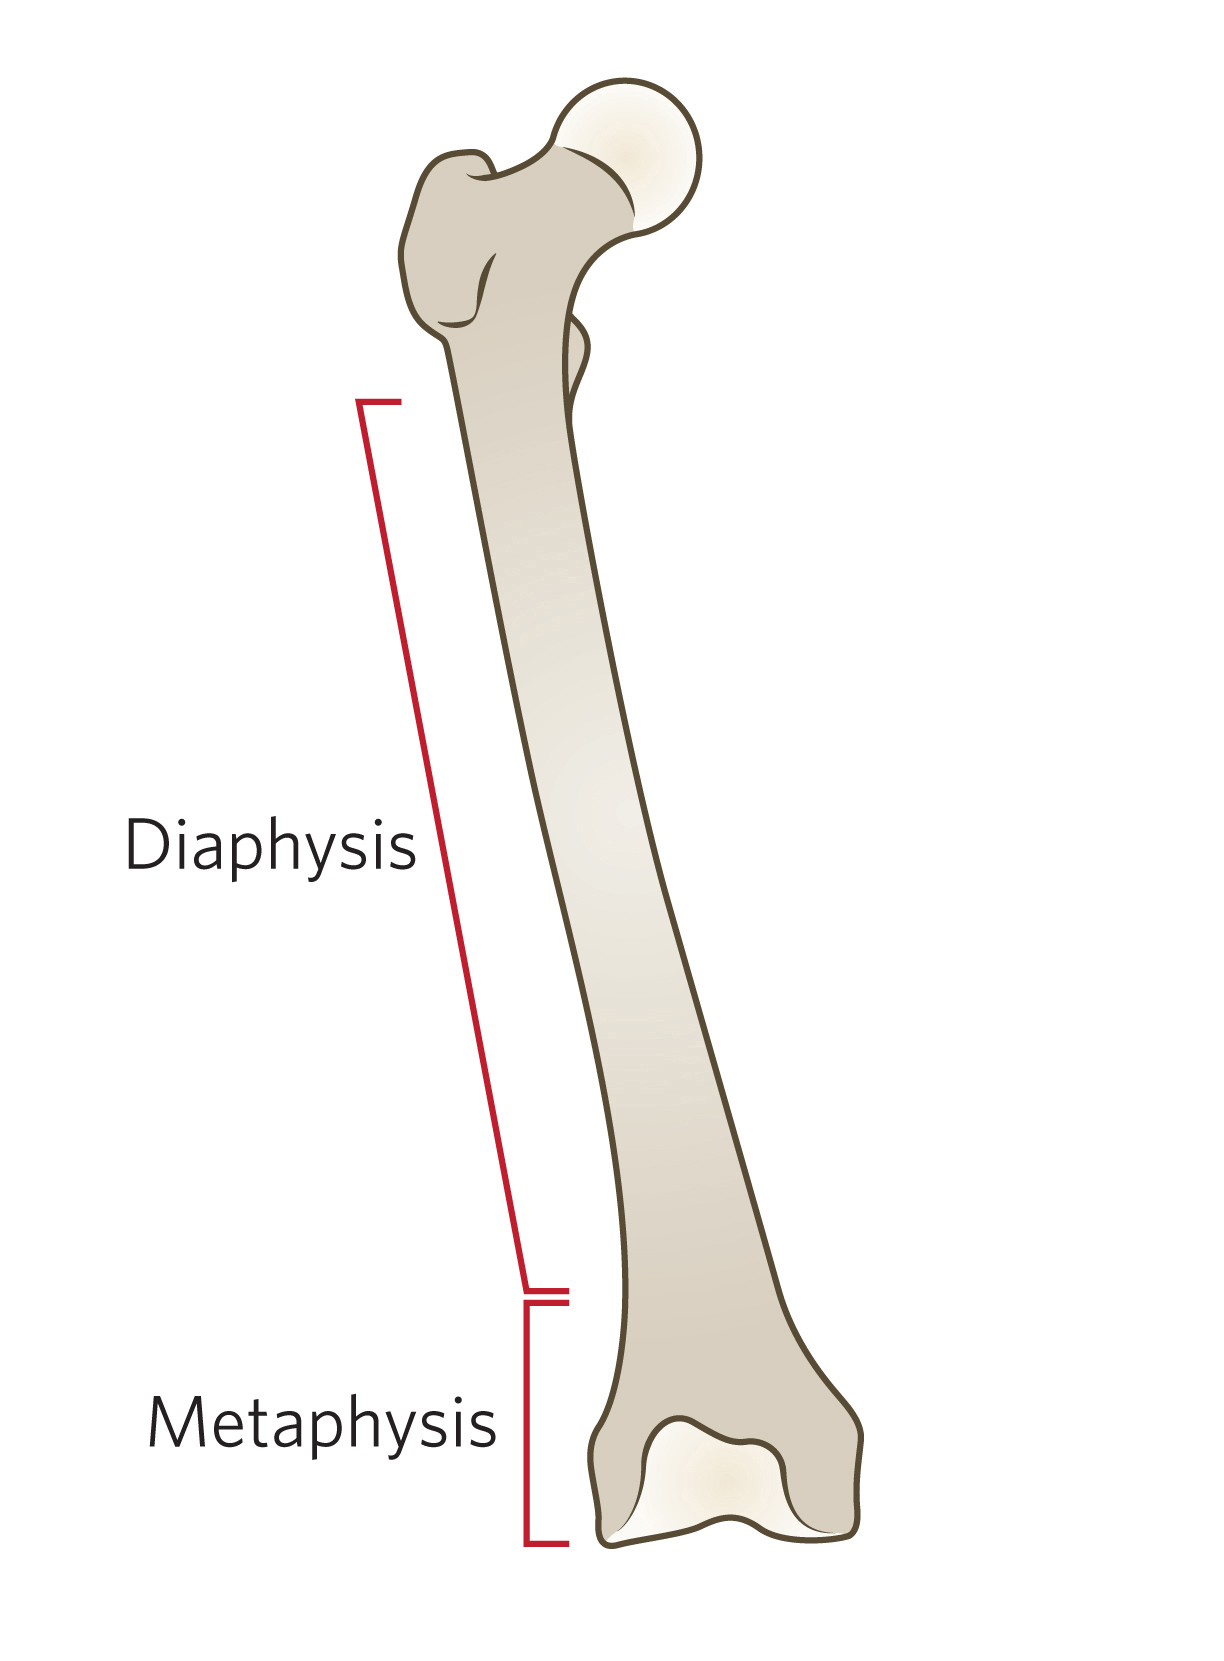
.png)


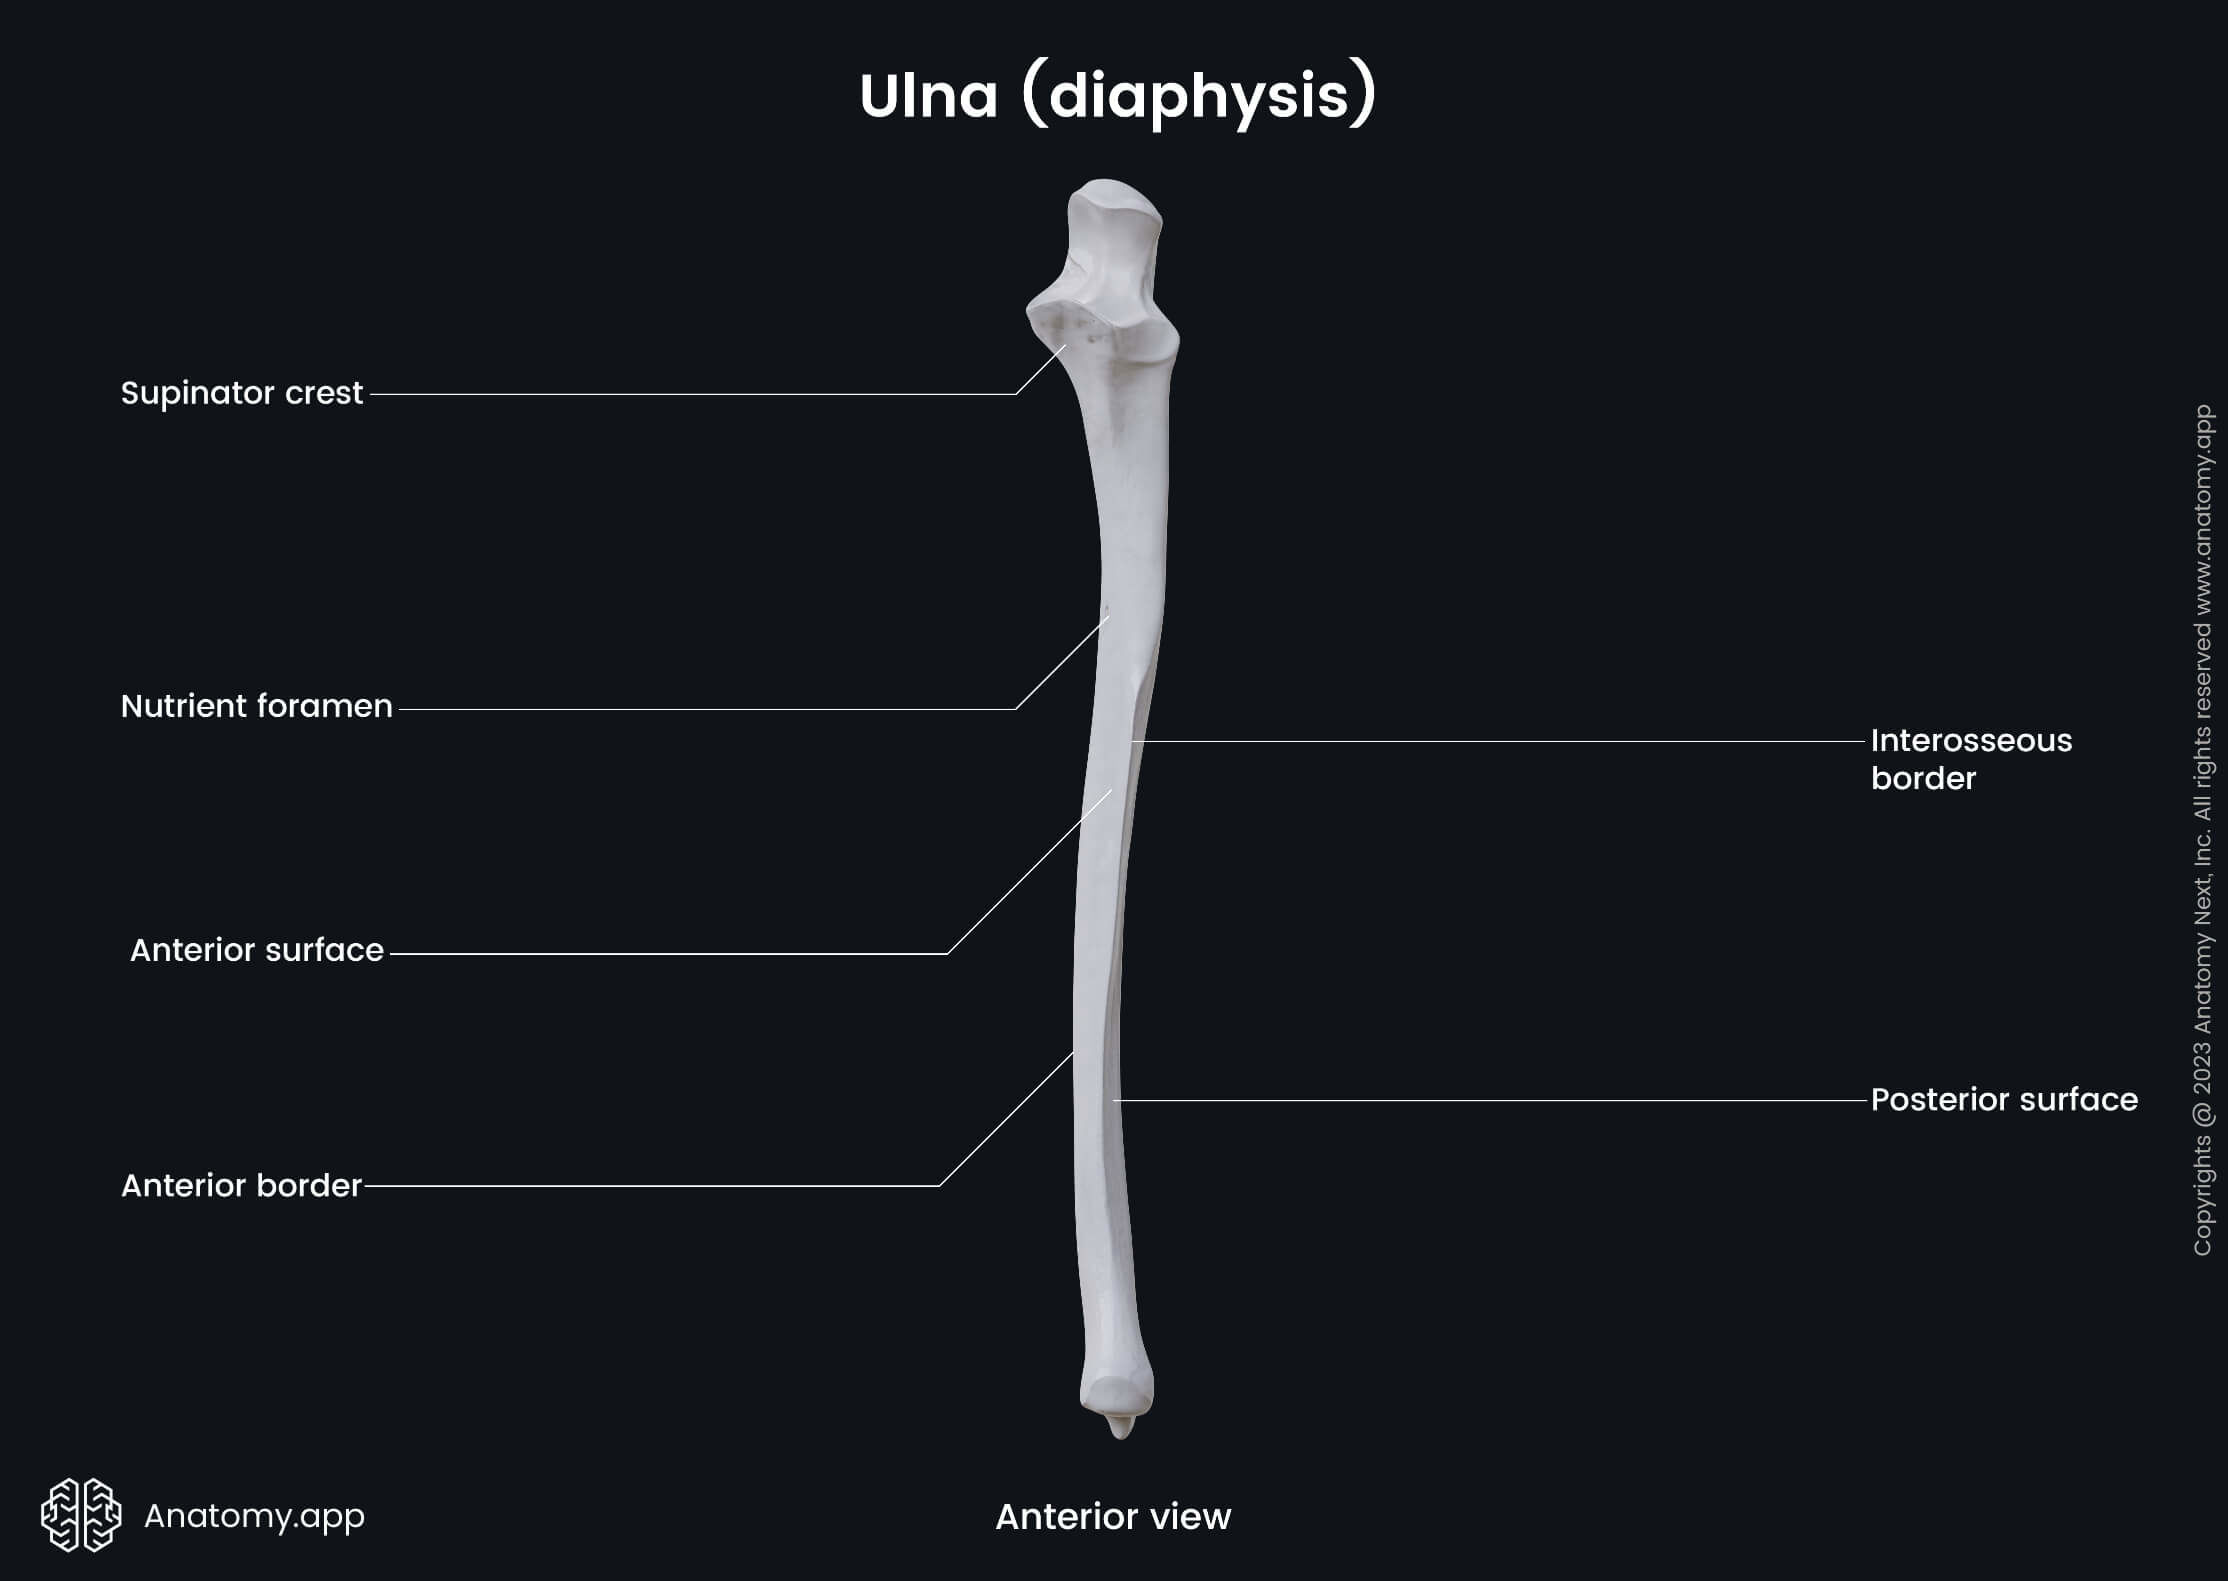
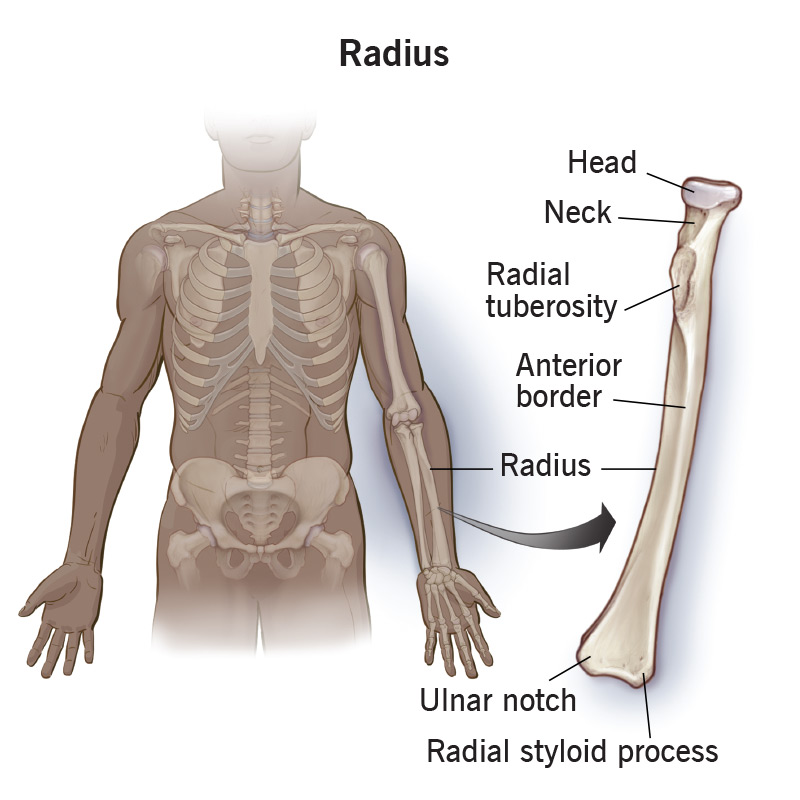
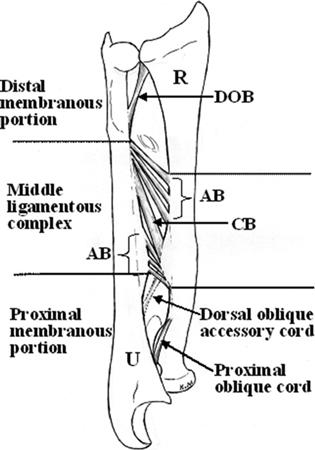
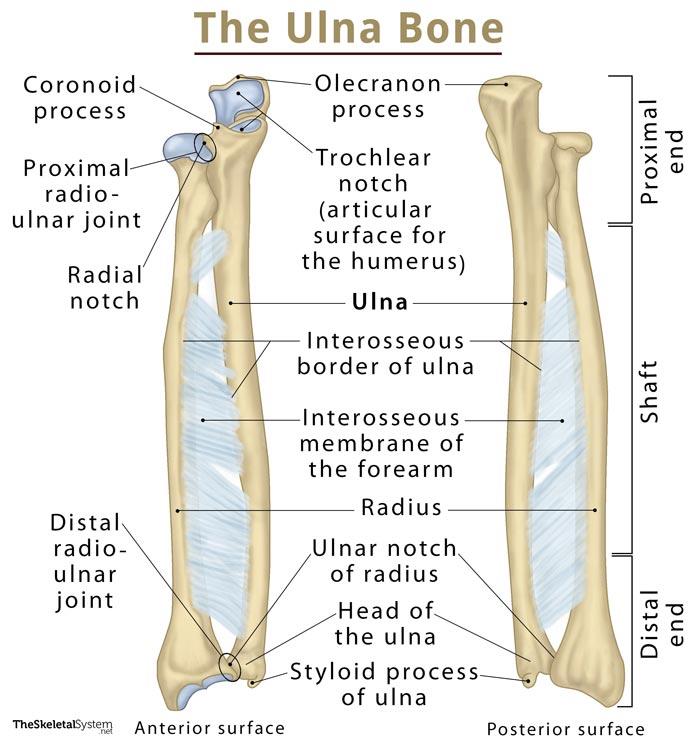
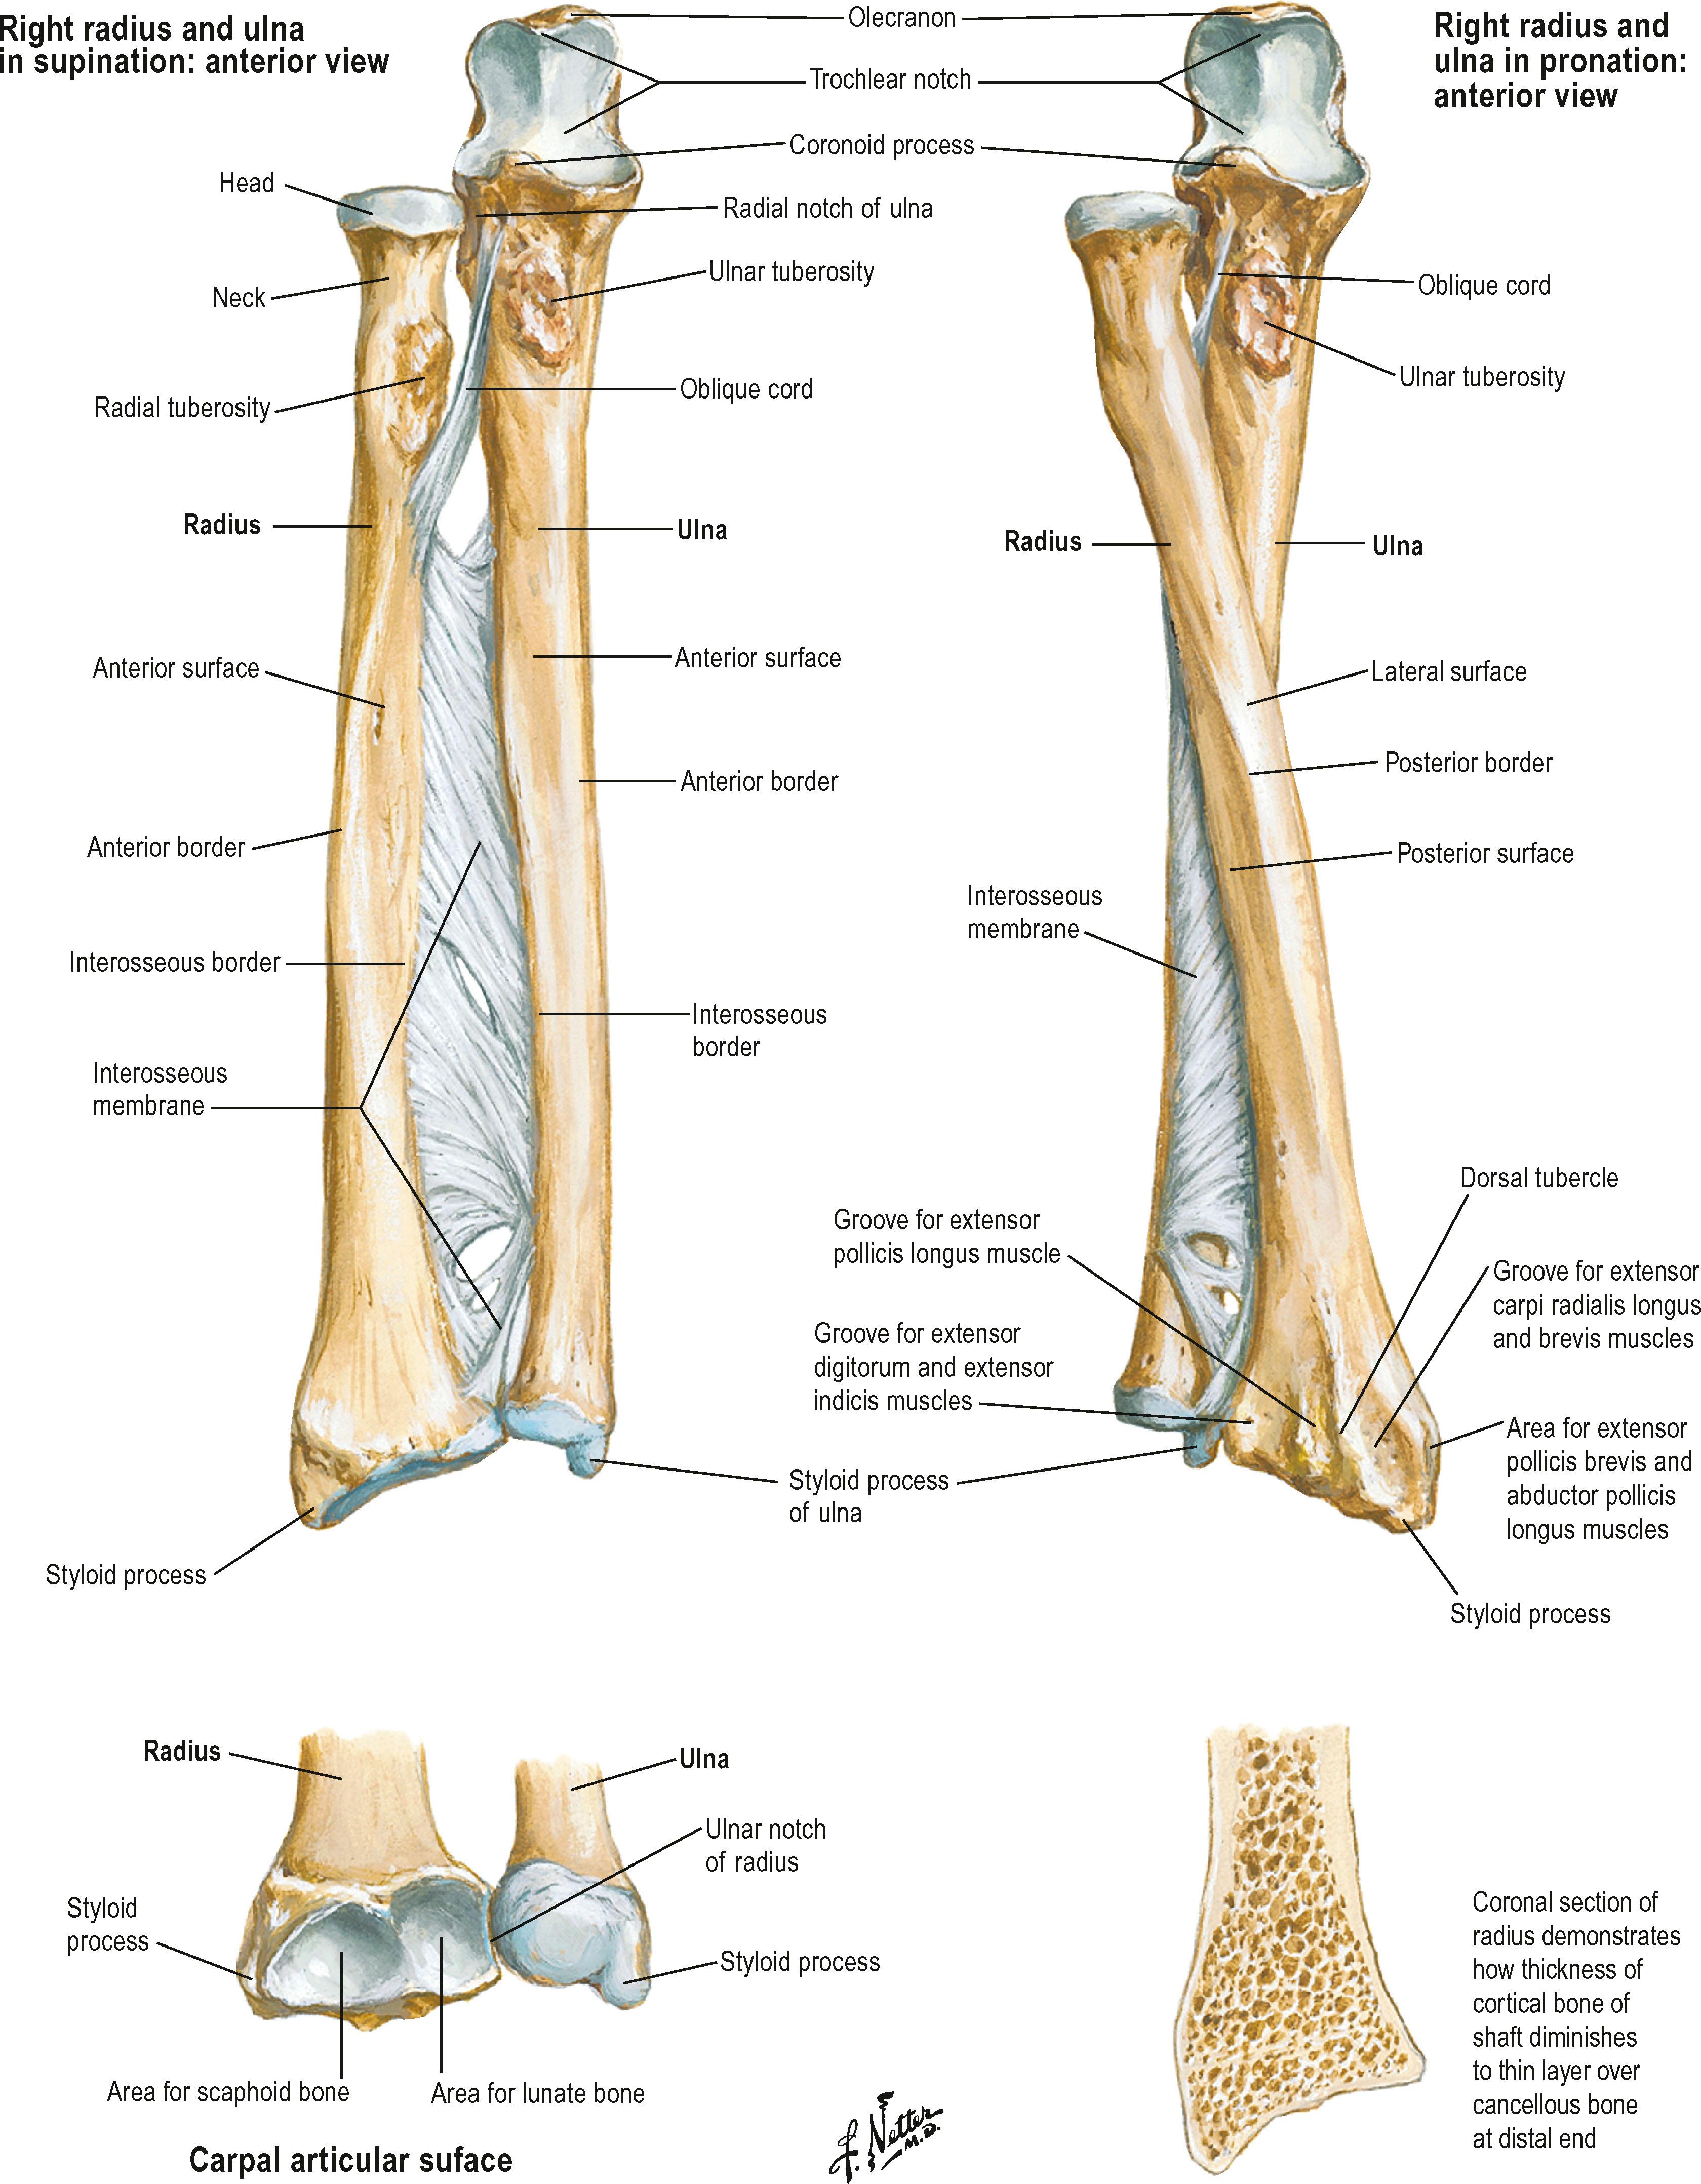
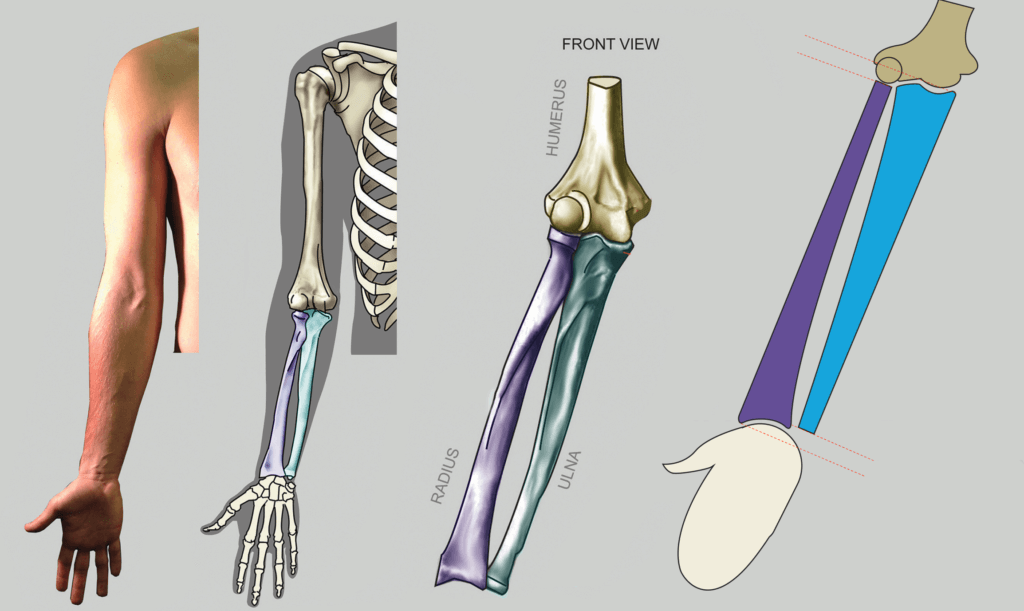
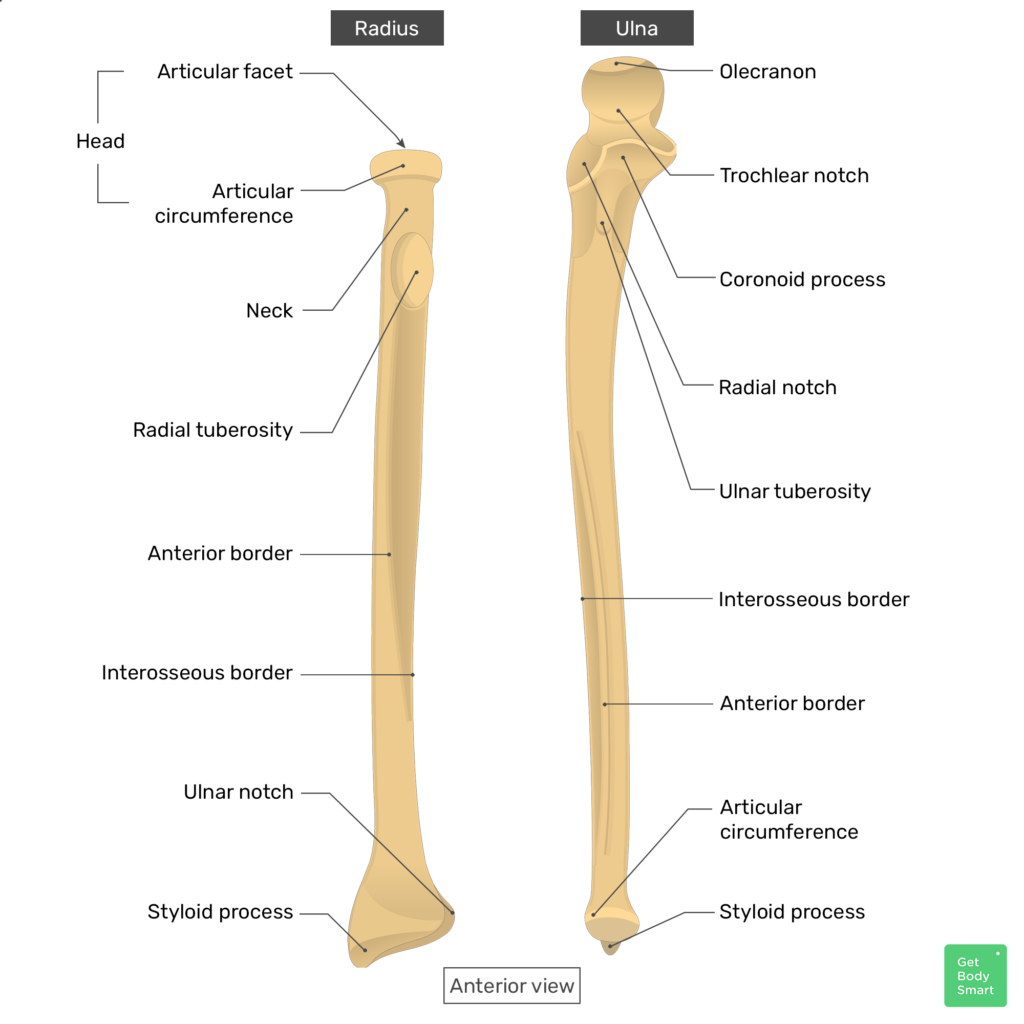
![[DIAGRAM] Labeled Diagram Of The Ulna - MYDIAGRAM.ONLINE](https://www.earthslab.com/wp-content/uploads/2017/10/Muscle-Radius-1.jpg)

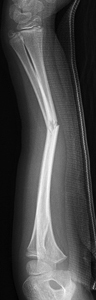


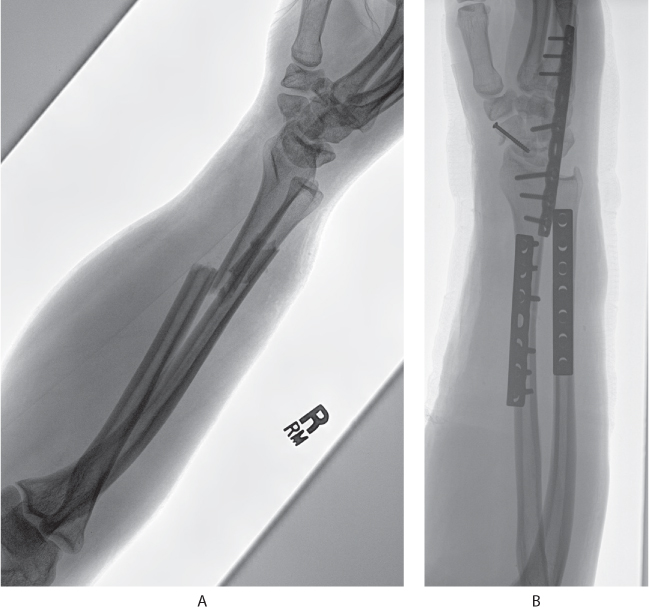
.png/640px-Midshaft_radius_and_ulnar_fractures_(Radiopaedia_69952-79969_None_1).png)


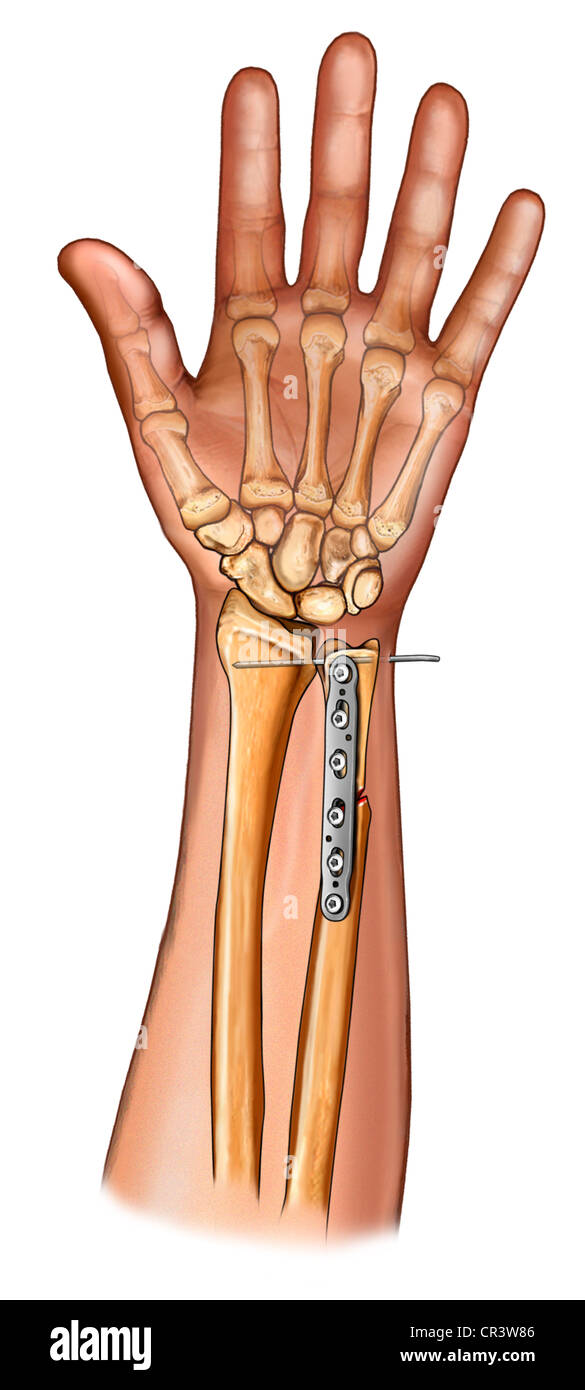
.jpg)


Embark on an stunning adventure with our Mid Diaphyses Radius/ulna collection featuring hundreds of captivating images. highlighting the adventurous spirit of photography, images, and pictures. designed to inspire exploration and discovery. Browse our premium Mid Diaphyses Radius/ulna gallery featuring professionally curated photographs. Suitable for various applications including web design, social media, personal projects, and digital content creation All Mid Diaphyses Radius/ulna images are available in high resolution with professional-grade quality, optimized for both digital and print applications, and include comprehensive metadata for easy organization and usage. Our Mid Diaphyses Radius/ulna gallery offers diverse visual resources to bring your ideas to life. Our Mid Diaphyses Radius/ulna database continuously expands with fresh, relevant content from skilled photographers. Regular updates keep the Mid Diaphyses Radius/ulna collection current with contemporary trends and styles. Time-saving browsing features help users locate ideal Mid Diaphyses Radius/ulna images quickly. Diverse style options within the Mid Diaphyses Radius/ulna collection suit various aesthetic preferences. Whether for commercial projects or personal use, our Mid Diaphyses Radius/ulna collection delivers consistent excellence. The Mid Diaphyses Radius/ulna collection represents years of careful curation and professional standards. The Mid Diaphyses Radius/ulna archive serves professionals, educators, and creatives across diverse industries.