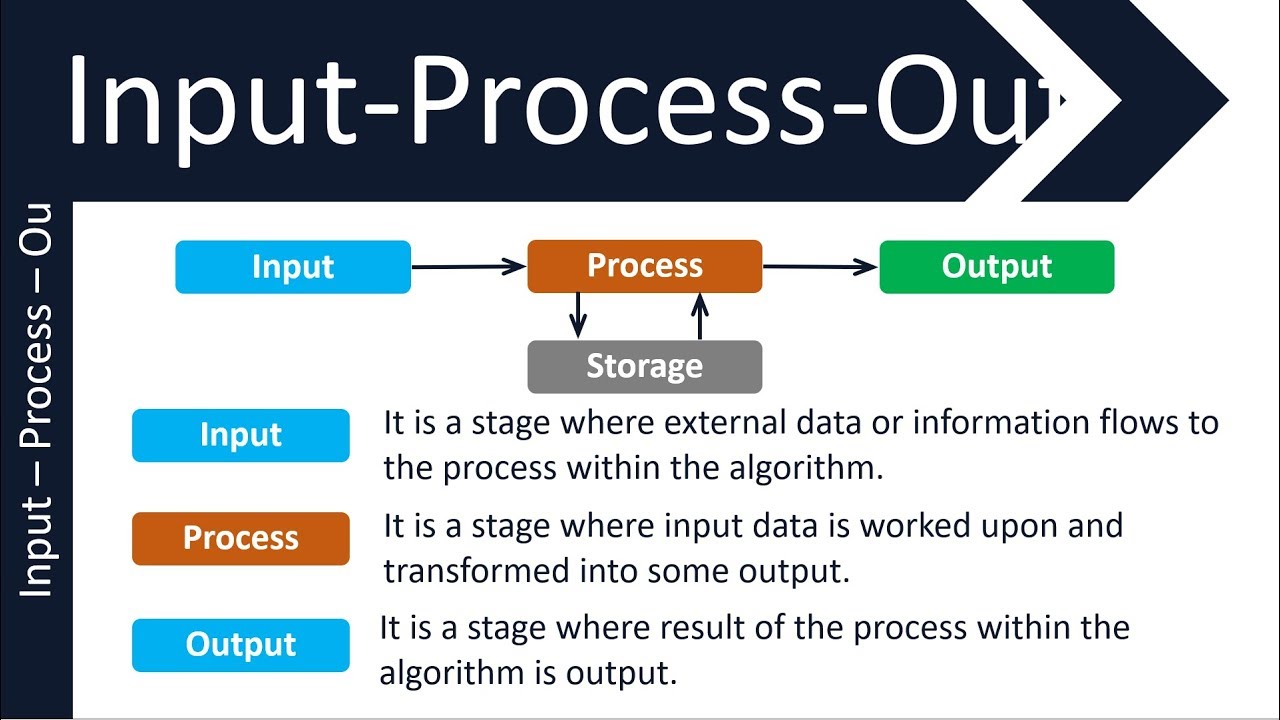
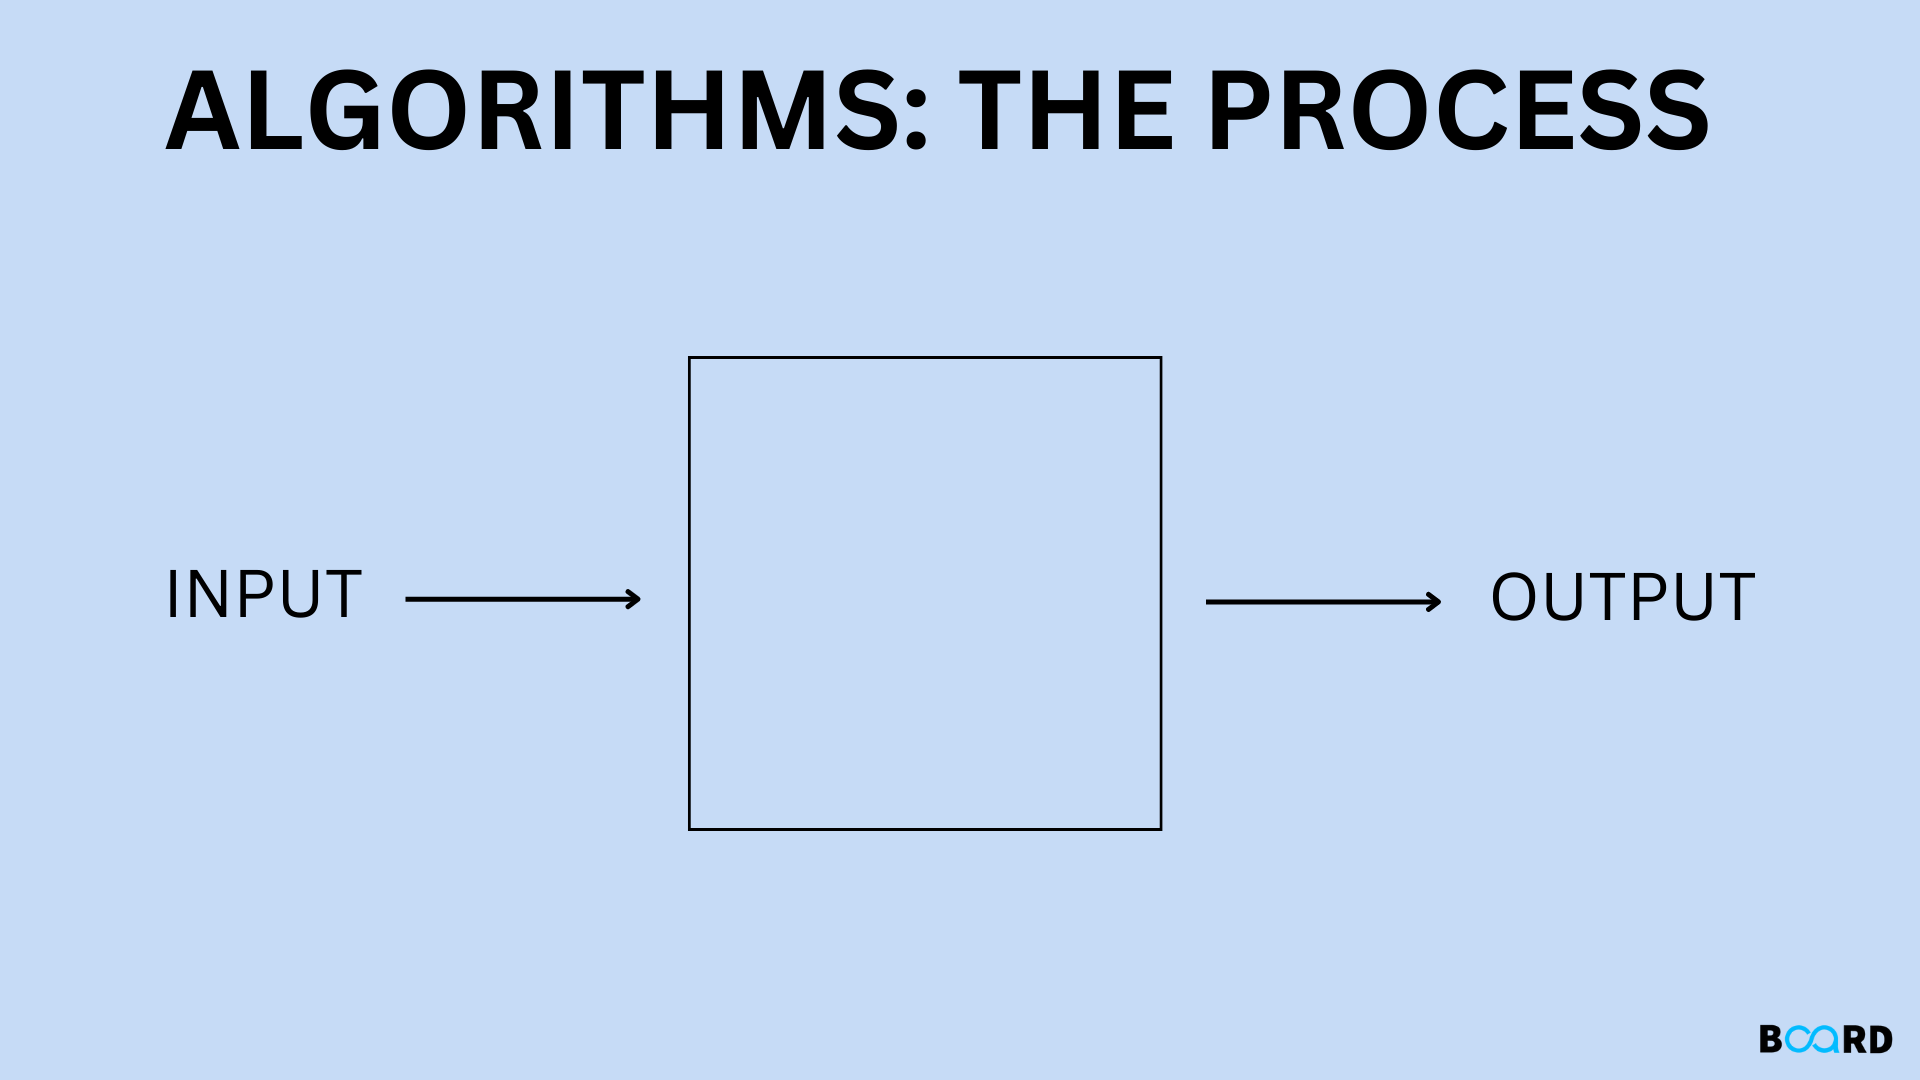
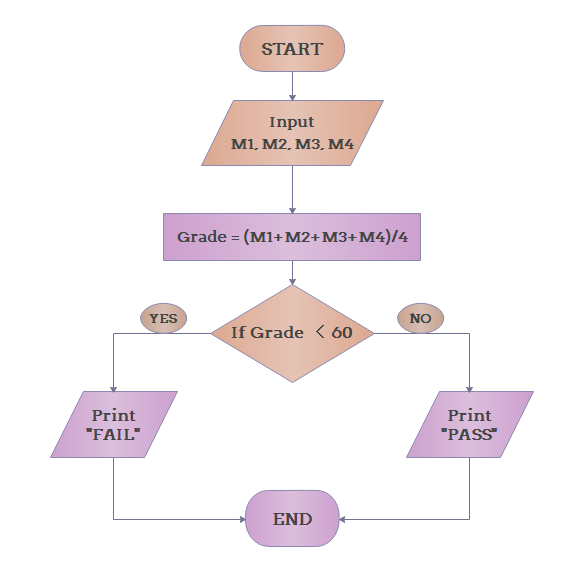
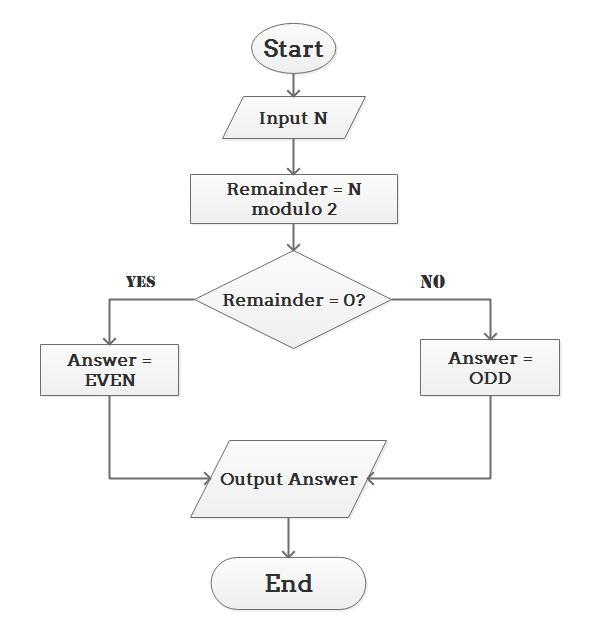
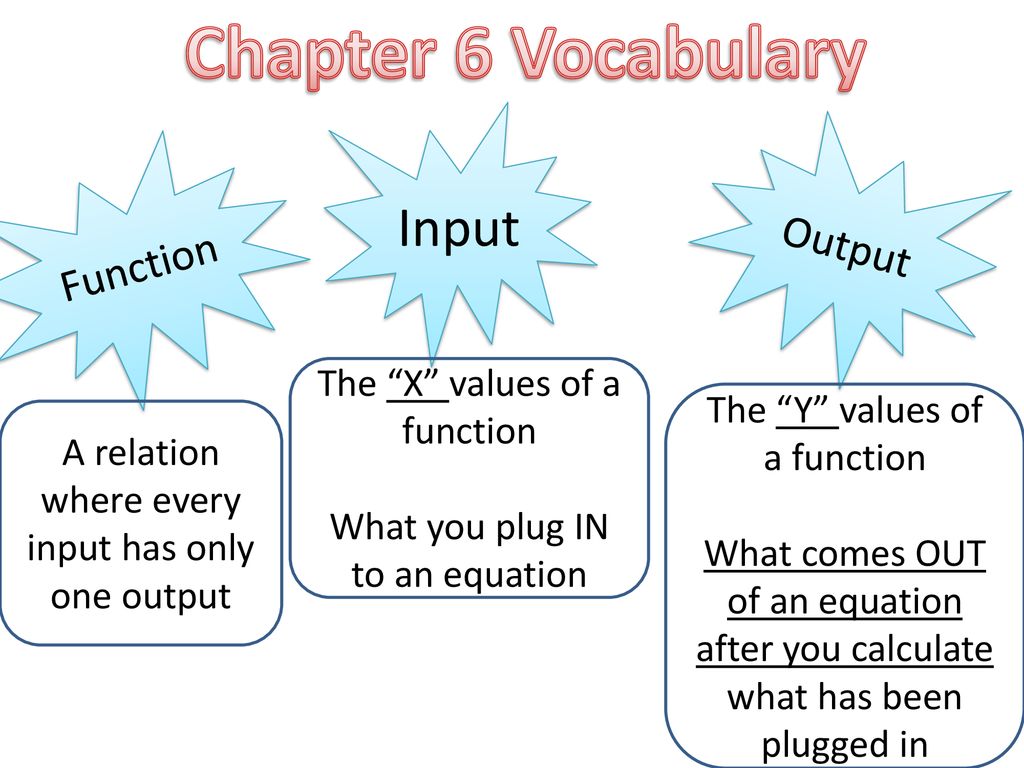
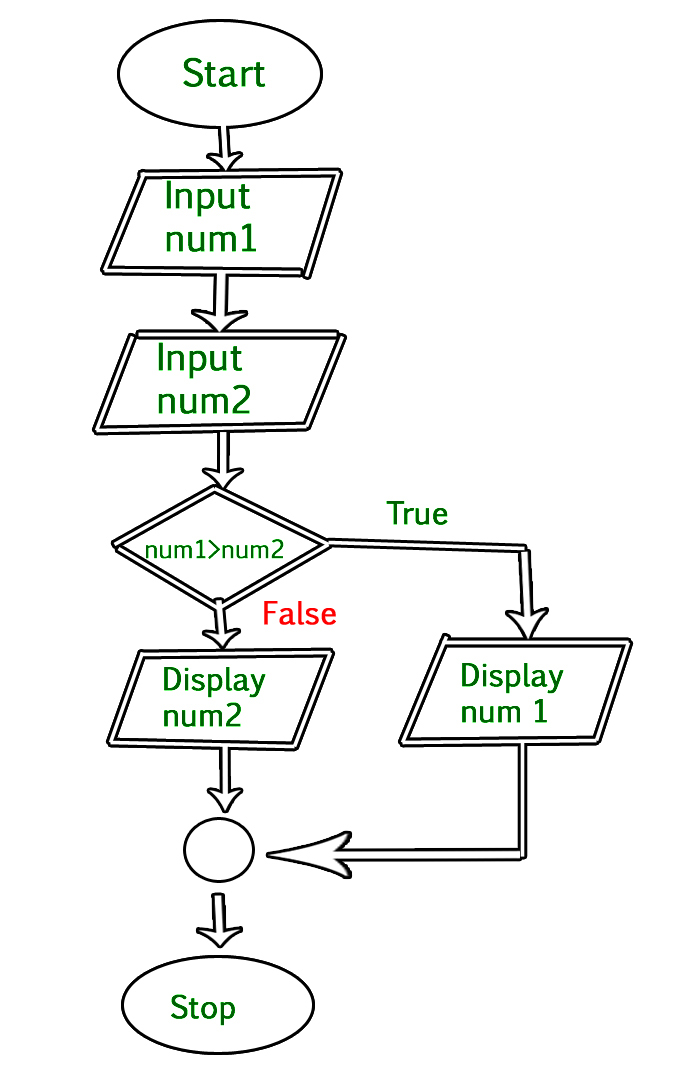
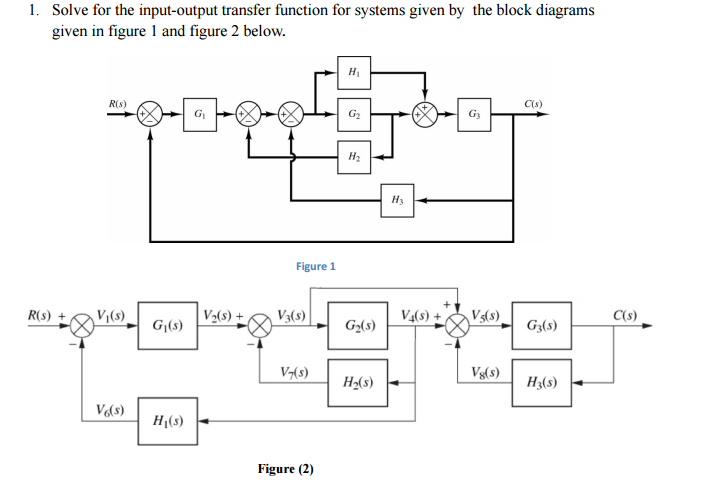
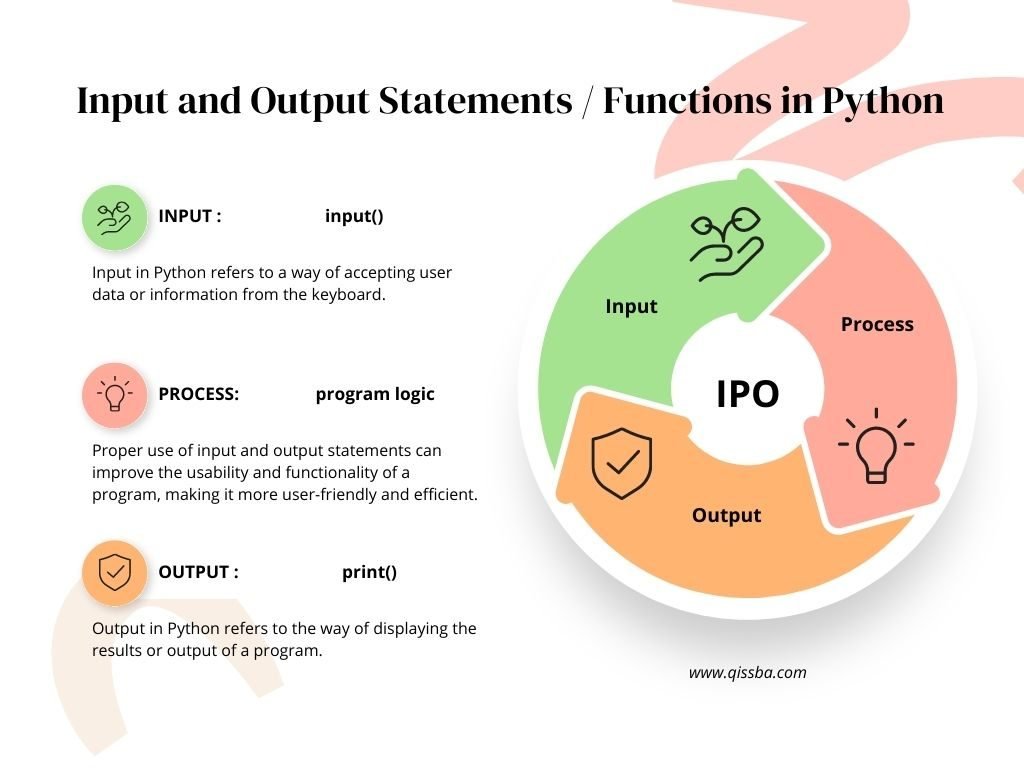
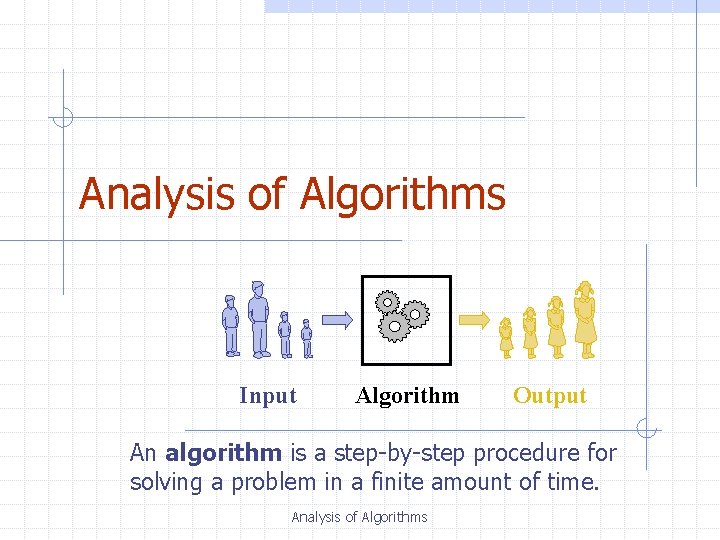
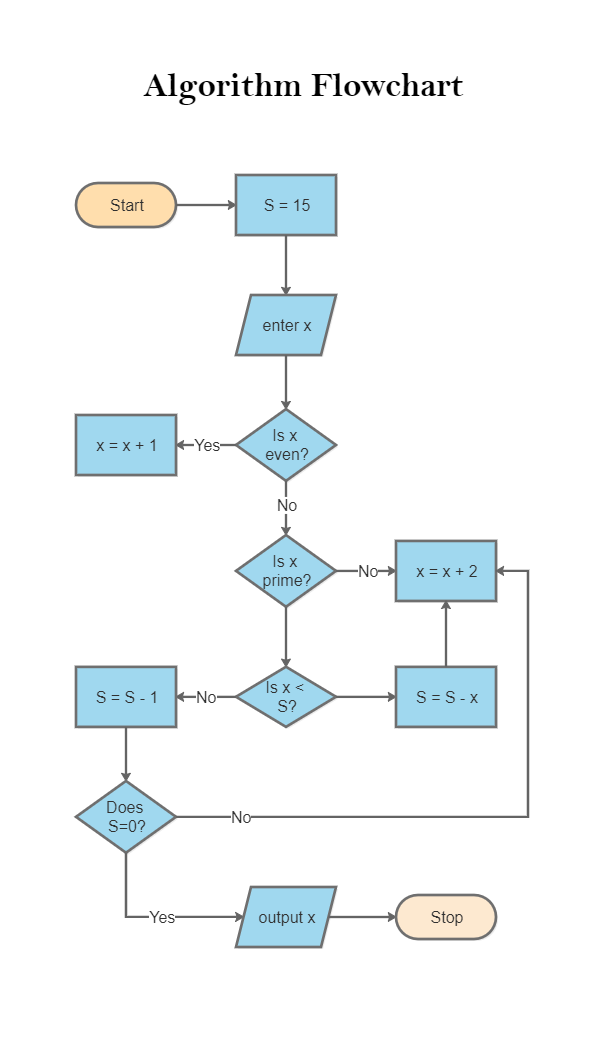
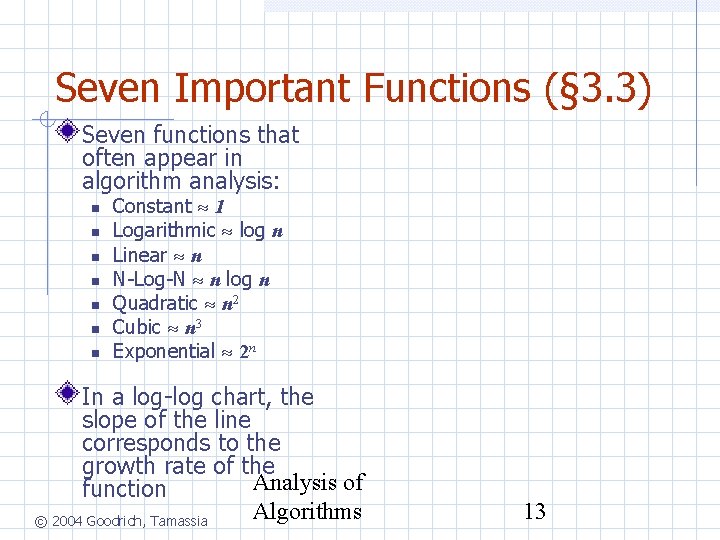
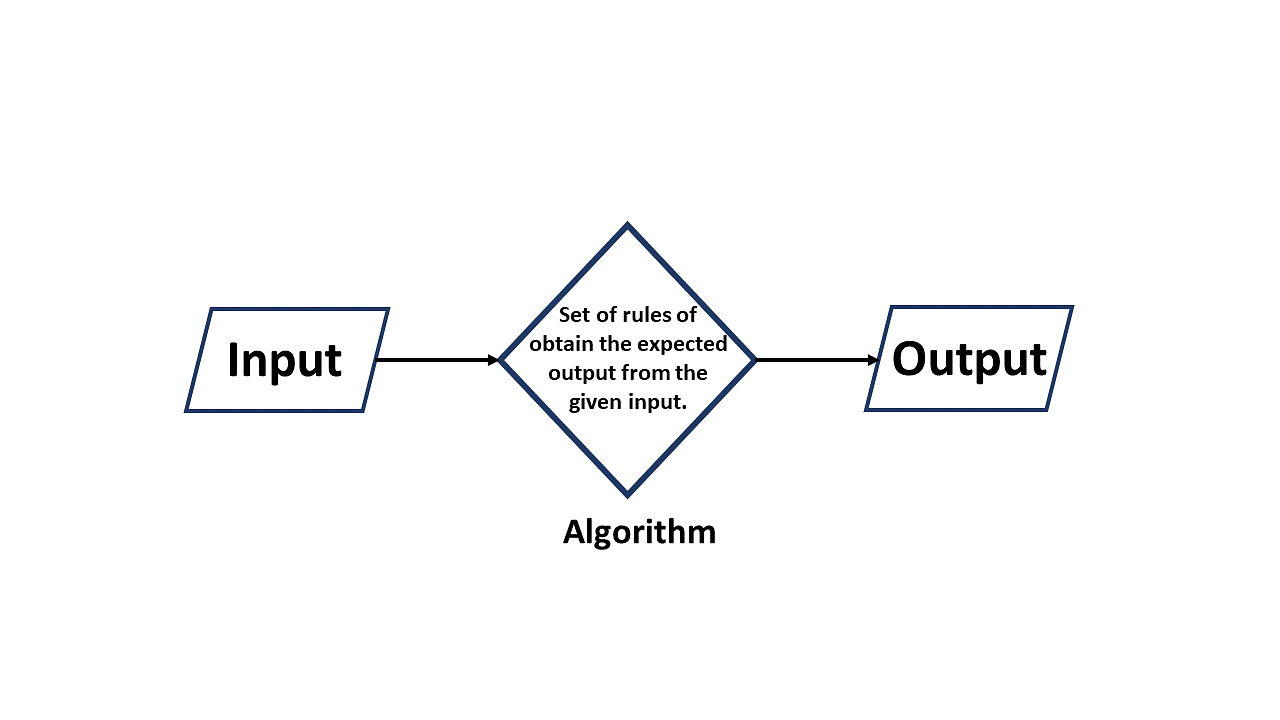
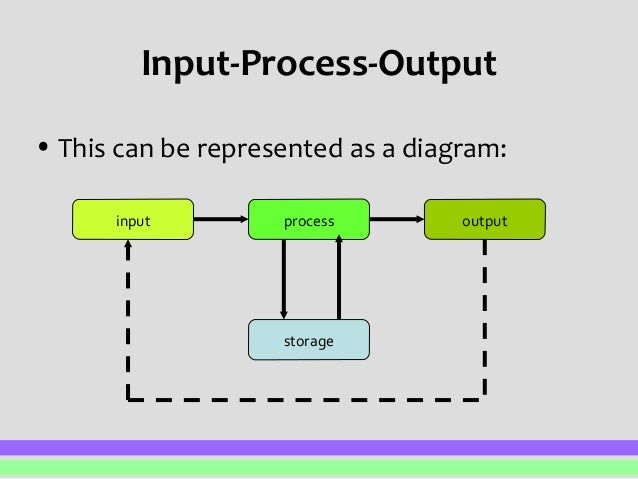
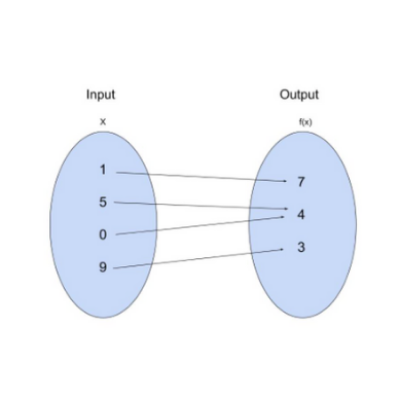
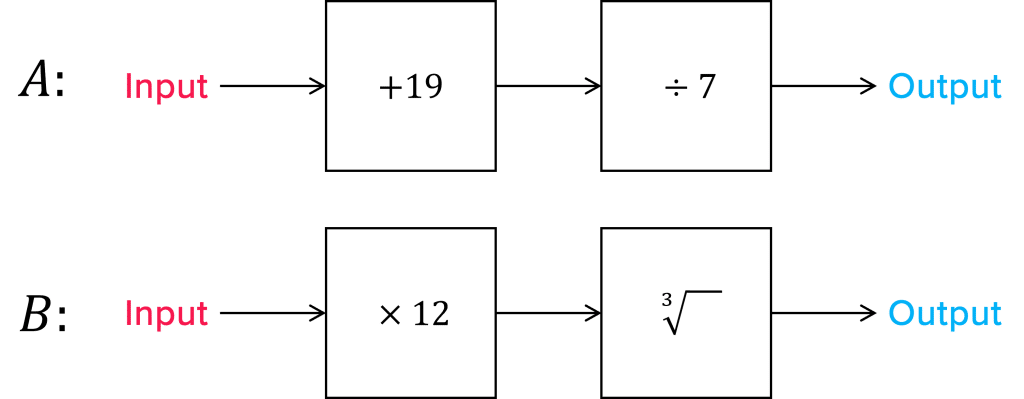
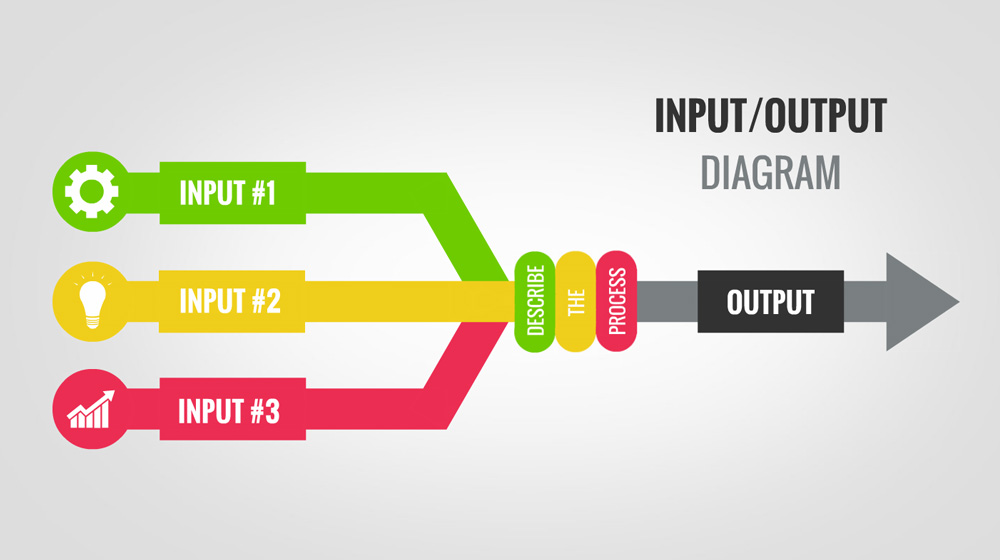
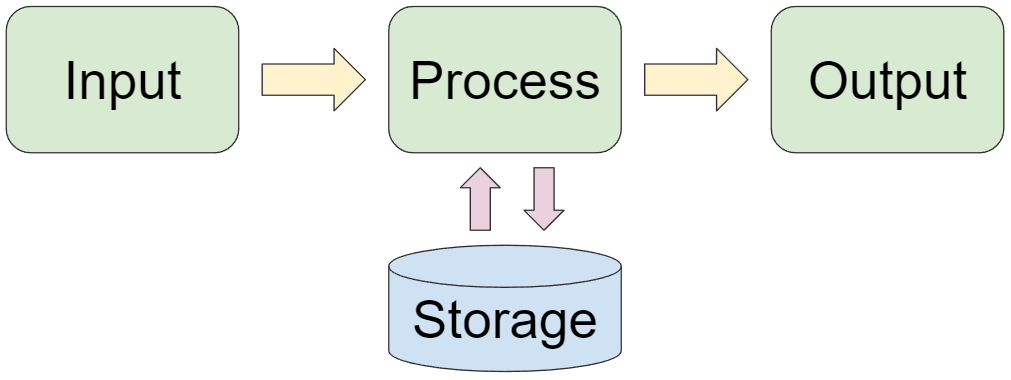
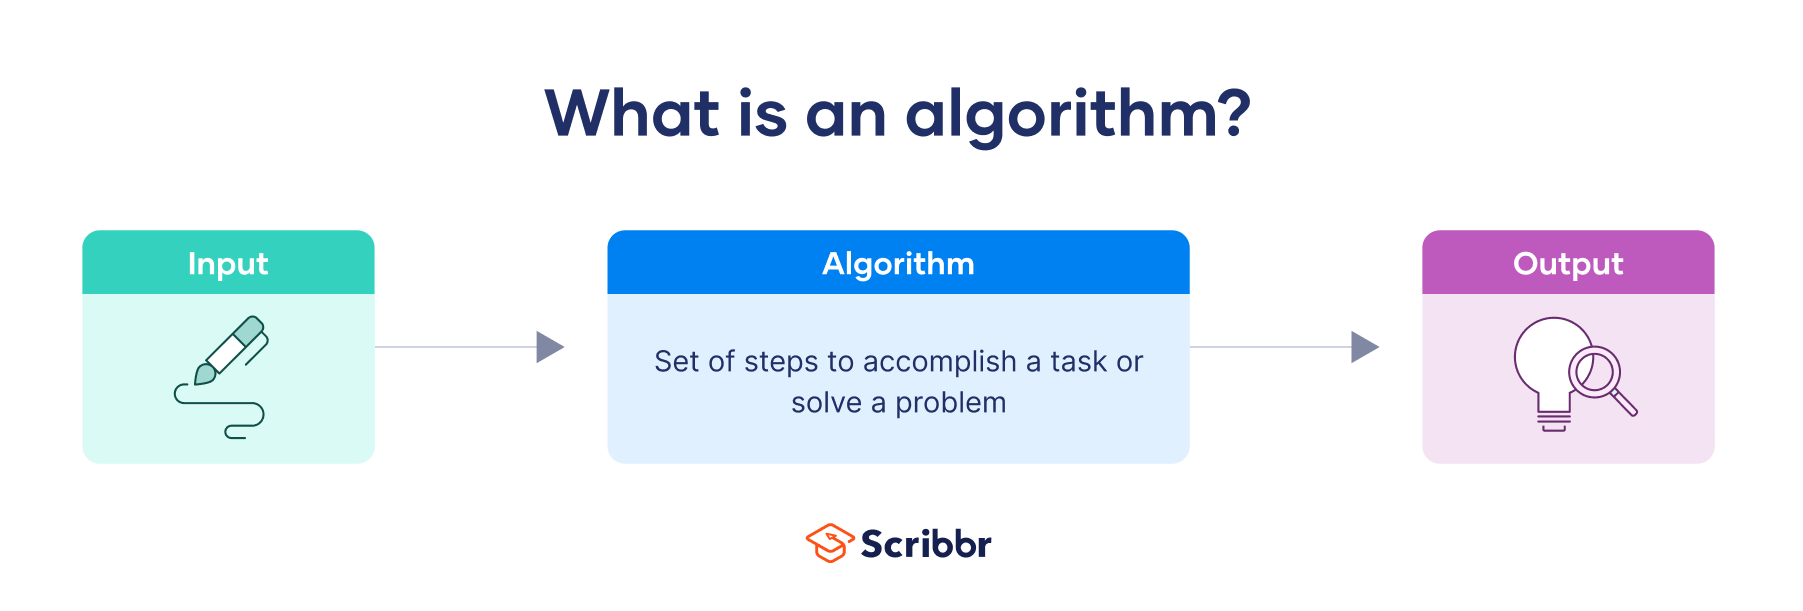
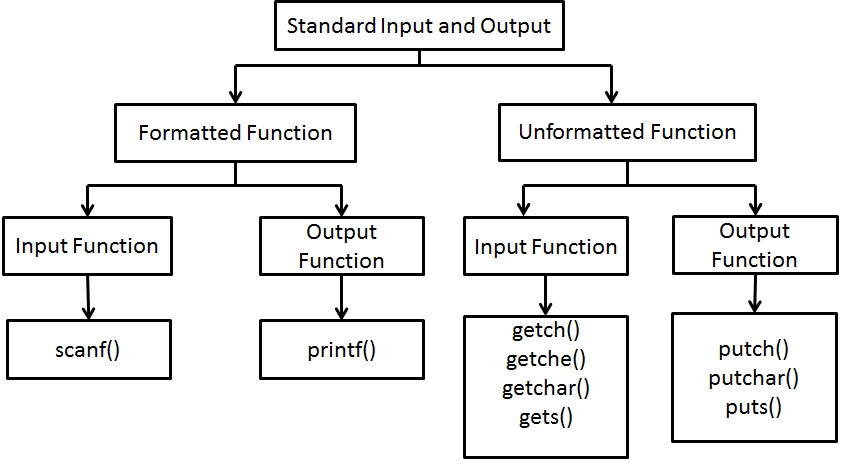
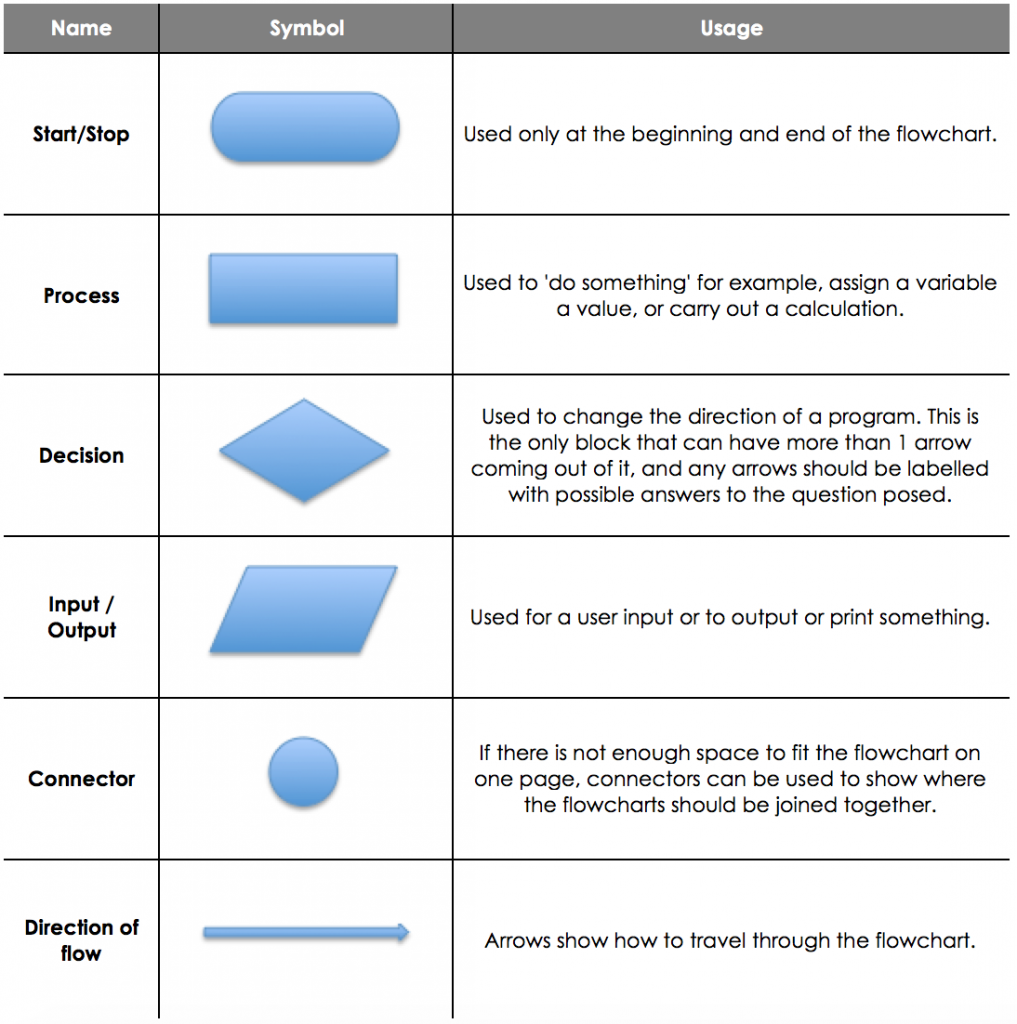
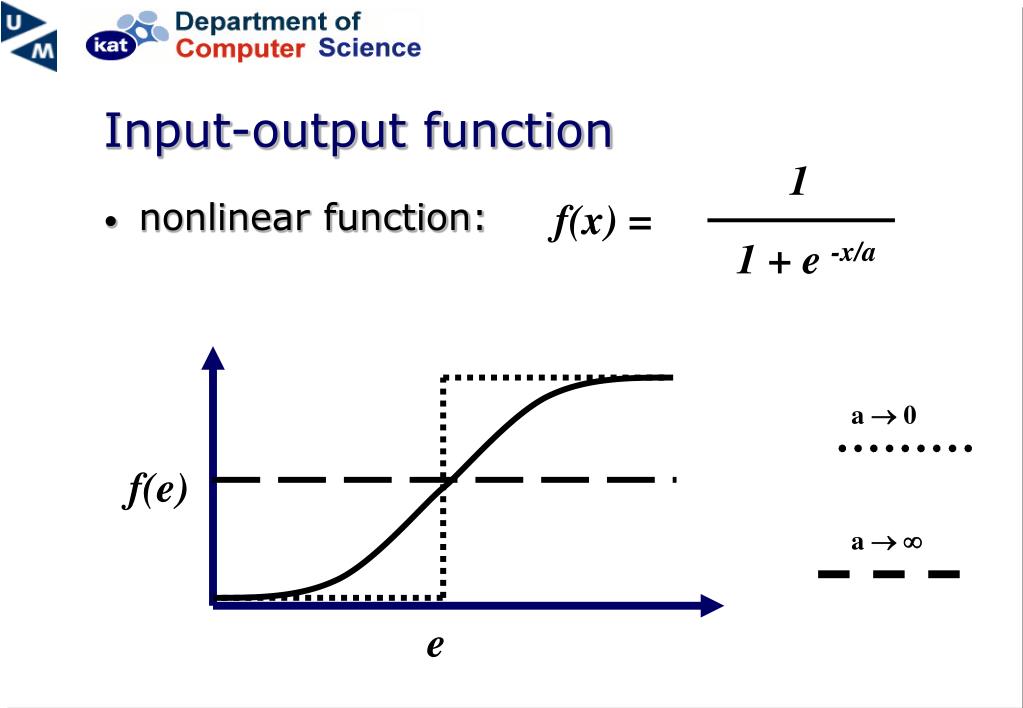
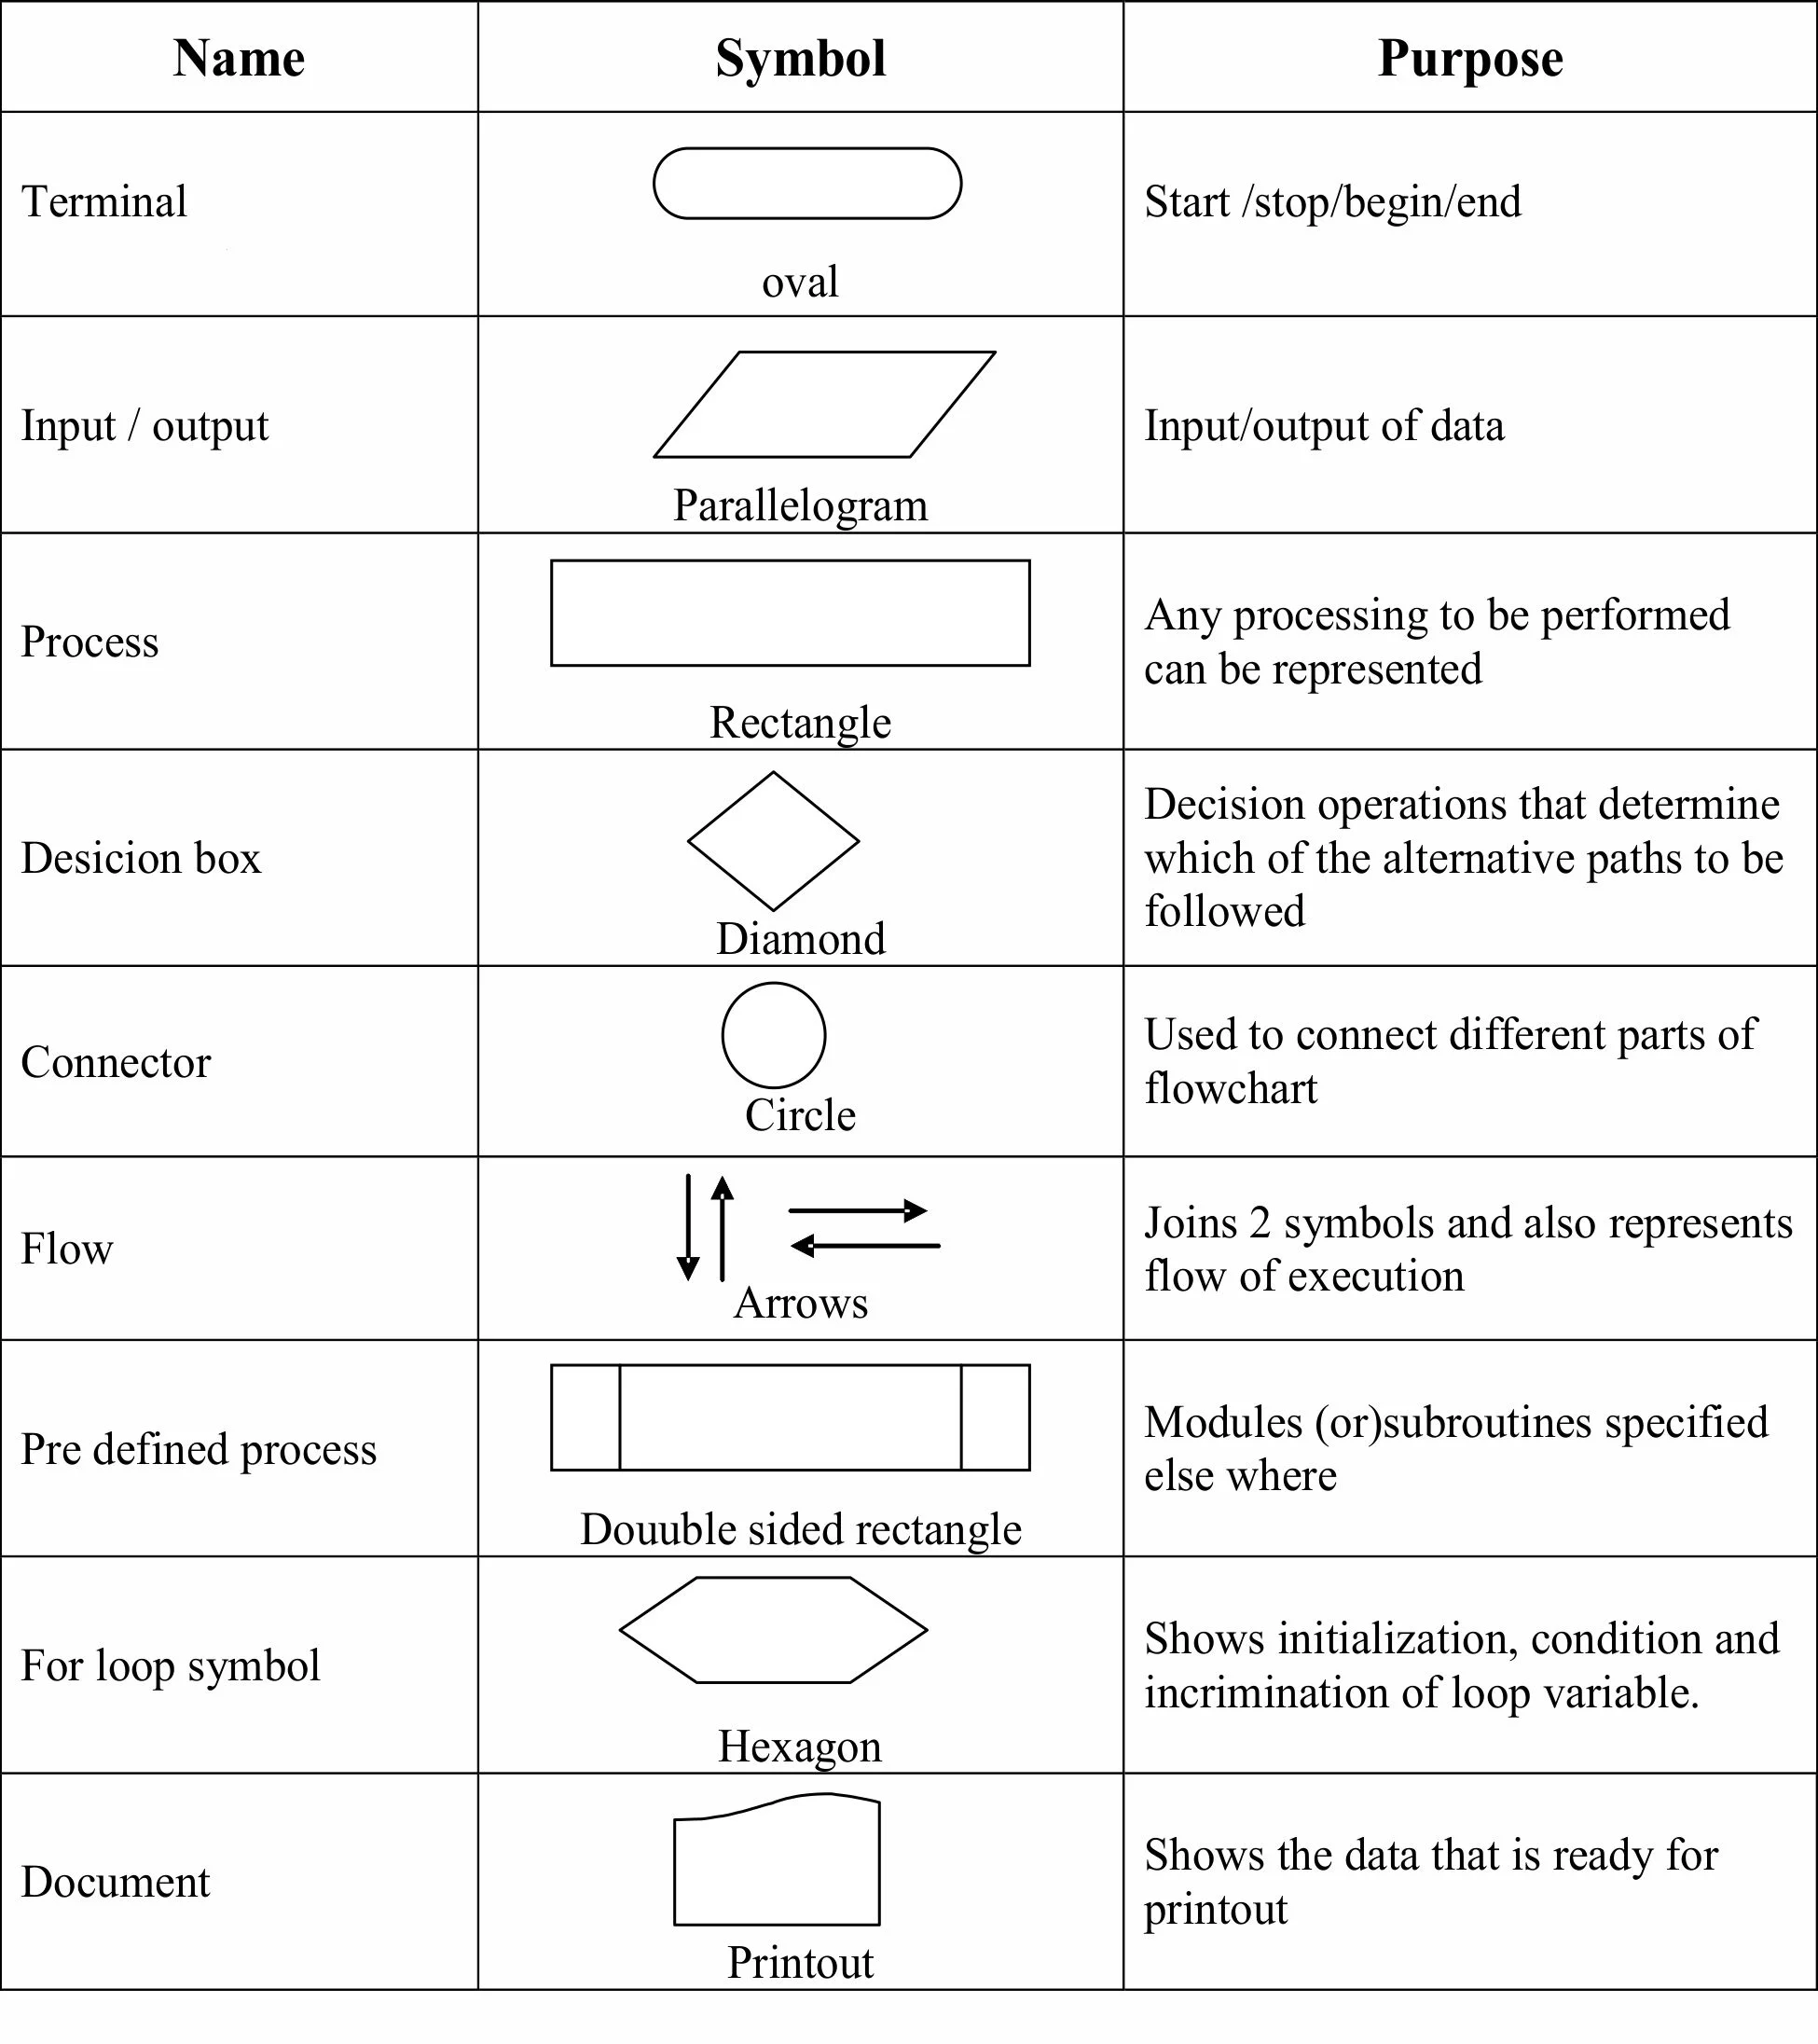
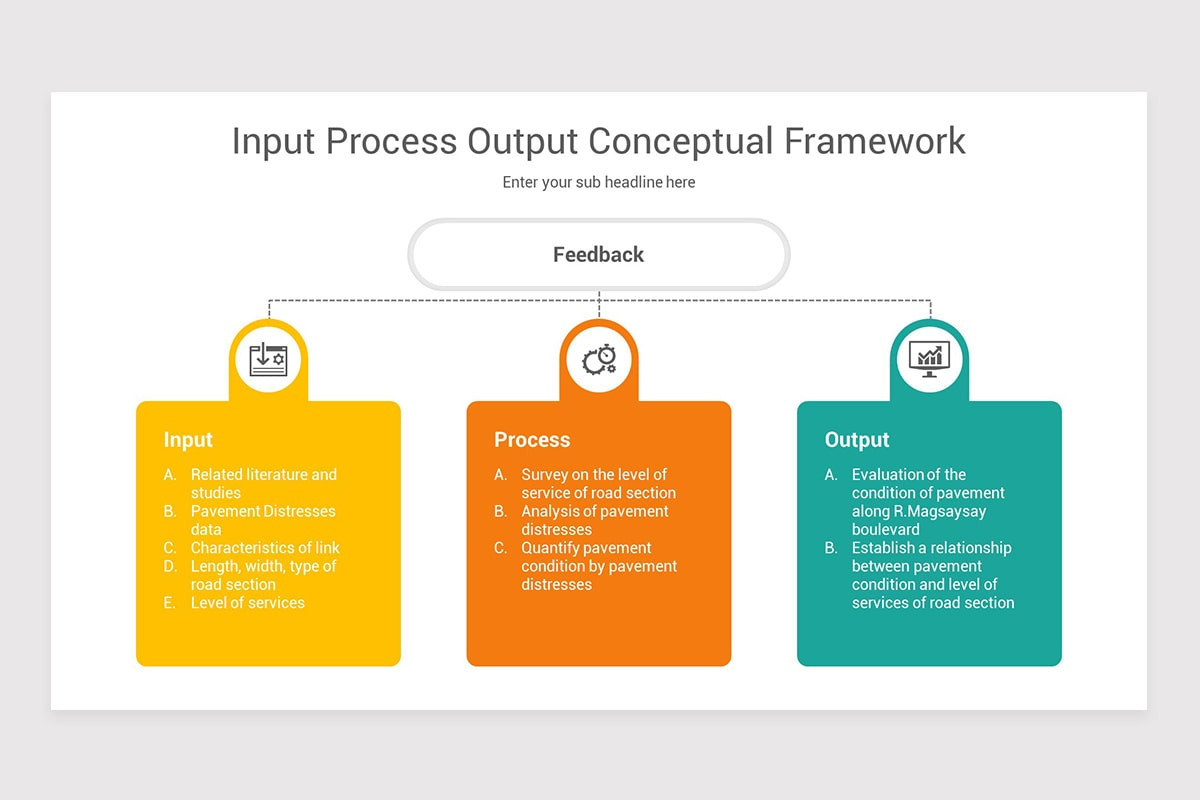
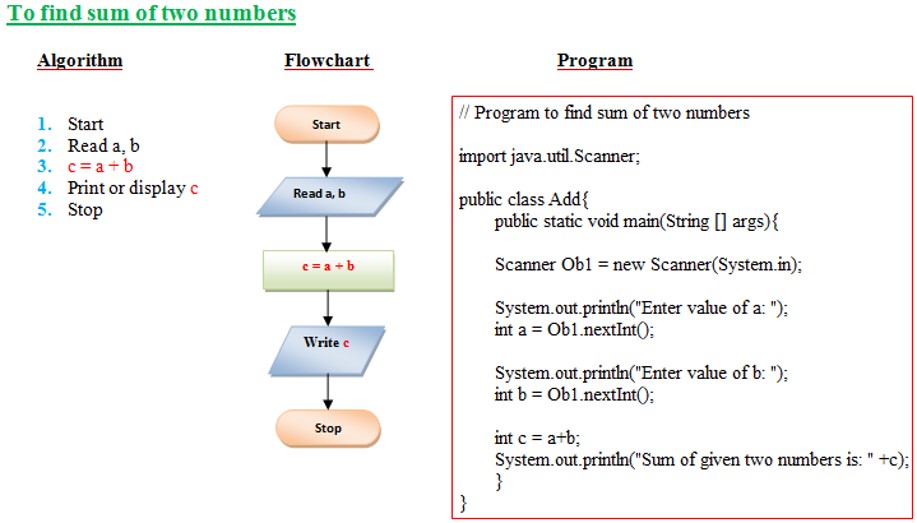
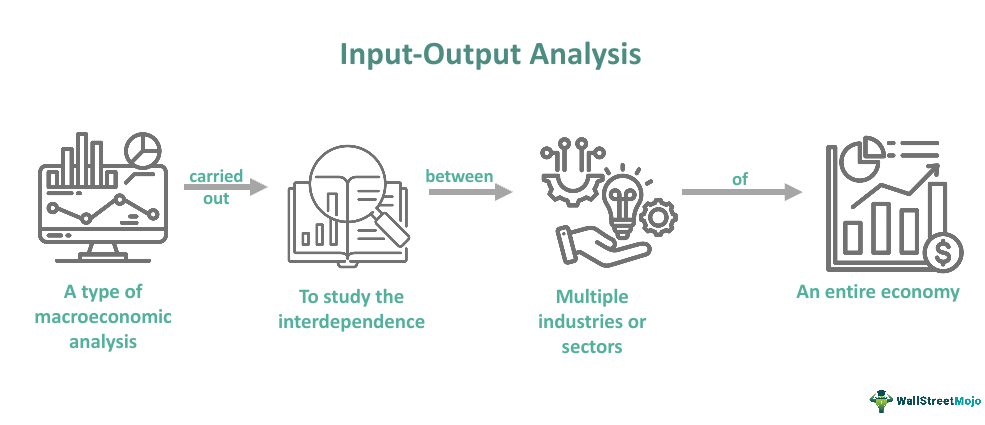
Input/output Function Diagram In Algorithm


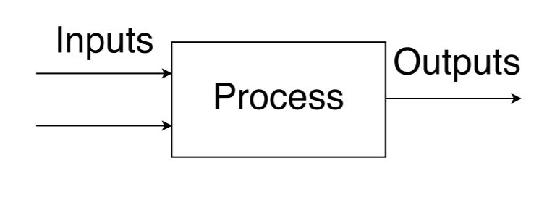


![Flow Diagram Input Output [diagram] Input Output Diagrams](https://chbe241.github.io/_images/BFD.svg)
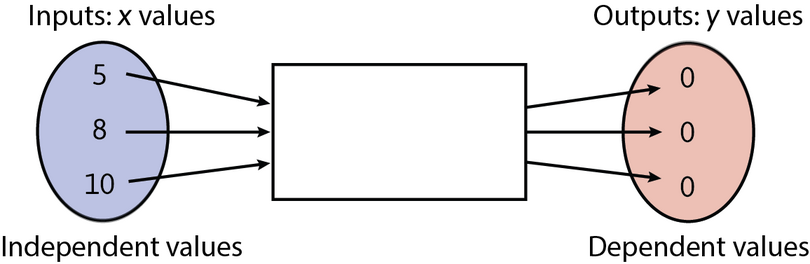
![[DIAGRAM] Input And Output Data Flow Diagram - MYDIAGRAM.ONLINE](https://www.rff.com/flowchart_input_output.png)
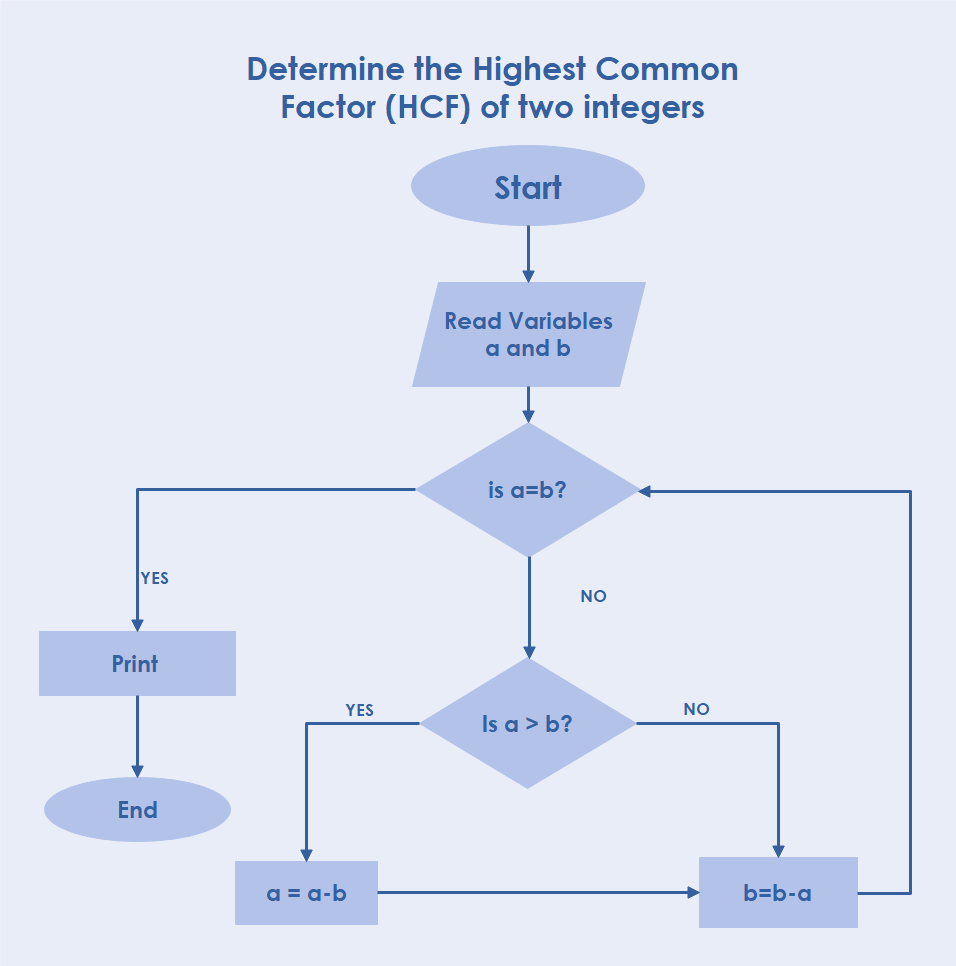
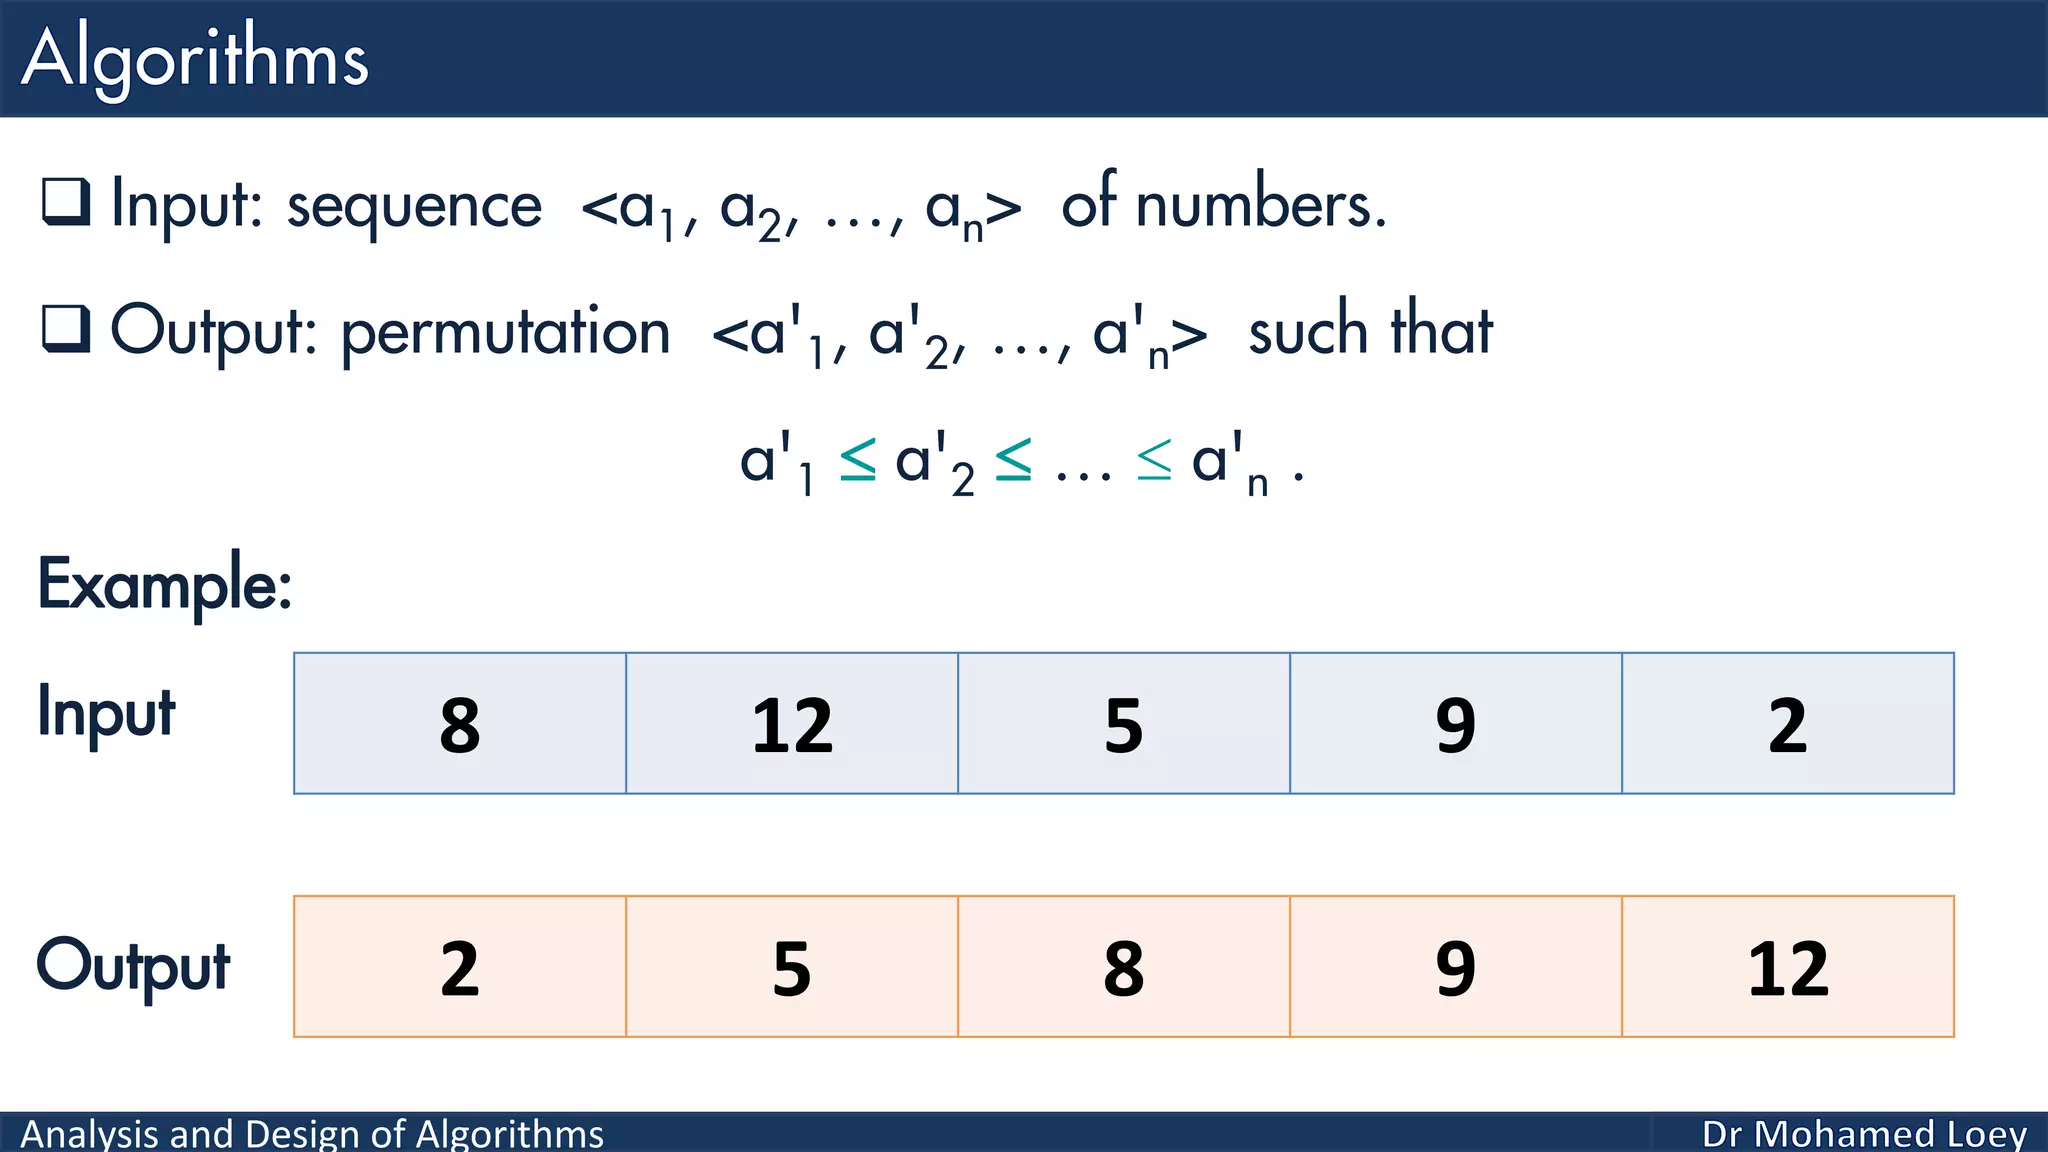
![Flow Diagram Input Output [diagram] Input Output Diagrams](https://www.visual-paradigm.com/servlet/editor-content/tutorials/flowchart-tutoria/sites/7/2018/09/flowchart-example.png)


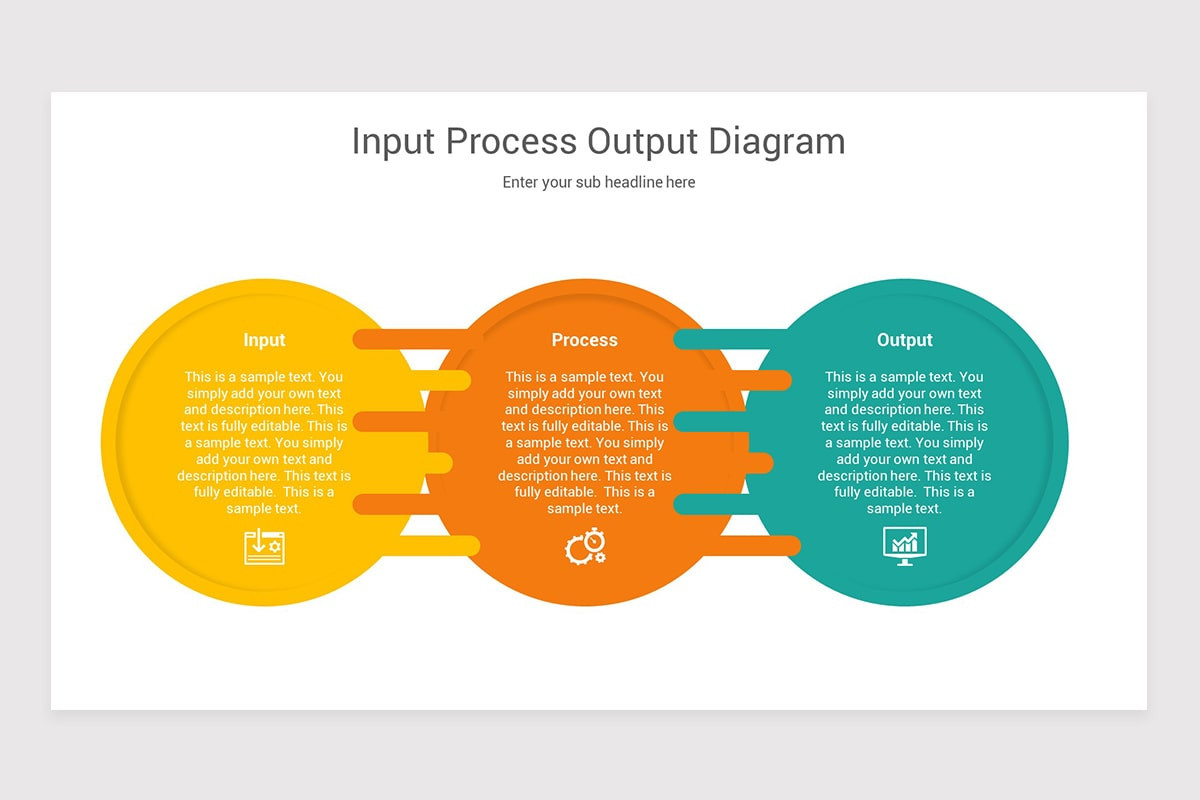


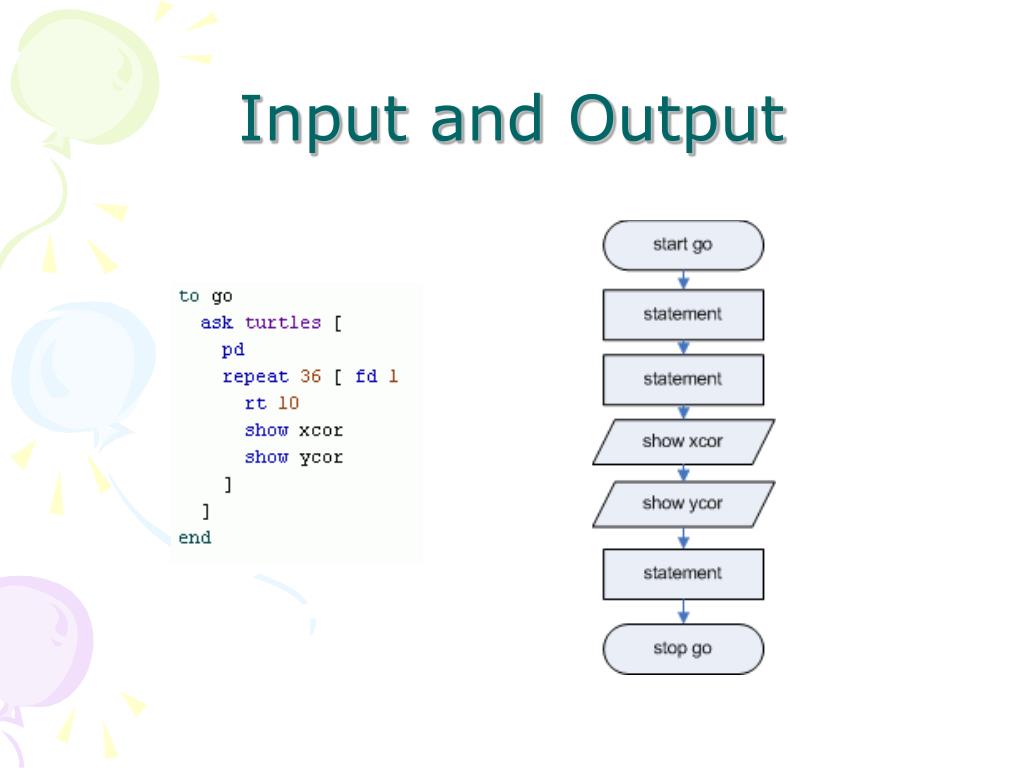
![[DIAGRAM] Input Output Diagrams - MYDIAGRAM.ONLINE](https://d1e4pidl3fu268.cloudfront.net/8cf6cf63-9a70-46a4-8205-389ee798fd7a/coverinoutproc.PNG)


Embrace the stunning lifestyle with our Input/output Function Diagram In Algorithm collection of comprehensive galleries of inspiring images. encouraging positive living via photography, images, and pictures. ideal for wellness and self-improvement content. The Input/output Function Diagram In Algorithm collection maintains consistent quality standards across all images. Suitable for various applications including web design, social media, personal projects, and digital content creation All Input/output Function Diagram In Algorithm images are available in high resolution with professional-grade quality, optimized for both digital and print applications, and include comprehensive metadata for easy organization and usage. Our Input/output Function Diagram In Algorithm gallery offers diverse visual resources to bring your ideas to life. Comprehensive tagging systems facilitate quick discovery of relevant Input/output Function Diagram In Algorithm content. Cost-effective licensing makes professional Input/output Function Diagram In Algorithm photography accessible to all budgets. The Input/output Function Diagram In Algorithm archive serves professionals, educators, and creatives across diverse industries. Reliable customer support ensures smooth experience throughout the Input/output Function Diagram In Algorithm selection process. Whether for commercial projects or personal use, our Input/output Function Diagram In Algorithm collection delivers consistent excellence. Multiple resolution options ensure optimal performance across different platforms and applications.