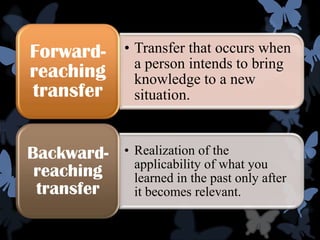
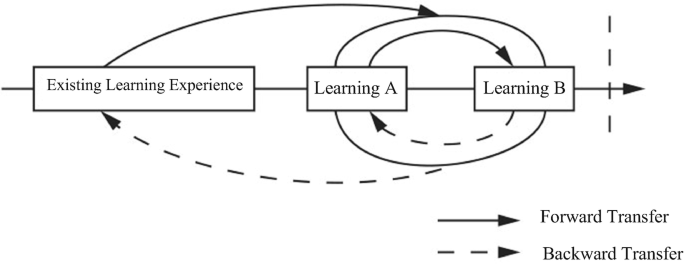
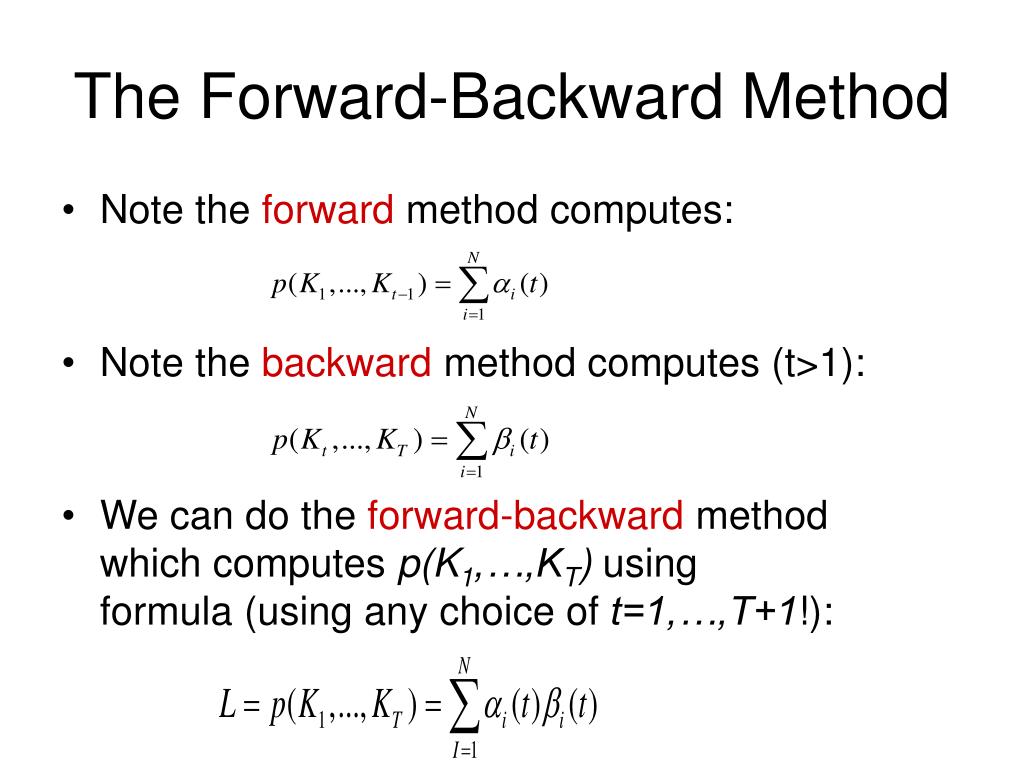
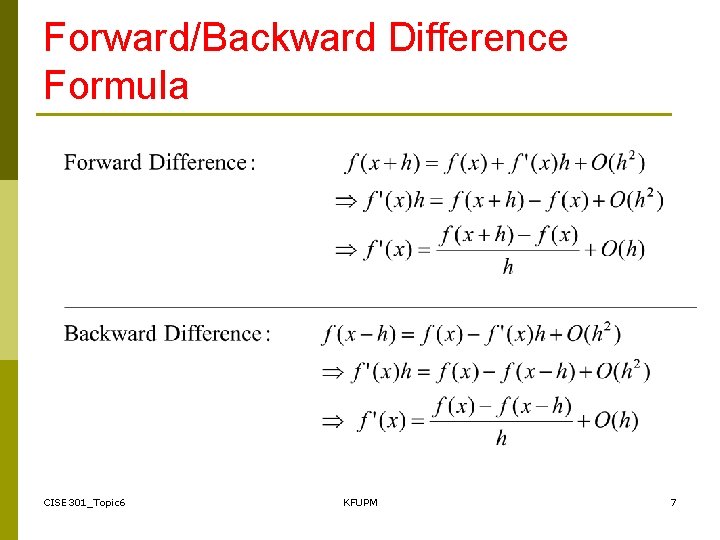
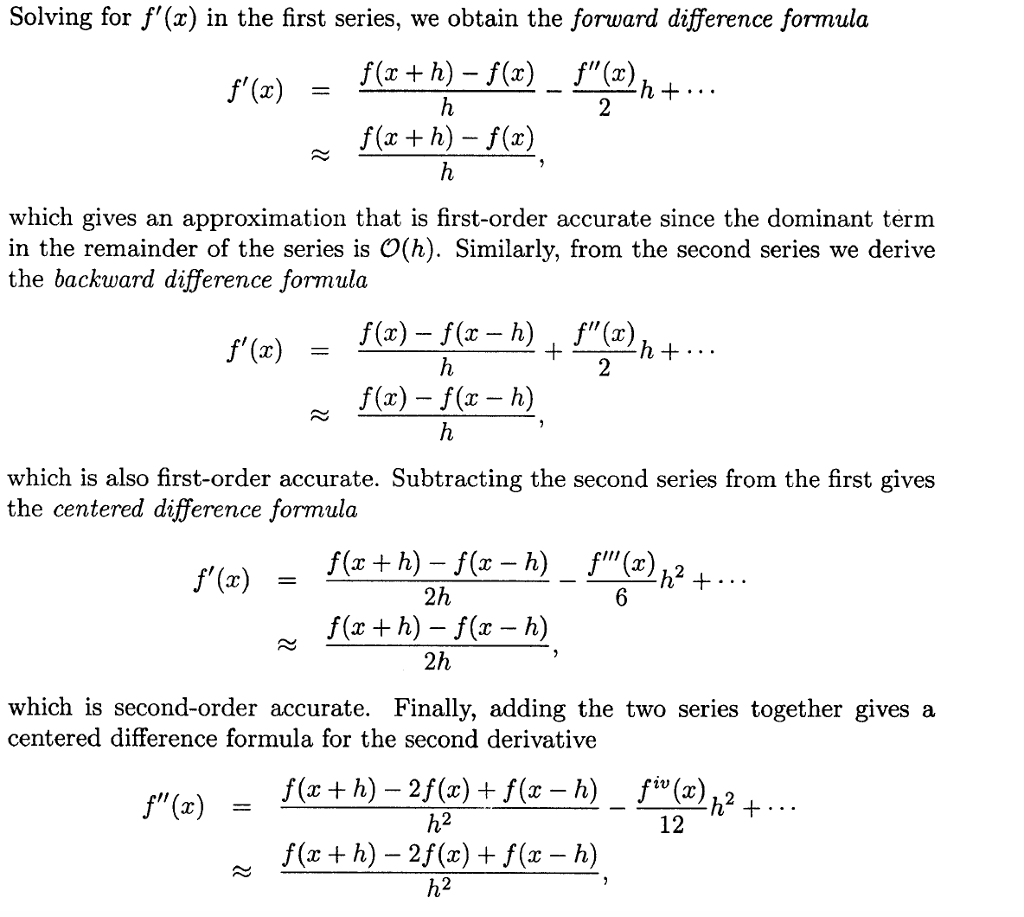
Forward/backward Transfer Method


![[2207.06543] CoSCL: Cooperation of Small Continual Learners is Stronger ...](https://ar5iv.labs.arxiv.org/html/2207.06543/assets/CIFAR100_KT.jpg)


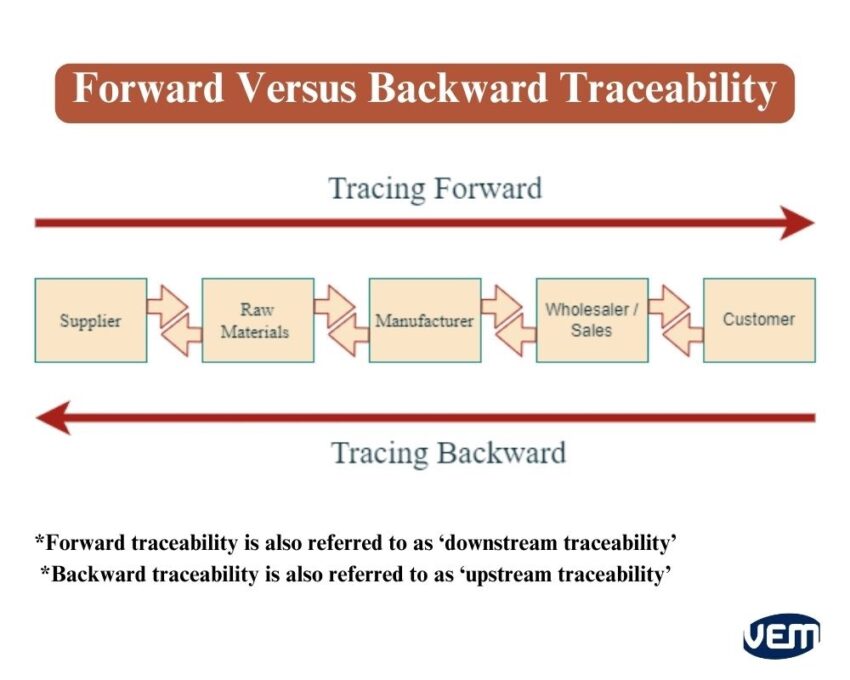
![Illustration of the forward and backward modelling [236]. | Download ...](https://www.researchgate.net/publication/363868715/figure/fig4/AS:11431281092807471@1666969495422/Illustration-of-the-forward-and-backward-modelling-236.png)


Celebrate the seasons with our stunning Forward/backward Transfer Method collection of substantial collections of seasonal images. capturing seasonal variations of photography, images, and pictures. designed to celebrate natural cycles and changes. Browse our premium Forward/backward Transfer Method gallery featuring professionally curated photographs. Suitable for various applications including web design, social media, personal projects, and digital content creation All Forward/backward Transfer Method images are available in high resolution with professional-grade quality, optimized for both digital and print applications, and include comprehensive metadata for easy organization and usage. Explore the versatility of our Forward/backward Transfer Method collection for various creative and professional projects. Diverse style options within the Forward/backward Transfer Method collection suit various aesthetic preferences. Reliable customer support ensures smooth experience throughout the Forward/backward Transfer Method selection process. The Forward/backward Transfer Method collection represents years of careful curation and professional standards. Our Forward/backward Transfer Method database continuously expands with fresh, relevant content from skilled photographers. Cost-effective licensing makes professional Forward/backward Transfer Method photography accessible to all budgets. Comprehensive tagging systems facilitate quick discovery of relevant Forward/backward Transfer Method content. Whether for commercial projects or personal use, our Forward/backward Transfer Method collection delivers consistent excellence.