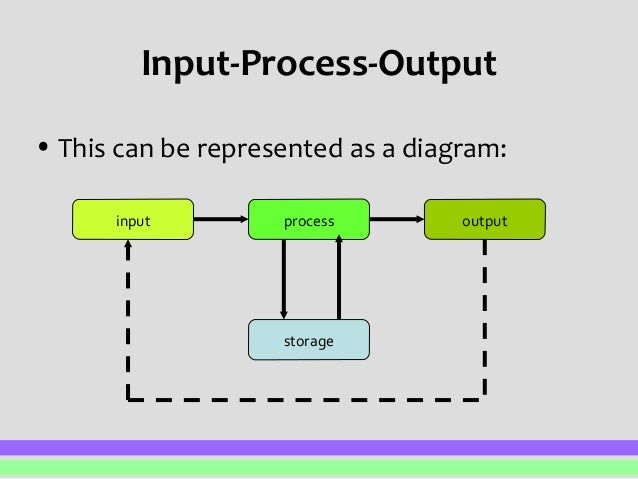
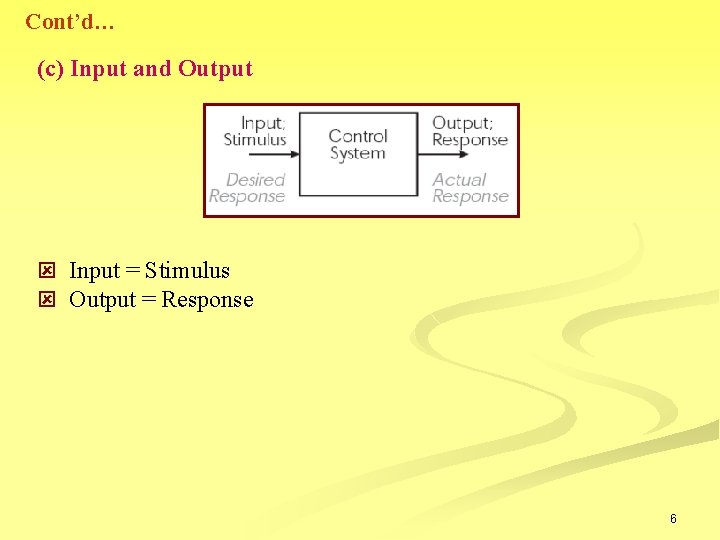
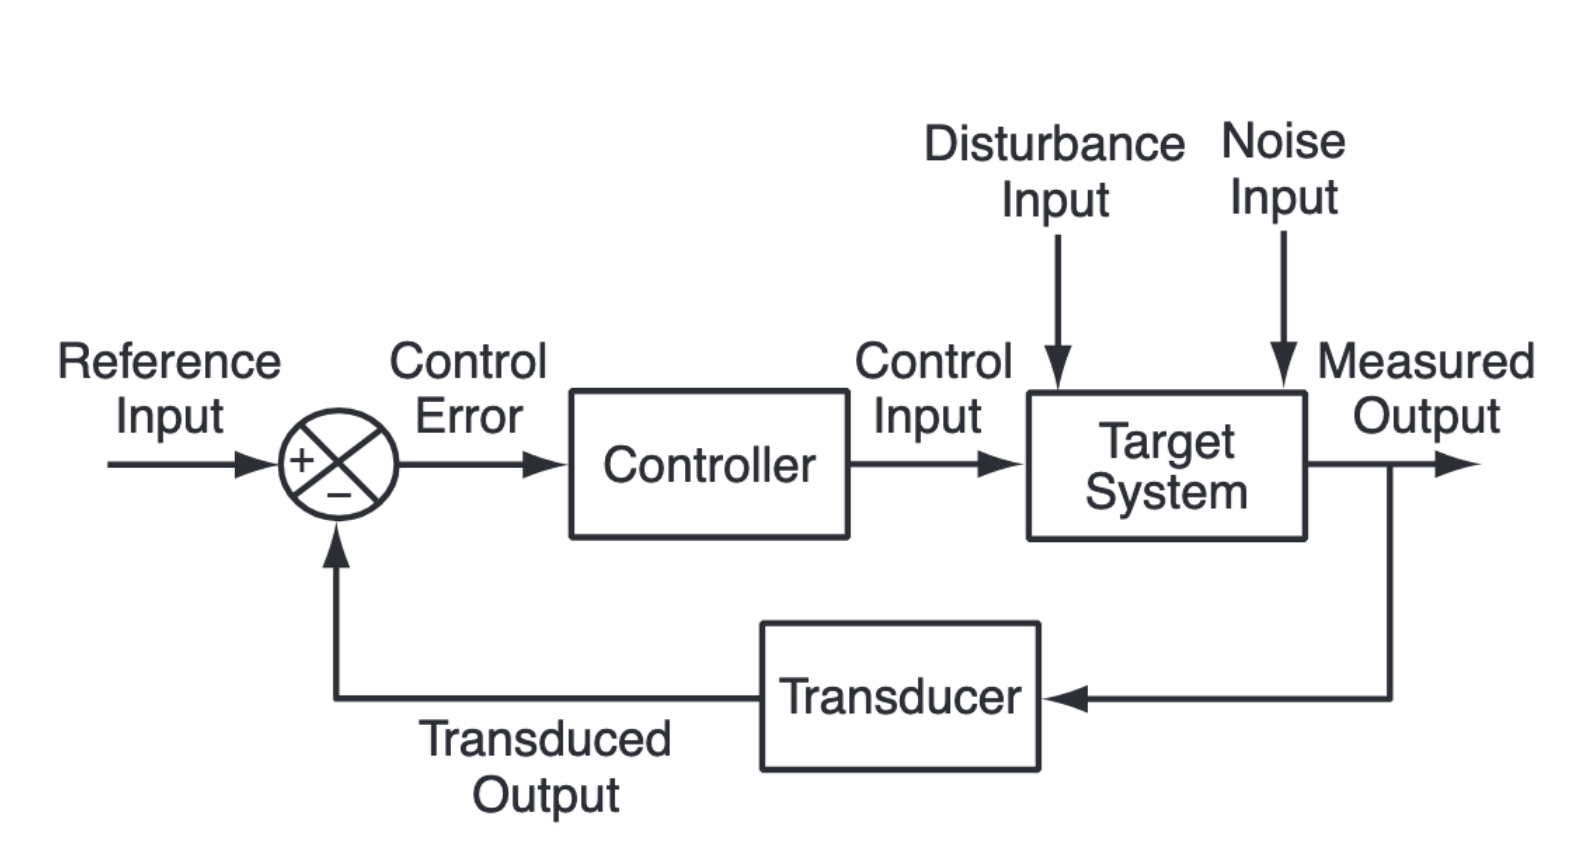
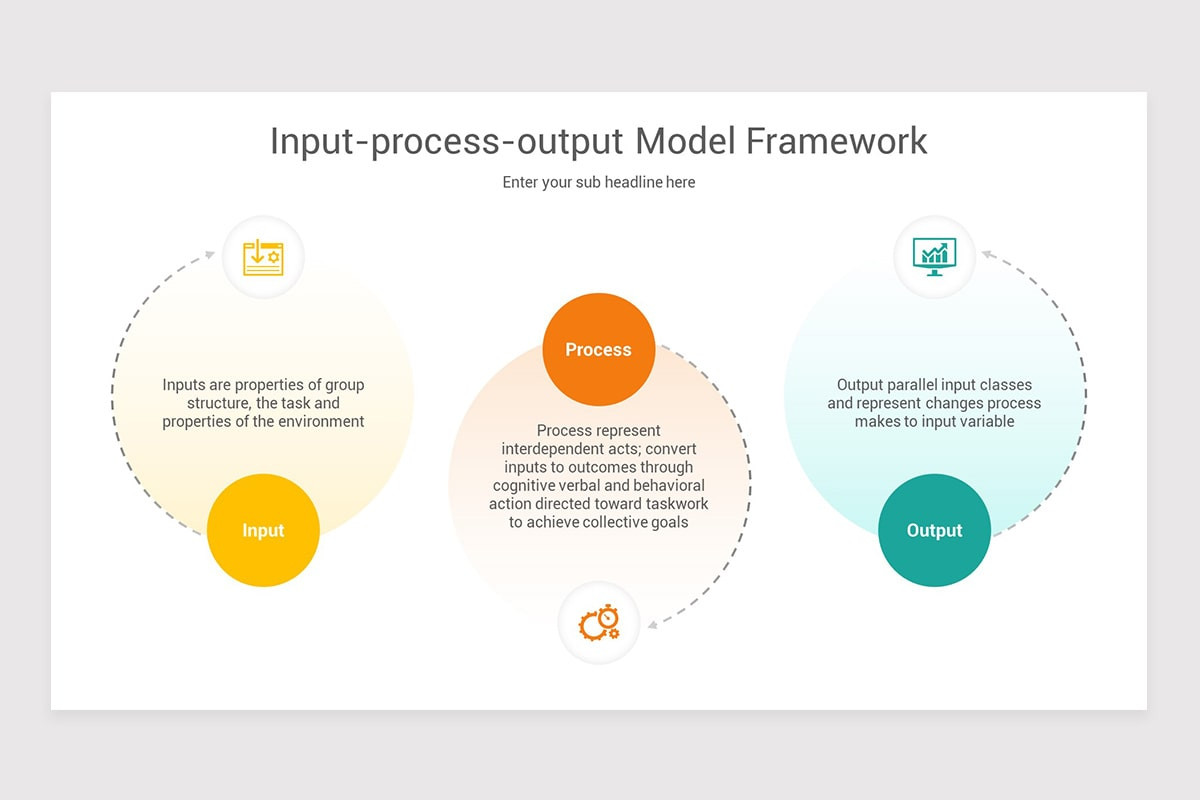
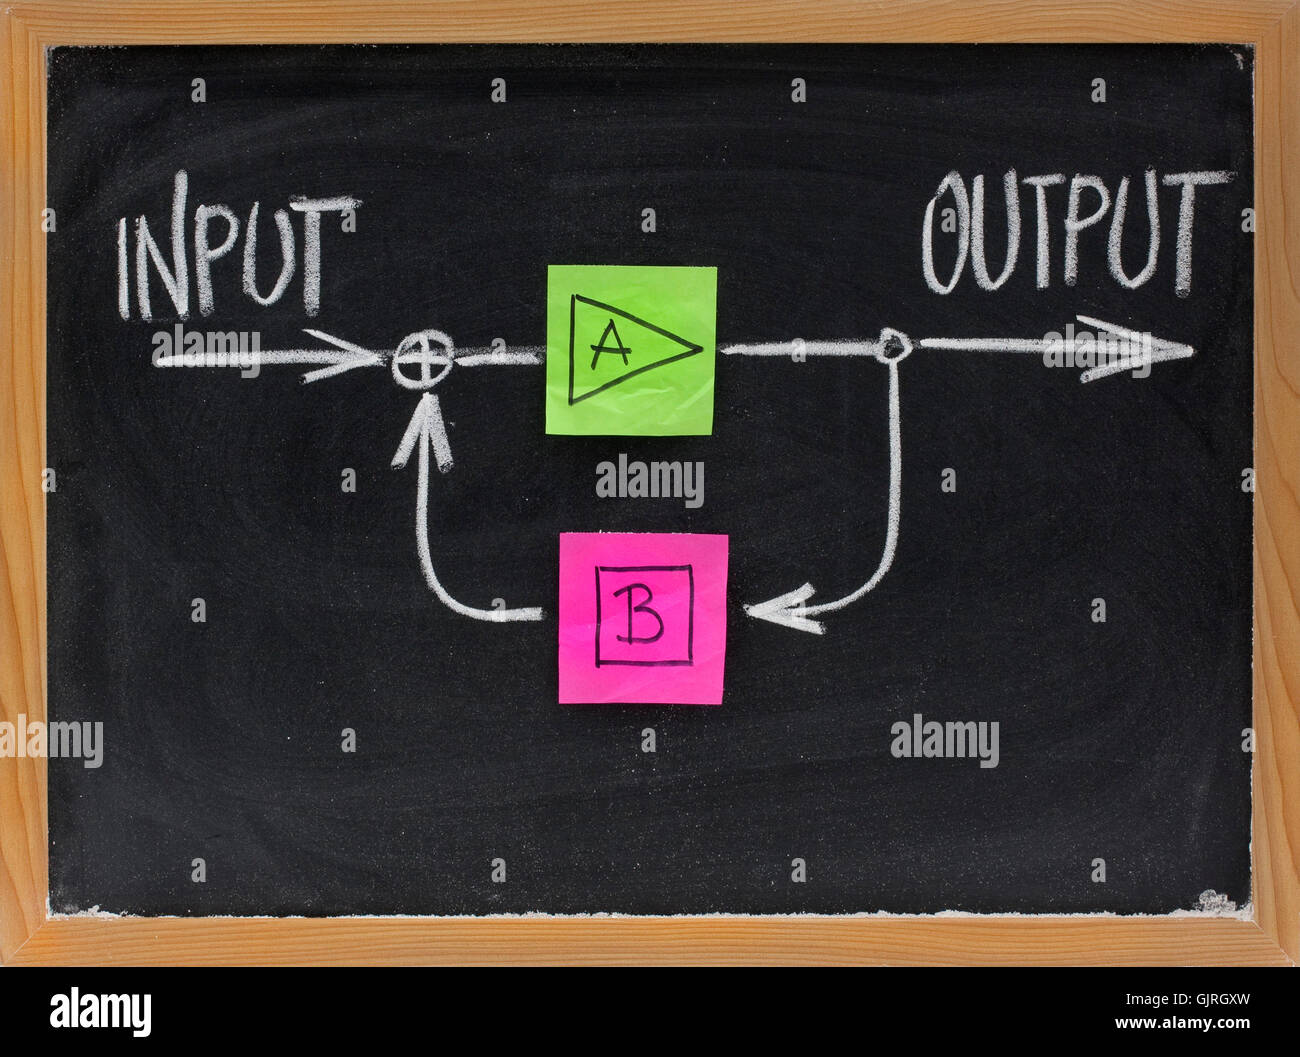
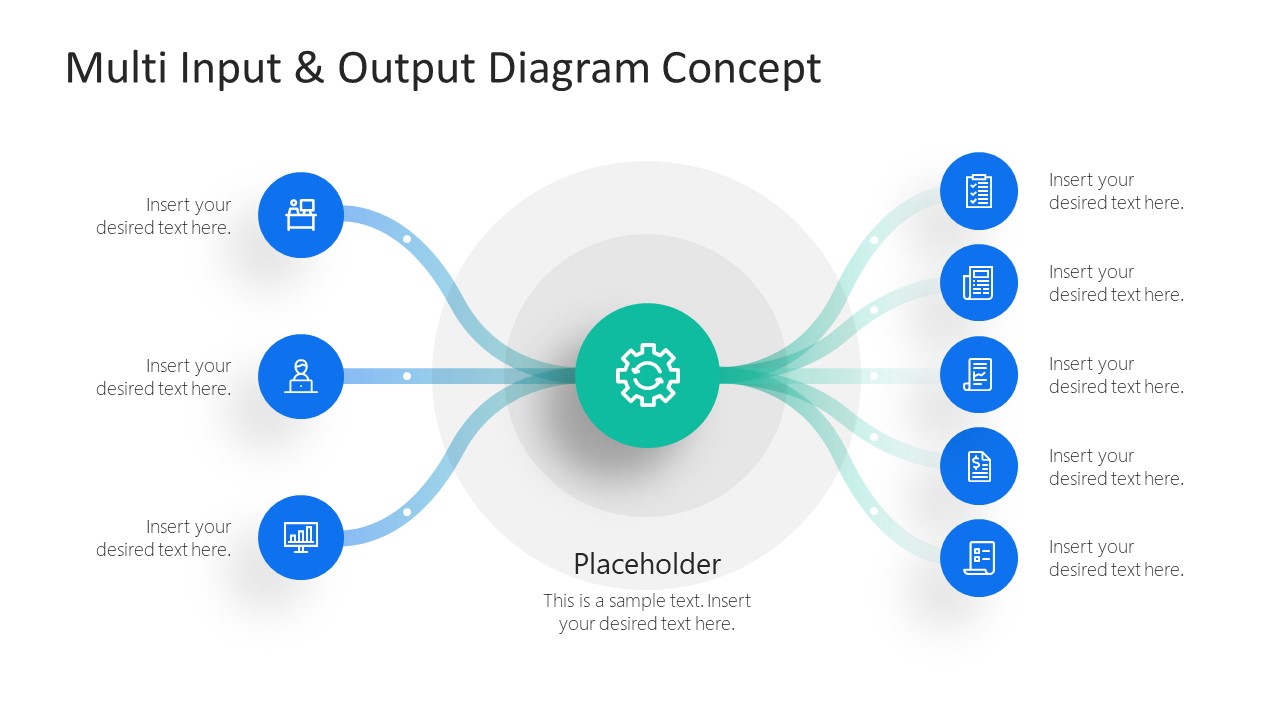
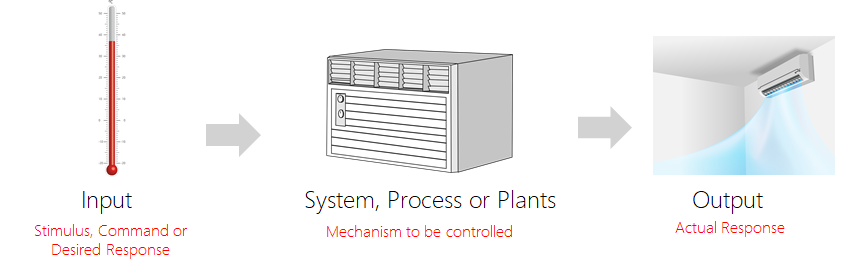
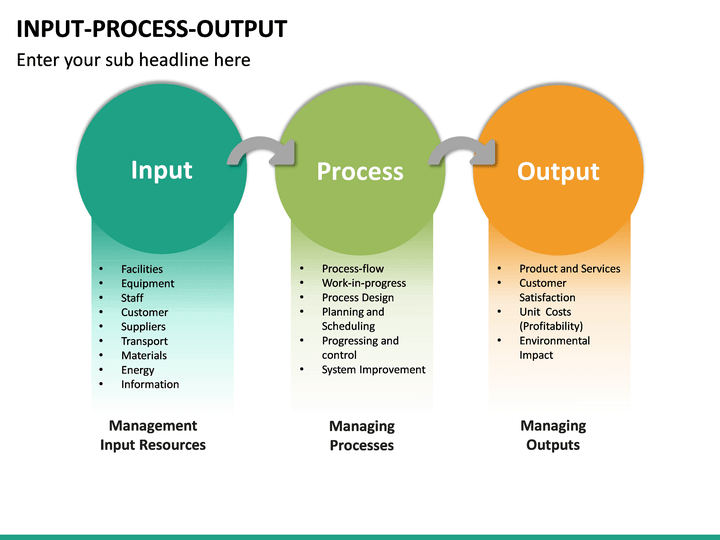
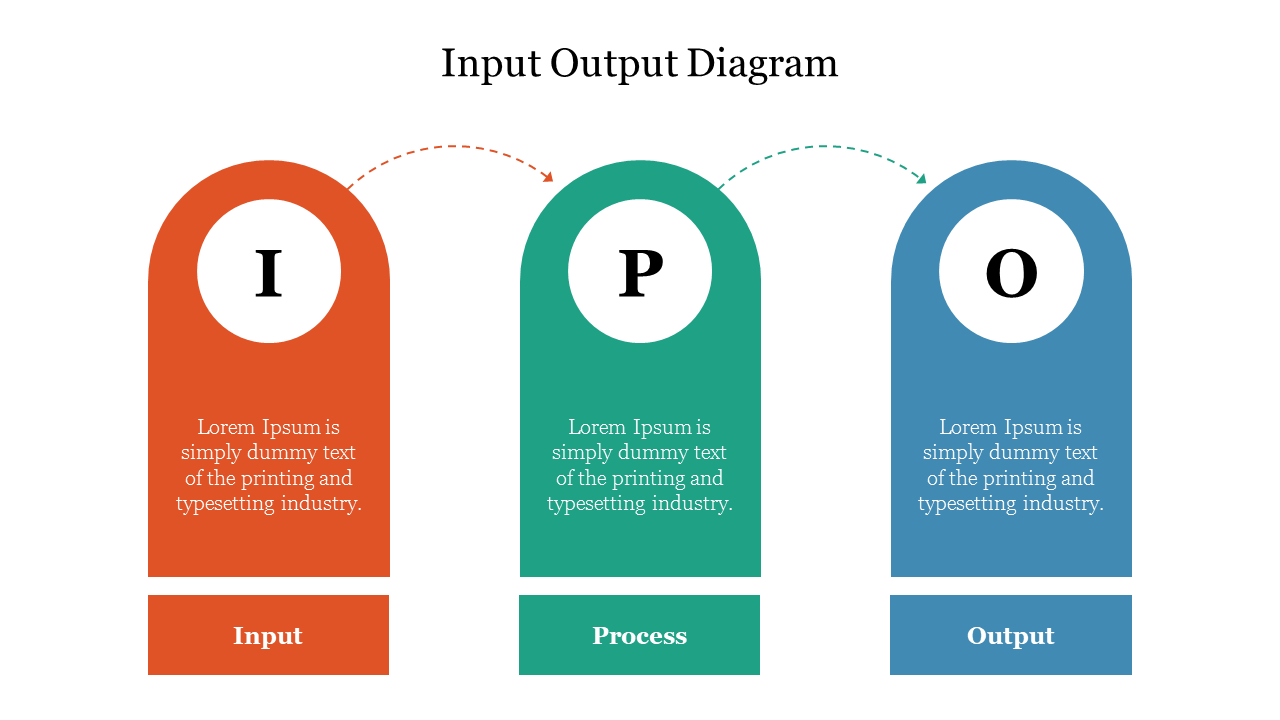
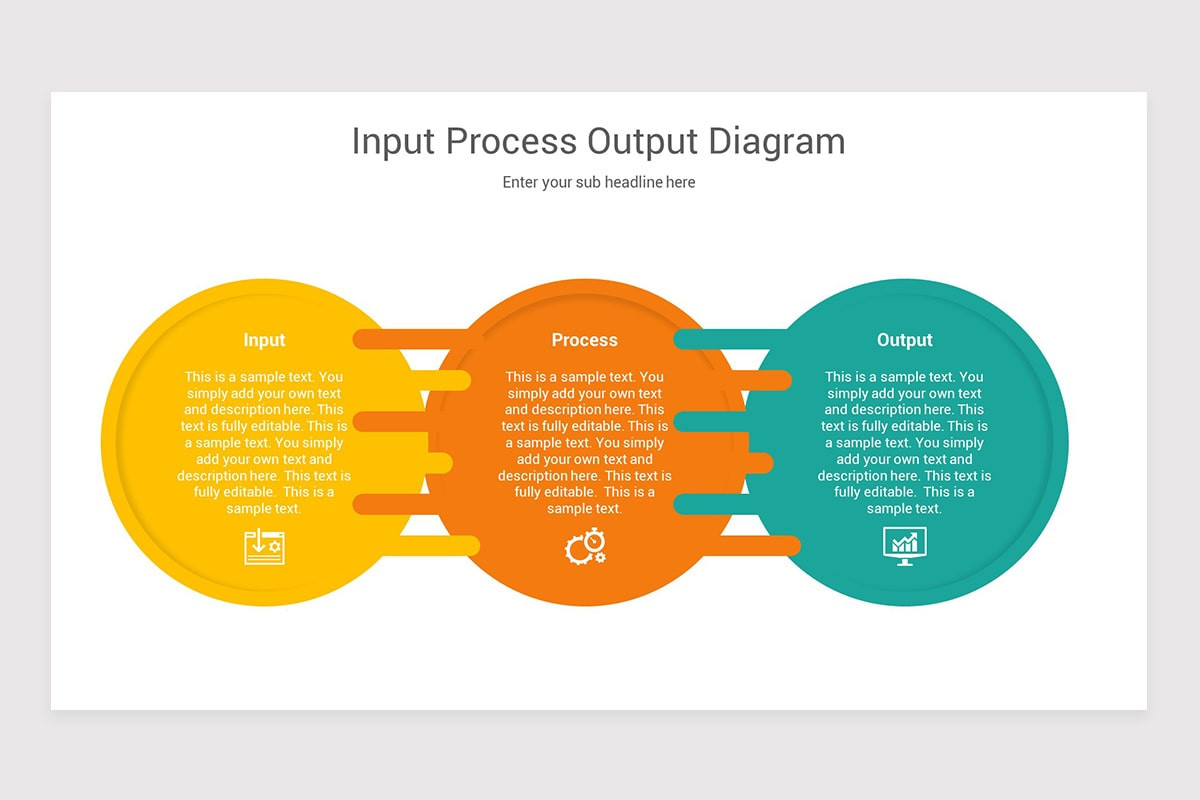
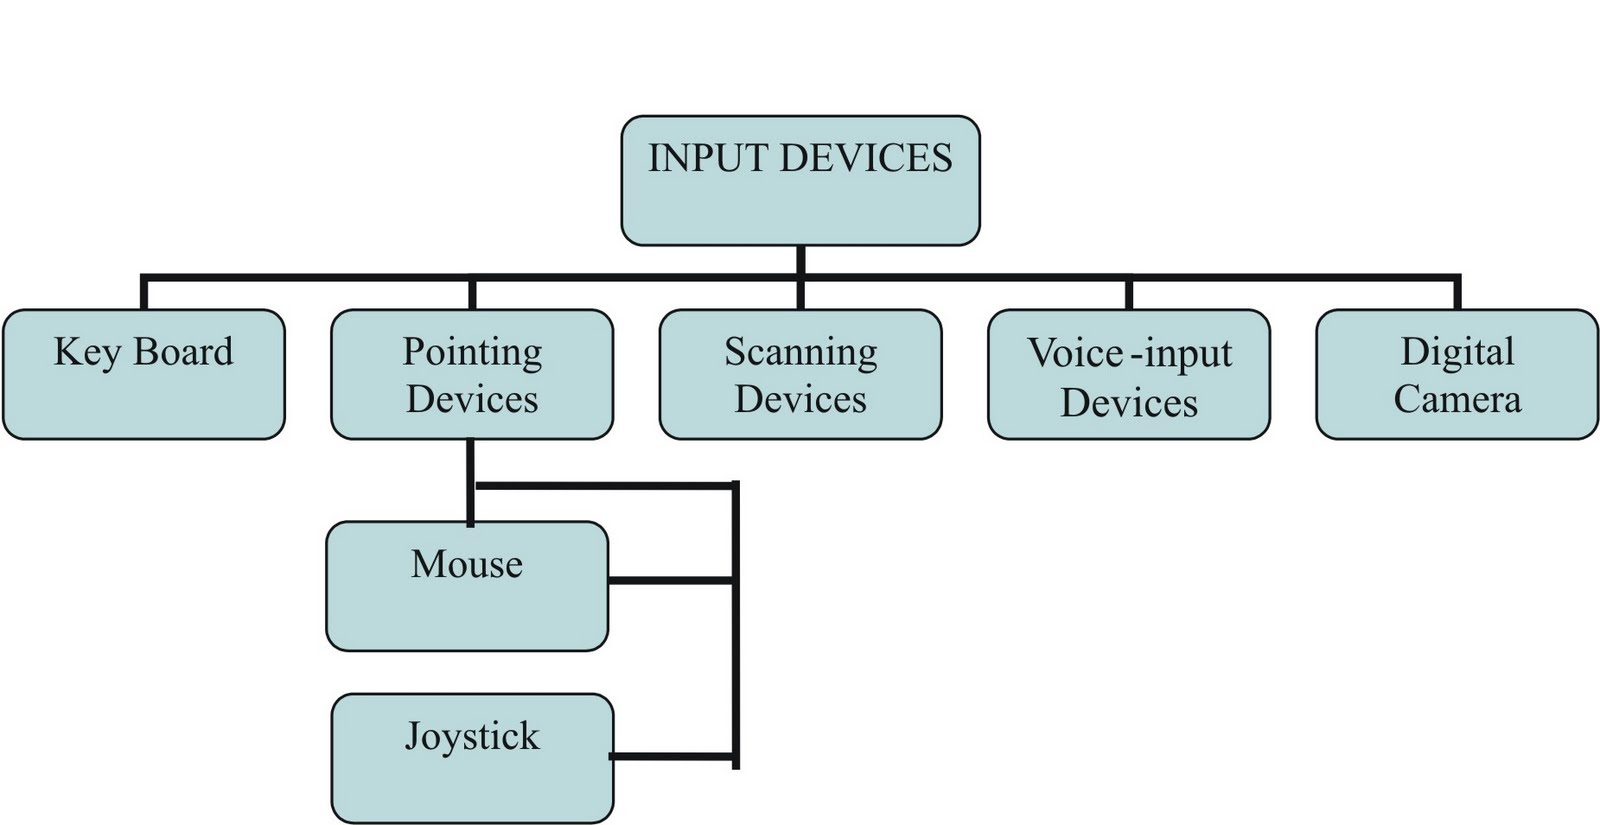
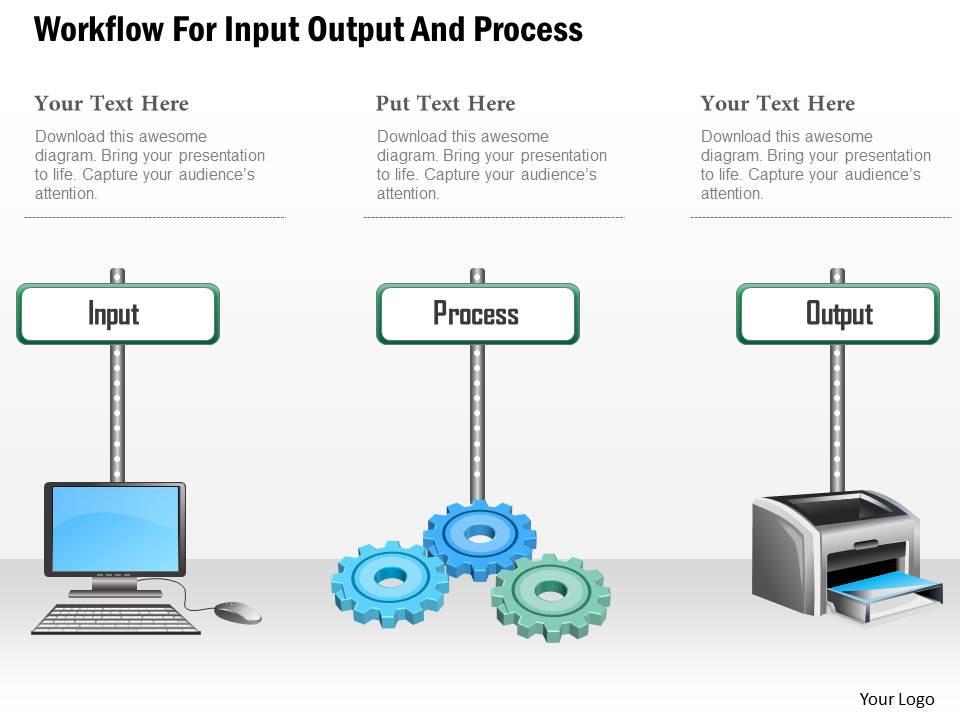
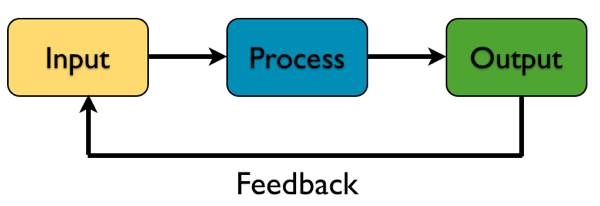
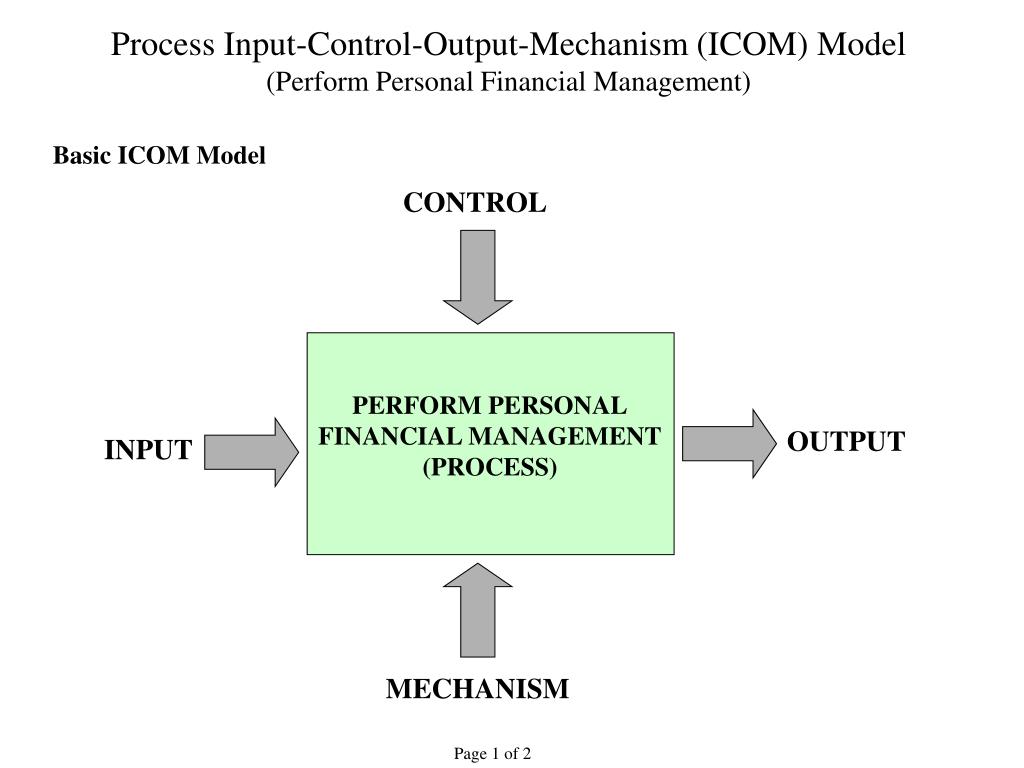
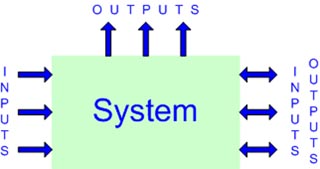
Control Input/output Diagram


![General scheme of the input/output control - [ • ] e indicates an ...](https://www.researchgate.net/publication/228060230/figure/fig2/AS:302307892842501@1449087226498/General-scheme-of-the-input-output-control-e-indicates-an-estimate-of-11.png)


![[DIAGRAM] Input Output Diagrams - WIRINGSCHEMA.COM](https://image2.slideserve.com/4744591/input-and-output-diagram-n.jpg)
![[DIAGRAM] Input Output Diagrams - WIRINGSCHEMA.COM](https://image.slidesharecdn.com/07inputoutput-090507024653-phpapp02/95/07-input-output-6-728.jpg?cb=1241664456)
![[DIAGRAM] Input Output Diagrams - WIRINGSCHEMA.COM](https://circuitstoday.com/wp-content/uploads/2011/01/Block-Diagram-of-PORTD-in-Input-Output-Mode.jpg)


![[DIAGRAM] Input Output Diagrams - WIRINGSCHEMA.COM](https://cdn.sketchbubble.com/pub/media/catalog/product/optimized/7/c/7c31eced71797cabfe310d1511b3b361a2091732bb4ddd40e3be773a100ff005/input-process-output-mc-slide4.png)


![[DIAGRAM] Input Output Diagrams - WIRINGSCHEMA.COM](https://image.slidesharecdn.com/6-mappingdiagramsfunctionsaswordsequationsinput-outputtablesreviewpowerpoint-130407160745-phpapp01/95/6-mapping-diagrams-functions-as-words-equations-inputoutput-tables-review-power-point-5-638.jpg?cb=1422588599)


Live your best life through extensive collections of lifestyle-focused Control Input/output Diagram photographs. inspiring lifestyle choices through photography, images, and pictures. perfect for lifestyle magazines and blogs. Browse our premium Control Input/output Diagram gallery featuring professionally curated photographs. Suitable for various applications including web design, social media, personal projects, and digital content creation All Control Input/output Diagram images are available in high resolution with professional-grade quality, optimized for both digital and print applications, and include comprehensive metadata for easy organization and usage. Our Control Input/output Diagram gallery offers diverse visual resources to bring your ideas to life. Reliable customer support ensures smooth experience throughout the Control Input/output Diagram selection process. Instant download capabilities enable immediate access to chosen Control Input/output Diagram images. Advanced search capabilities make finding the perfect Control Input/output Diagram image effortless and efficient. Diverse style options within the Control Input/output Diagram collection suit various aesthetic preferences. The Control Input/output Diagram archive serves professionals, educators, and creatives across diverse industries. Cost-effective licensing makes professional Control Input/output Diagram photography accessible to all budgets. Each image in our Control Input/output Diagram gallery undergoes rigorous quality assessment before inclusion. The Control Input/output Diagram collection represents years of careful curation and professional standards.